DavefromCt
No longer a newbie, moving up!
- Joined
- Jan 26, 2011
- Messages
- 305
- Reaction score
- 172
- Location
- North East Connecticut
- Can others edit my Photos
- Photos NOT OK to edit
Wow, even though I've used photoshop a long time I haven't gotten into all that complicated stuff....too much for my aging brain! Again, you saved that photo for me and I owe you my first born....although I'm not planning on having any more kids!Thank you kindly for the encouraging words. I don't really do secrets well. I'm pretty much an open book.Wow, I'm flabbergasted! What a great job! I was just looking for suggestions and didn't mean for anyone to actually do it but thanks so much! Can you tell me what program you used or would you rather keep it a secret? I know when I fix some photos sometimes I can't even remember the steps I took I just kept fooling around until I got it. I have photoshop cs4 and downloaded an extraction plug-in and also tried other things but just couldn't get it to look good. So much appreciated!! -Dave
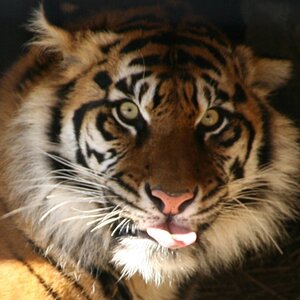
I'm using Photoshop CC 2014 and my trusty Wacom tablet here. I should say up front that I've been using Photoshop for over 15 years, use it almost daily, have taken quite a few online training classes for it from Lynda.com and KelbyOne.com, as well as learned a lot from the many free tutorials that can be found on the web. So a lot of it is instinct at this point, rather than specific steps I can lay out for you. Nonetheless, here's the basics of what I did:
I masked the dark area and the light area independently, then brought them together. I made a whole new background using the same basic light and dark gray tones laid down with a gradient tool, but then I desaturated that layer and added a bit of noise to calm down the banding. Speaking of banding, there was some in the cat itself, so I stamped and healed it out. That reminds me, I did take the image up from 8 bit to 16 bit before I started, to help with stuff like that. I then touched up that background layer a bit here and there with a soft brush set to a very low flow rate to make it fit the cat's mask better.
Finally, not all the hairs masked perfectly, so I made a custom "cat hair" brush to simulate them on top of the image on a new layer. I sampled the shades from near white to near black from the original image while painting them. I tried to get them close to the originals by putting a hue/saturation layer clipped to the new cat hair painting layer set to make them stand out as a bright green, then painted them over a copy of the original image that I temporarily placed on a layer below the "cat hair" layer, sort of like tracing them. The bright green helped me see what I had done and what still needed to be dealt with. When finished, I just turned off the hue/saturation adjustment layer to return the newly made cat hairs to the correct colors.
That's pretty much it in a nutshell.




![[No title]](/data/xfmg/thumbnail/35/35224-c14babe4157e05767660f47e7de82aef.jpg?1619736959)
