- Joined
- May 1, 2008
- Messages
- 25,422
- Reaction score
- 5,003
- Location
- UK - England
- Website
- www.deviantart.com
- Can others edit my Photos
- Photos OK to edit
For me - using photoshop elements 6 for editing:
1) Put the memory card into the card reader and connect it to the computer
2) Make a new folder inside my "My photos" folder. The folder has a name assigned that connects to the day of shooting (mostly) and also the date
3) Go through the shots and open up any that I think are good enough for editing. (all are now RAW shots)
4) edit the shots (usually crop, levels, curves, saturation, brightness, noise and unsharpening)
5) Make a subfolder in the shoots folder called "Keeps" and save a JPEG at full size into that folder.
6) Make a series of subfolders in the keeps folder - 1000, 720, 200 - with each number corresponding to the max number of pixels on the longest side - and then resuze and unsharpen the shot for each size
(the 1000 and 200 I use in my blog whilst the 720 goes to the forums - sometimes 600 and 100 versions are made for other forums and sites as well of select shots)
In the end I keep all RAWs and all versions of my shots - I currently have enough storage space to allow for this and I don't like getting rid of shots - even if they are really really bad. Oneday I might do a chuck out (after a back-up) but at the moment I don't as I am still new to this game and a few new tricks in photoshop can save a shot from the bin sometimes!
")


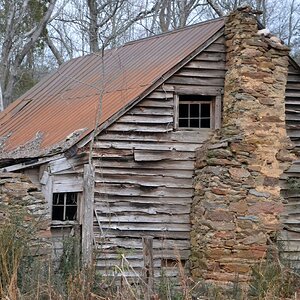
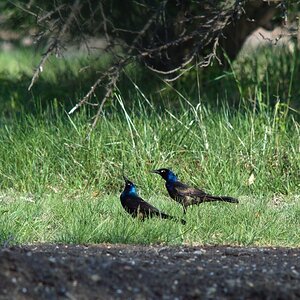
![[No title]](/data/xfmg/thumbnail/39/39286-ae386da044402acf92e55d8b68c26af3.jpg?1619738956)
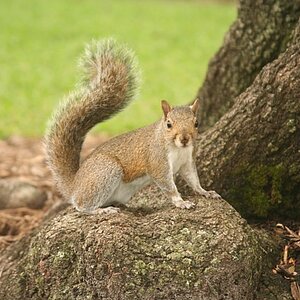
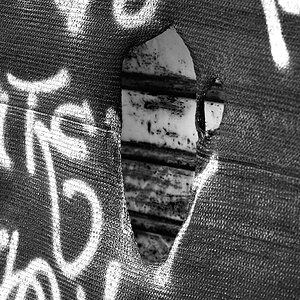
![[No title]](/data/xfmg/thumbnail/39/39289-c5ea6a611707fdd5786347f4a67d63ae.jpg?1619738957)
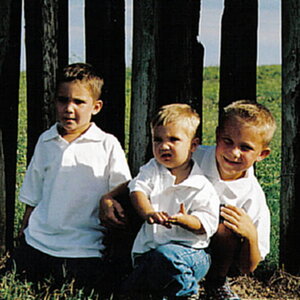
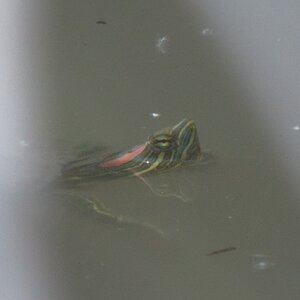
![[No title]](/data/xfmg/thumbnail/34/34138-0ecadfd41de9ae178e53528e0eb1a32c.jpg?1619736310)