Best way to blend two similar tones in PS?

tirediron

Watch the Birdy!
Staff member
Supporting Member
Joined
Jul 8, 2005
Messages
45,747
Reaction score
14,806
Location
Victoria, BC
Website
www.johnsphotography.ca
Can others edit my Photos
Photos OK to edit
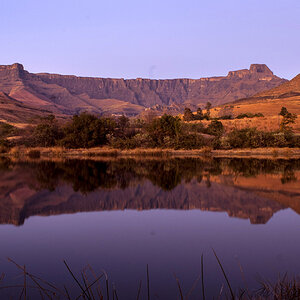
I would like to blend to similar tones so that instead of a hard line there is a blend or transition. Using the example image below, what I would like is to have a way merge the two so that it's a gradual transition...

Blend.jpg
 
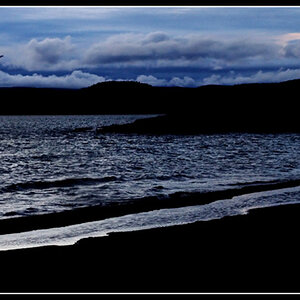
All I'm seeing is a totally black image, that appears to be well blended as BLACK. LOL
 
Lol I see it now, I was on my phone earlier. I have an idea will post shortly
 
Simple Gaussian Blur applied to the center.
 
Like this????
Blend1.jpg


Easy and quick in PS 2016 and after. Bring it into PS then
1. CTRl j to make a duplicate copy on a new layer
2. With duplicate layer selected go to Filter>Convert for smart filter
3. Then with same layer selected go to Filter>Blur>Surface Blur
3. You can play with the settings for a little more if you like, but this one was set to Radius 45, Threshold 18. click >ok (By converting the layer to a smart filter, you can go back later and click on it to readjust if you need to)
4. with the layer with the blur applied, >hold down the Alt key and click mask. for black mask on the layer.
5. Go to brush. Select white as foreground. Set your brush size to the width of the transition, hardness to about 20. Opacity 100%
6. With Mask selected, brush down the line to revel the blur. Use the opacity setting on the layer to adjust the effect.
 
Simple Gaussian Blur applied to the center.

While it will blur the line, the Gaussian Blur is a blanket effect blurring everything equally, while the Surface Blur will actually blur and blend the colors yet protect detail. Using the method I described gives exceptional control over the amount. As in skin smoothing you can change the opacity of the brush, to quickly vary the amount of blur over given area.

Select the center area you want to blur. That's why I said, 'applied to the center'.
 
Select the center area you want to blur. That's why I said, 'applied to the center'.

Again, the Gaussian Blur is a sledge hammer, the dumbest of the filters, it applies a weighted average to all the pixels in the area you specify with out regard to detail, edges or color variations, adds low frequency noise, and can create a haze. The Surface Blur, a more recent addition to PS, preserves the edges in a selection. The Radius specifies the area to use for sampling, The Threshold controls how much the tonal values of neighboring pixels must diverge from the center pixel value before becoming actually becoming a part of the blur. Pixels with tonal value differences less than the Threshold value are excluded from the blur. Simply said, it will merge different tonal values to a changing average.

Though I haven't had the opportunity or need for it there's another in the PS lineup called the Smart Blur, that might also work in a transition setting.
 

Most reactions

Back
Top