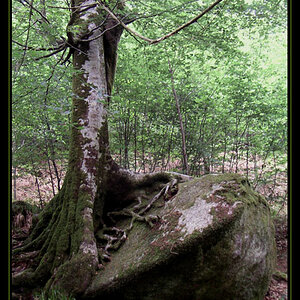
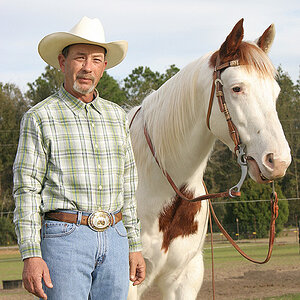
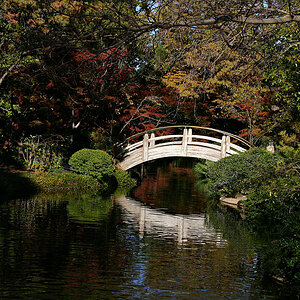
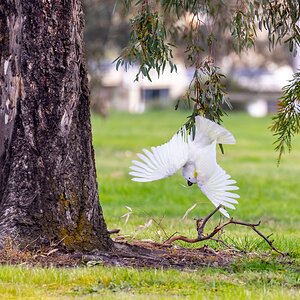
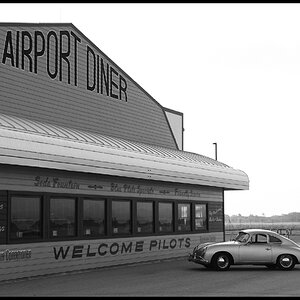
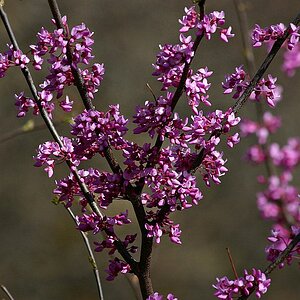
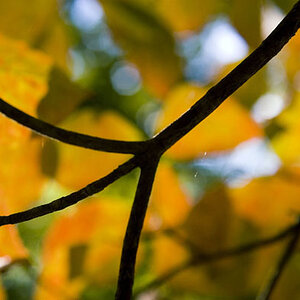
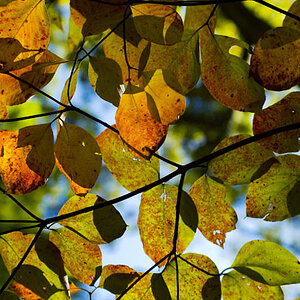
black & white conv.

I just wanted to add. That the majority of people here are not pro's in Photoshop. Sure - some people are really great with it and really know how to manipulate PS to their liking. But not everyone.

I think maybe doing a google search for Black and White conversion in Photoshop might be helpful.

Or would you like me to do that and tell you what I find?

Personally, I desaturate and then play with the brightness and contrast,

But then, I use paint shop pro - so maybe I should shut up because you are so ignorant you probably don't want to know how to do it in another program.
 
No worries though, i'll just fool around with photoshop some more on my own.

I guess i should have put that in bold, sorry fadingaway. You might as well lock this since its just going to turn into the forum clique bashing me.
 
Although everyone instantly jumped into criticizing photoshop in this thread, i would like to examine a different area. What was the lighting of like in this scene? I've had the very same sorts of results time and time again in my little ol darkroom. Much of the problem could be that the colors had a low contrast so when you convert there isn't enough contrast to make a high contrast photograph. To me, it looks like this photo was taken in the shade (feel free to correct me if i'm wrong, and the shade seems to me (once again, could very well be wrong) to be a low contrast lighting situation, although it is very even.

Just changed the brightness a little but thats about it.
When I have this problem in the darkroom, i like to use my trusty old contrast filters. Did you try adjusting the contrast of the photo in photoshop?
 
The easiest method (desaturate) is already mentioned here. Why don't you start with that? Feel free to play with the Brightness-Contrast and/or Shadow-Highlights and/or Curves and/or those lil handles in RAW Developer. The possibilities are endless.

Couple of links that you might be interested:
1. The Quicktime Tutorials at Russell Brown are helpful.
2. Another great site is the LL.
3. Books authored by Scott Kelby.
 
I do almost everything including BW conversion, color correction, contrast, brightness, saturation, etc... with curves.

Levels is another way of looking at the same thing, and may be easier to grasp at first. Open levels and move the black and white arrow sliders to the end of the histogram. This should be a good place to start. This gives you a full tonal range from black to white. Play around with the highlight, mid tone, and shadow sliders, and you'll quickly see how they affect the image.

Curves gives you even more control.

Just google "understanding curves", or something like that, and you'll find a bunch of articles.

These images look soft, which I'm attributing to downsizing. Google "understanding unsharp mask" too.
 
Thanks guys! Yea, i've tried the de=saturation and still no luck, which is a shame. The problem it seems lies with the shot, rather then my methods, although desaturating it did make it look a little better.

I was just trying to force the shot into something it wasnt :( You know when you meet that one person thats so interesting then you mess it up, and you want to fix it so badly because you know you can't recreate it again.

Oh well!

Again, thanks!
 
eskiho said:
The problem it seems lies with the shot, rather then my methods,

Don't give up so soon! I don't see any reason why you can't fix the flat contrast in these images. Learning contrast control is the key to good BW images.
 
Do you usually shoot in RAW or Jpeg?
 
Shooting in RAW gives you a bit more control. It does not mean a very poor shot can be revived. View the RAW tutorial at Dr. Russel Browns.

By the way, my B&W conversion is done in the Raw Developer itself.
 
eskiho said:
i don't get the detail in his face of the wrinkles and that sort all the little details that bring a photo together.

These posted pics are very soft and full of noise and .jpg artifacts. I'm having to guess at what the originals look like. Most digital images seem to need sharpening, but if focusing was off, or there was camera shake you may not be able to get the sharpness you want.

Try taking the originals, go to "image", then "mode", and switch to "lab color". Click on the "lightness" channel so that's the only one you are working on. Use "unsharp mask" at sharpen 125%, radius 1, and threshold 0. Click back on the "lab" channel to see your results. You can try sharpening more, but it will also emphasize noise. When you are hapy switch back to RGB color, or whatever.
 
danalec99 said:
Shooting in RAW gives you a bit more control. It does not mean a very poor shot can be revived. View the RAW tutorial at Dr. Russel Browns.

By the way, my B&W conversion is done in the Raw Developer itself.

I agree with this one. Since you have the D70, you can download Nikon View for your RAW files and convert it great there. You won't be able to take as many pictures on a card but it's worth it IMO. You can adjust white balance and exposure after the fact which helps a ton.
 
Ok cool! I was a little anxious to get some of my shots developed yesterday so I apologize for lashing out like that. You'll have to forgive my forum etiquite, I guess I still have bad habits from my online gaming days.

I was fooling around with the b&w conversion just in the nikon picture viewer and was happy with the way they turned out there.

DSC_014.jpg
 
s'aaaight. No harm, no foul. ;)

Your newest one has much better contrast and is a lot clearer. I really like the conversion that Nikon's software does.
 

Most reactions

Back
Top