grokglock
TPF Noob!
- Joined
- Jan 29, 2013
- Messages
- 31
- Reaction score
- 2
- Location
- florida
- Can others edit my Photos
- Photos NOT OK to edit
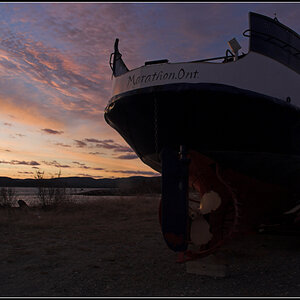
thanks for the feedback, guess i cant trust my camera's metering - i am shooting right on the money according to TTL but i'll have to compensate now.
What camera? What film?
it is a a canon elan7 film is either kodak tri x 400 or arista premium 400 both shot at asa 200


![[No title]](/data/xfmg/thumbnail/36/36302-6ee4929dfdf80290ffd73704693e860f.jpg?1619737496)