Geaux
No longer a newbie, moving up!
- Joined
- Feb 21, 2010
- Messages
- 2,522
- Reaction score
- 464
- Location
- New Orleans, LA
- Can others edit my Photos
- Photos OK to edit
I saw a thread earlier today where someone made a foil flash dome for their flash and thought I'd fill you in on my newest venture in gels. I received my gels yesterday and couldn't wait to play with them, but had no way to hold them. I saw some DIY's where they used a cardboard box and measured it out to the width of the flash head, but I had another idea (and a mini cereal box lol). Anyways, here it goes. (It's a tad bit ghetto, but I kind of like the look of a cereal box, so pick a 'cool'/favorite so it won't bother you while using it.)
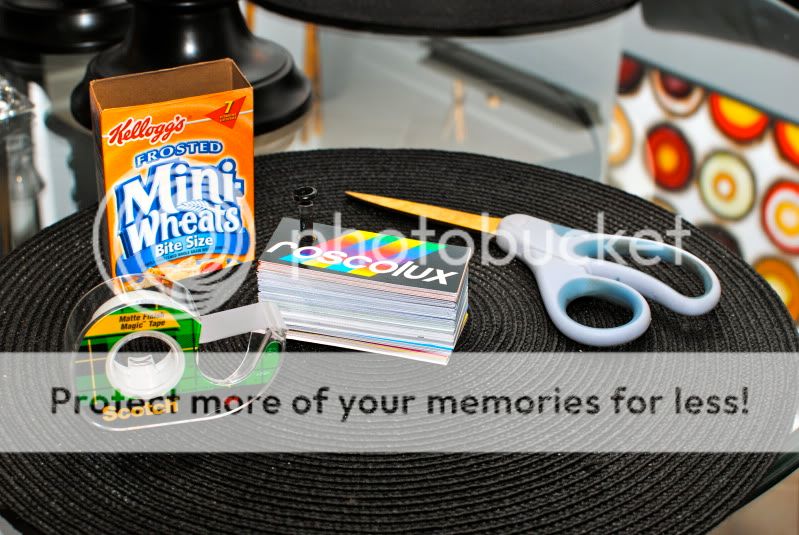
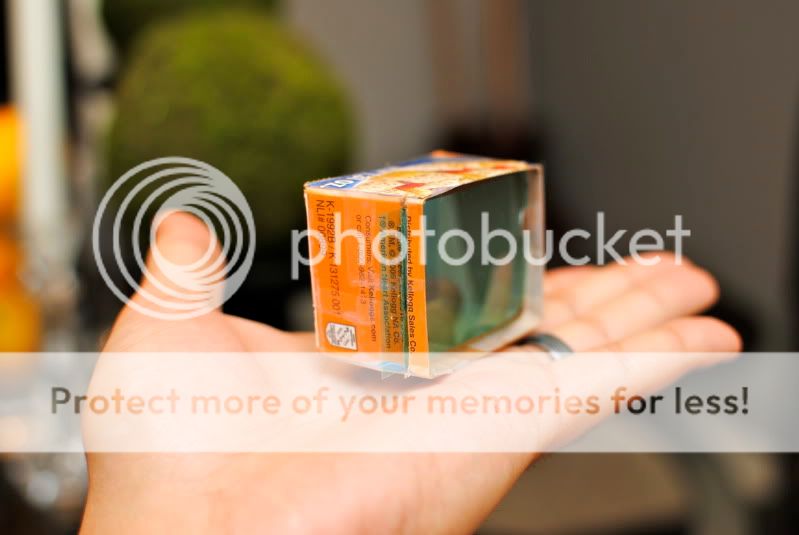
1. Materials: Scissors, Mini Cereal Box, Tape or Glue, Gels (box cutter if you have one)
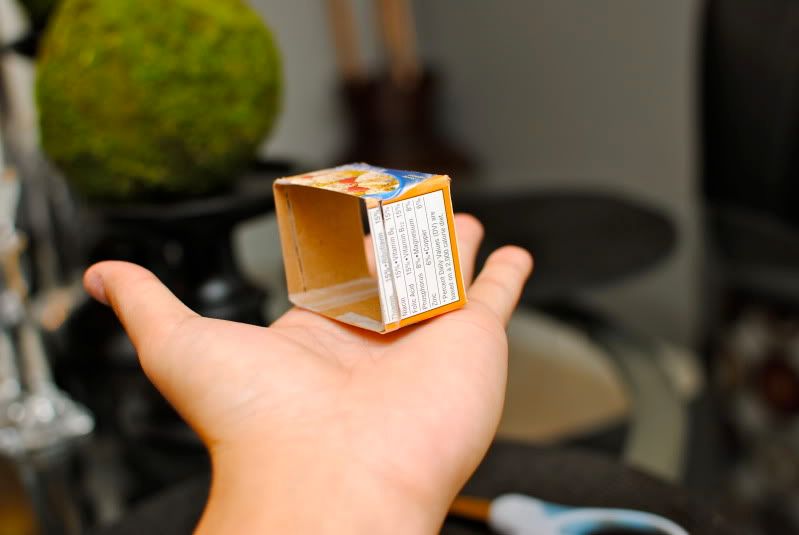
2. Remove/Cut the top flaps off of the box, both top and bottom. You can see in the picture above that it's already been removed.
3. Fold the box down until it is flat and cut across with your desired width. I test fitted the box onto the flash first, to see how much I'd need to cut off. **SAVE the unused portion of the box, just in case you mess up later on**
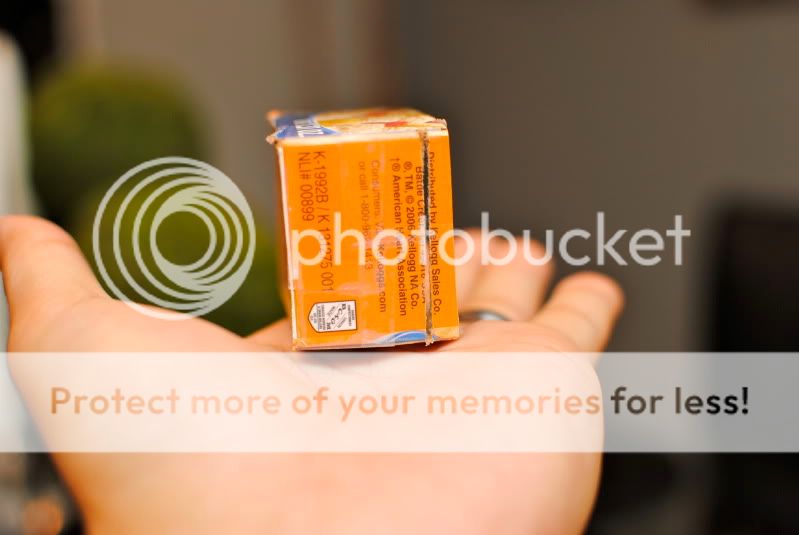
4. Once you have your desired box width cut, you'll need to cut the box down so it sits snug onto your flash. The best way I found was to place your cut piece onto the flash and eye up how much you'd need to cut off to snug it up. While holding it open (it'll be a square, not flat), cut an end off (NOT the top, the smaller sides, but cutting across the top to remove the side). On mine, I went a few mm in, just enough to where the side had small flaps.
5. You are going to overlap that flap from the newly cut side into the box. Again, test fit to make sure it's snug before gluing or taping. As you can see below, I taped the flap from the inside, and also on outside.
6. Cut slits into both sides (this is where the gel will slide into). This is where a box cutter comes into play, if you have one. BE CAREFUL TO NOT CUT YOUR FINGER OFF. I'M NOT LIABLE lol, but seriously, don't cut a digit off.
7. Carefully slide gel into the slits .... and enjoy.
8. Slide onto camera
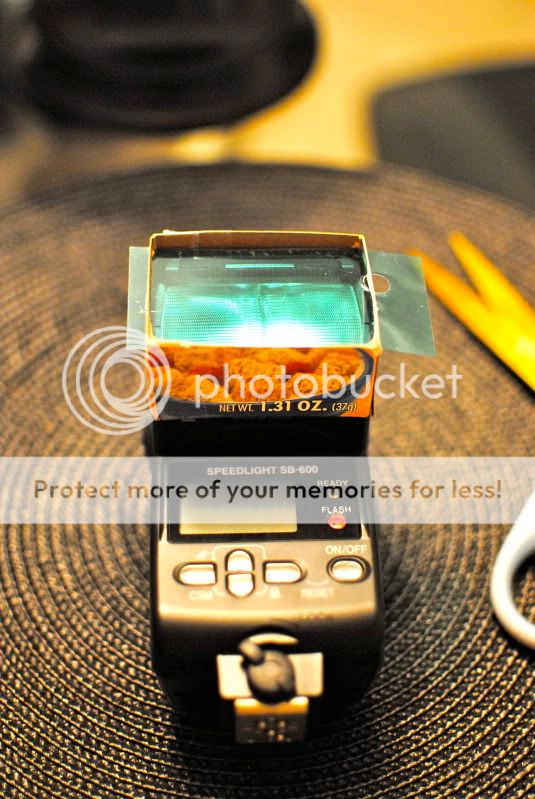
Test shots: Same exact flash power and bounced exactly the same. No editing has been done to these shots.
No Gel:

WITH Gel:

**This is a test version, I'll probably make another one and make it a bit cleaner now that I know what to do and how i want to do it.**
1. Materials: Scissors, Mini Cereal Box, Tape or Glue, Gels (box cutter if you have one)
2. Remove/Cut the top flaps off of the box, both top and bottom. You can see in the picture above that it's already been removed.
3. Fold the box down until it is flat and cut across with your desired width. I test fitted the box onto the flash first, to see how much I'd need to cut off. **SAVE the unused portion of the box, just in case you mess up later on**
4. Once you have your desired box width cut, you'll need to cut the box down so it sits snug onto your flash. The best way I found was to place your cut piece onto the flash and eye up how much you'd need to cut off to snug it up. While holding it open (it'll be a square, not flat), cut an end off (NOT the top, the smaller sides, but cutting across the top to remove the side). On mine, I went a few mm in, just enough to where the side had small flaps.
5. You are going to overlap that flap from the newly cut side into the box. Again, test fit to make sure it's snug before gluing or taping. As you can see below, I taped the flap from the inside, and also on outside.
6. Cut slits into both sides (this is where the gel will slide into). This is where a box cutter comes into play, if you have one. BE CAREFUL TO NOT CUT YOUR FINGER OFF. I'M NOT LIABLE
lol, but seriously, don't cut a digit off.
7. Carefully slide gel into the slits .... and enjoy.
8. Slide onto camera
Test shots: Same exact flash power and bounced exactly the same. No editing has been done to these shots.
No Gel:
WITH Gel:
**This is a test version, I'll probably make another one and make it a bit cleaner now that I know what to do and how i want to do it.**


![[No title]](/data/xfmg/thumbnail/39/39181-9016b4d45a06d288c1a2b92565ba7837.jpg?1619738902)
![[No title]](/data/xfmg/thumbnail/35/35877-b537a0bce18fcb18b610d787610f3d3d.jpg?1619737203)


![[No title]](/data/xfmg/thumbnail/39/39442-c7791194bfea1b4d6bd382b004fb8488.jpg?1619739033)
![[No title]](/data/xfmg/thumbnail/41/41818-fb8293ceb208cab396fce9a587bbe37b.jpg?1619739903)