LittleMan
TPF Noob!
- Joined
- Dec 14, 2004
- Messages
- 6,648
- Reaction score
- 141
- Location
- Texas
- Website
- www.sorberaguitars.com
- Can others edit my Photos
- Photos OK to edit
I decided to re-build my Yamaha Electric Violin.
I didn't like it very much, it was almost un-playable.
Other than being extremely uncomfortable, it had a lot of noise in the background. (due to cheap electronics)
After talking with my brother he said that he could put together a good pre-amp that wouldn't make any white noise and would sound better.
So, I started taking apart my violin... As I was taking it apart I noticed how simple it would be to re-build it. That way I can make it so it fits the normal 4/4 violin chin/shoulder rest. (making it a TON more comfortable)
I had a blank of flamed maple in my room that I wasn't going to use on any guitar(it was too small for a guitar) I was just saving it for small blanks... maybe headstocks or something...
I just took a few snapshots of where I am at in building it.
Here they are!
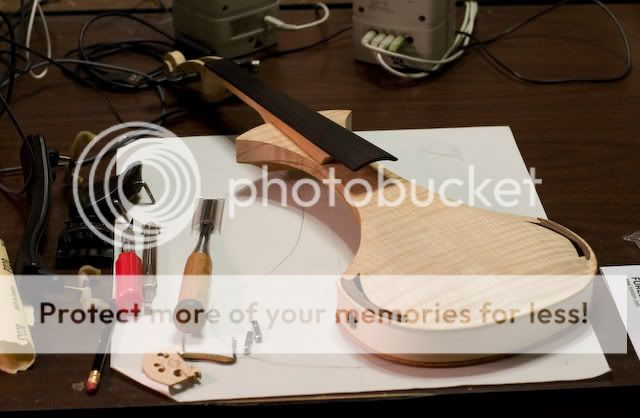
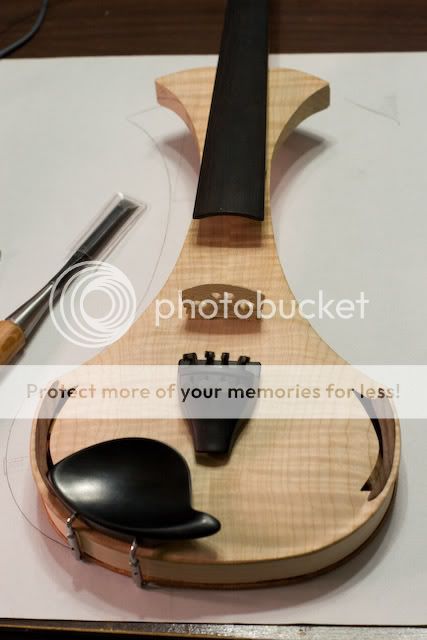
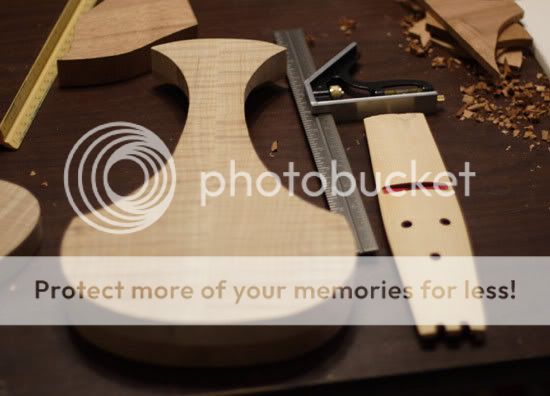
The top will be carved after I finish the back carve.
the neck is not glued on, I just set it there so you could see the length of the instrument.
another view of it:

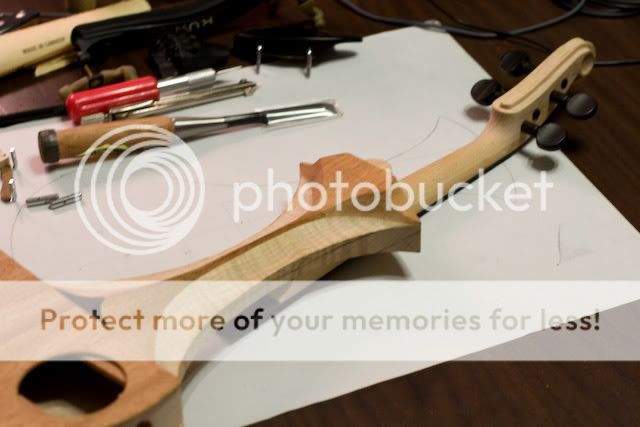
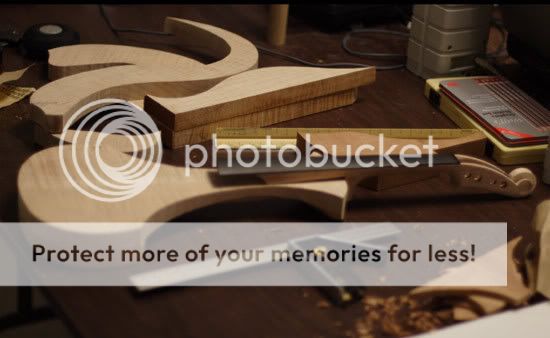
The top of the body without the neck on it.... The old body of the violin is that piece of spruce sitting next to it. So, as you can see... it is a definitely an improvement!
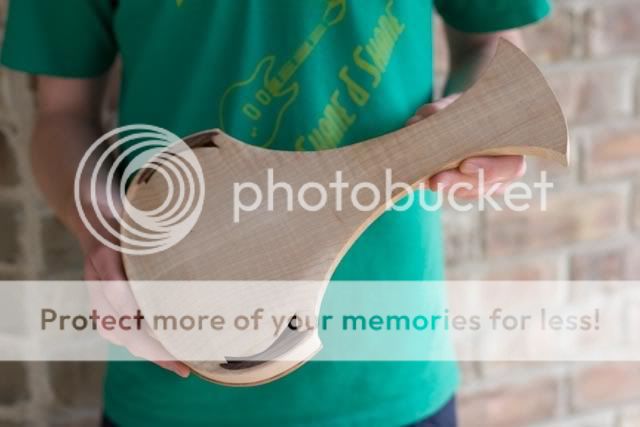
Here is the back of the violin.
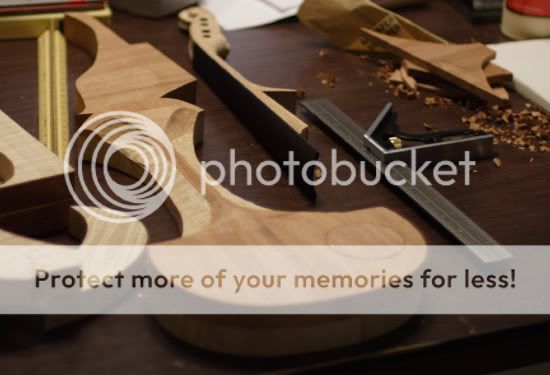
That is only the rough carve, it will all flow together once I'm finished. The darker wood is Mahogany.

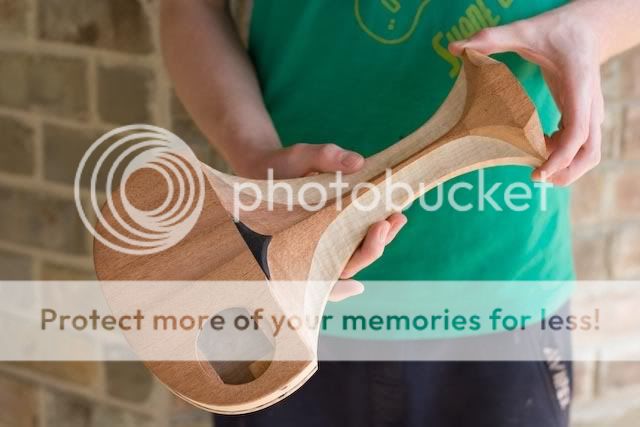
The lower bout(large, bottom portion) of the violin is hollow. This is for weight and electronics.
Here is the access hole so I can get to the electronics... (the battery will be in there as well)

After I finish carving the back I will need to glue on the neck. After that I will drill for the electronics/tailpiece.
When that is done I will carve the top and final sand it all.
Then, I'll string it up and make sure it works...
If it works then I take it back apart and start the finishing process. At the moment I'm leaning more towards a blue/teal burst.(transparent so you can see the wood.)
I still haven't made up my mind on what I want the color to be.
Hope you like it so far! It's going to look and sound great when it's done.
I didn't like it very much, it was almost un-playable.
Other than being extremely uncomfortable, it had a lot of noise in the background. (due to cheap electronics)
After talking with my brother he said that he could put together a good pre-amp that wouldn't make any white noise and would sound better.
So, I started taking apart my violin... As I was taking it apart I noticed how simple it would be to re-build it. That way I can make it so it fits the normal 4/4 violin chin/shoulder rest. (making it a TON more comfortable)
I had a blank of flamed maple in my room that I wasn't going to use on any guitar(it was too small for a guitar) I was just saving it for small blanks... maybe headstocks or something...
I just took a few snapshots of where I am at in building it.
Here they are!
The top will be carved after I finish the back carve.
the neck is not glued on, I just set it there so you could see the length of the instrument.
another view of it:
The top of the body without the neck on it.... The old body of the violin is that piece of spruce sitting next to it. So, as you can see... it is a definitely an improvement!
Here is the back of the violin.
That is only the rough carve, it will all flow together once I'm finished. The darker wood is Mahogany.
The lower bout(large, bottom portion) of the violin is hollow. This is for weight and electronics.
Here is the access hole so I can get to the electronics... (the battery will be in there as well)
After I finish carving the back I will need to glue on the neck. After that I will drill for the electronics/tailpiece.
When that is done I will carve the top and final sand it all.
Then, I'll string it up and make sure it works...
If it works then I take it back apart and start the finishing process. At the moment I'm leaning more towards a blue/teal burst.(transparent so you can see the wood.)
I still haven't made up my mind on what I want the color to be.
Hope you like it so far! It's going to look and sound great when it's done.
")