First attempt at an HDR

Restomage

No longer a newbie, moving up!
Joined
Jul 3, 2009
Messages
517
Reaction score
25
Location
Fort Collins, CO
Can others edit my Photos
Photos NOT OK to edit
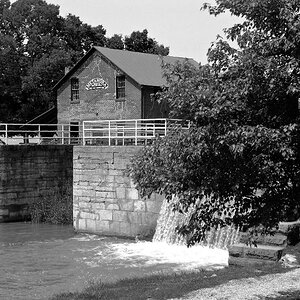
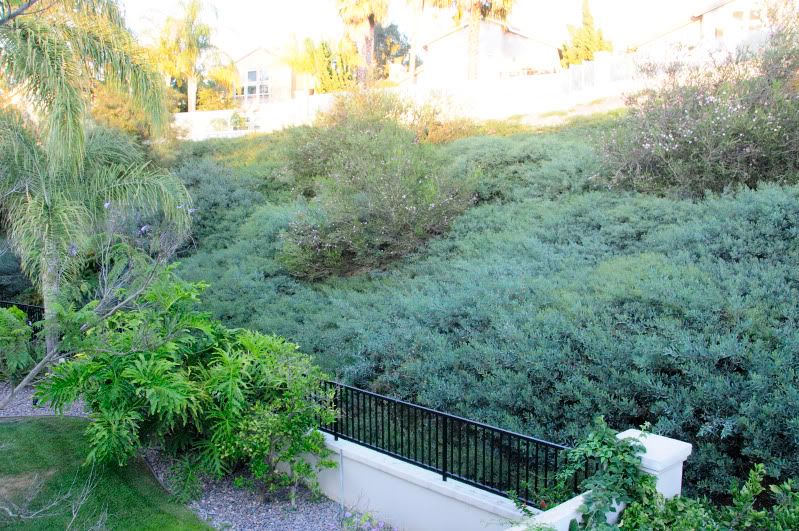
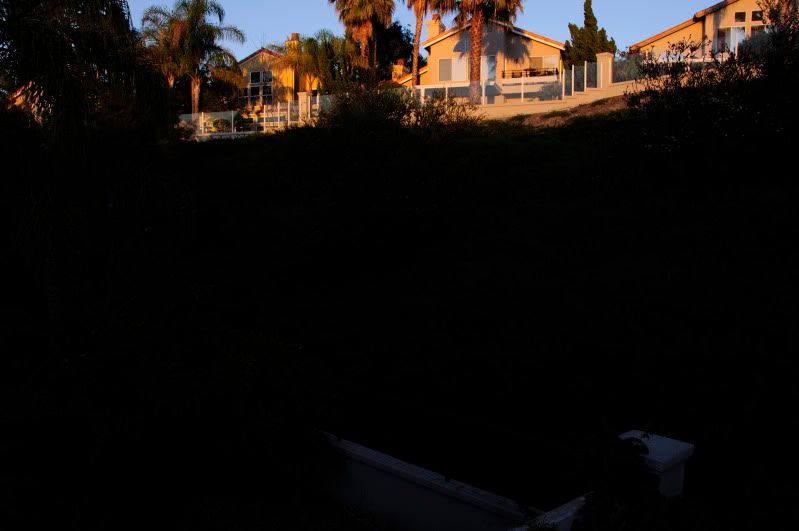
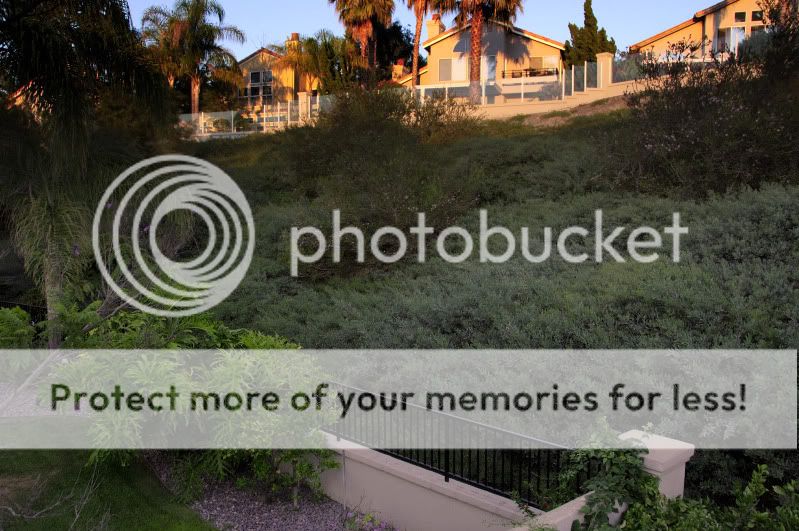
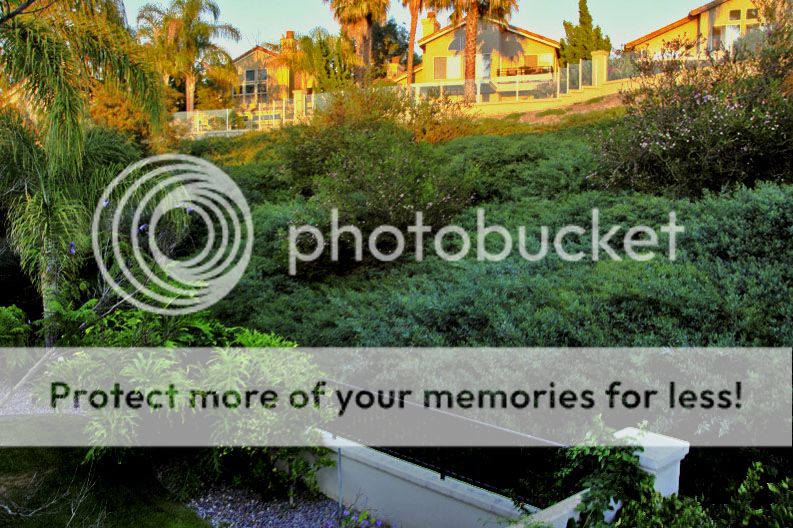
I just picked up Photomatix and this is my first attempt at a HDR, just a quick image I took. It needs some work, I'm not sure if I need to change my exposures or just work on my tone-mapping. I used three exposures:

_DSC0003.jpg


_DSC0001.jpg


_DSC0002.jpg


And resulted in this:

Test1-2.jpg


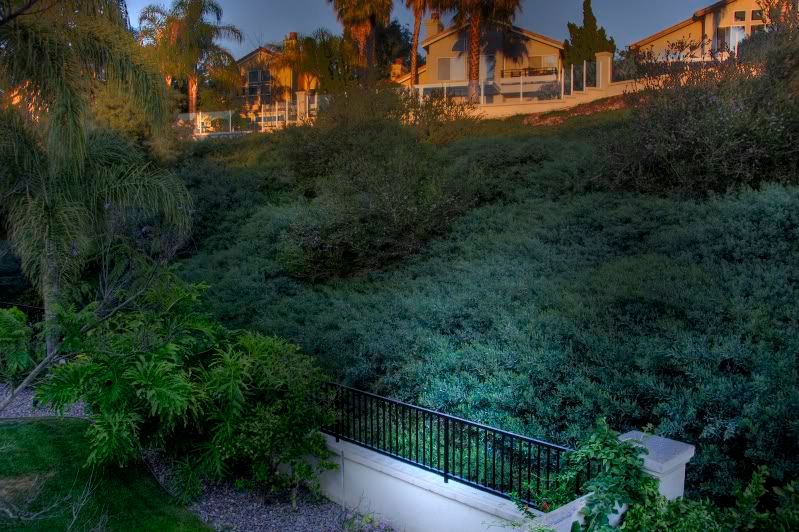
Any suggestions? It needs a lot of work. Thanks.
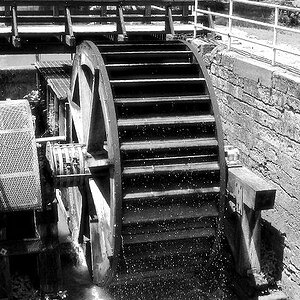
 
Looks pretty dark. Adjusting the white point may help that, or bumping up the brightness of the final image. And burning that obviously bright spot in the foreground would make it look less radioactive. ;)
 
I am just wondering if HDR would be the best option for this image. You have a reasonably clear line between the light and the dark. Often a gradient map and using layers to fake a NDGrad filter can achieve a much more realistic look. That said it may be possible to do a better HDR too.

For example. Taking just the second and the third exposure, and blending them with a gradient map in photoshop, and applying a warmup filter to the bottom picture to match the colour slightly (this took about 20 seconds and could be MUCH better):

Untitled-1-3.jpg
 
hope you don't mind but this is what I came with using PS CS3

Untitled_HDR2-3.jpg
 
I am just wondering if HDR would be the best option for this image. You have a reasonably clear line between the light and the dark. Often a gradient map and using layers to fake a NDGrad filter can achieve a much more realistic look. That said it may be possible to do a better HDR too.

For example. Taking just the second and the third exposure, and blending them with a gradient map in photoshop, and applying a warmup filter to the bottom picture to match the colour slightly (this took about 20 seconds and could be MUCH better):

Untitled-1-3.jpg

Yea that image looks really nice. I'm a little confused on how that gradient map works. I'm using cs3.
 
Eeeek out of alignment. Either that or your "intentionally" blurred the image ;)

not intentional, I let PS auto align the images, I don't know why it looks a blurred in some spots
 
If the images are already aligned, auto-align is more likely to muck things up than it is to fix it if it's a few pixels off.
 
HDR with Photomatix, unless you're REALLY-REALLY good at it, usually screws things up pretty badly.

The HDR you posted has halos, dark spots, bright spots, etc. It looks pretty bad.

Garbz used a manual method which, IMHO, is superior. I gave up on Photomatix a while ago. If you have just the right image and you really know what you're doing with the tool, you can make a good looking HDR. But most images aren't well suited for Photomatix's processing in my experience. Perhaps I just gave up on it too soon, but every HDR I've seen done with it by someone less than a seasoned pro looked bad.
 
hope you don't mind but this is what I came with using PS CS3

Untitled_HDR2-3.jpg
This doesn't look any better in my opinion. There appears to be a pretty severe white balance issue on the area of the image around the houses.
 
Yea that image looks really nice. I'm a little confused on how that gradient map works. I'm using cs3.
I'm guessing he created a new layer and applied a gradient to it. He selected a gray color I imagine then set the opacity to something like 20% or less. He then created a layer mask and painted away the gradient from the areas of the picture he didn't want it applied to.

I'm not master of CS3, so if I am way off base please let me know Garbz. Your Photoshop skills are cool. :)
 
Yeah pretty much, here's a step by step:

Open the Second image
Open the third image
Select all and copy the third image
Paste it into the second image, you now you have two layers with different exposures.
On the top layer click the "Add layer mask" button on the bottom of the layers palate.
Apply a black (invisible?) to white (opaque?) gradient to this mask. My gradient was probably a tad too low in the image.
Then as tharmsen suggested, use a paintbrush with hardness set to 0 and a large diameter to paint away things like trees which were darkened by the gradient but shouldn't have been. I didn't do this step but it is probably required somewhat in this image.
 

Most reactions

Back
Top