dasminimalist
TPF Noob!
- Joined
- Jan 16, 2017
- Messages
- 18
- Reaction score
- 1
- Can others edit my Photos
- Photos OK to edit
I think I took at least a few thousand pictures already, but only so few of them are worth something, if at all. Adjusting the aperture/focus/shutterspeed all at the same time is driving me close to nuts. I wish there was someone to go through all my pictures and guide me into some directions.
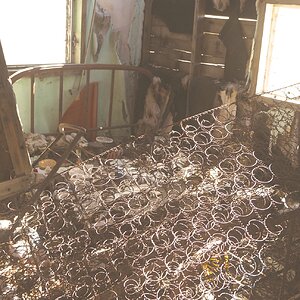
Anyways, these the few shots of Iceland + Manhattan that I wanted to share with you. I love the camera, it's more than I could've asked.


Anyways, these the few shots of Iceland + Manhattan that I wanted to share with you. I love the camera, it's more than I could've asked.
") Thank you!
Thank you!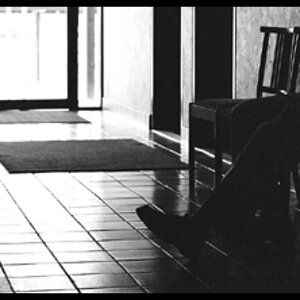
![[No title]](/data/xfmg/thumbnail/35/35212-039632ef3763350189fc49390cb7eadf.jpg?1619736950)