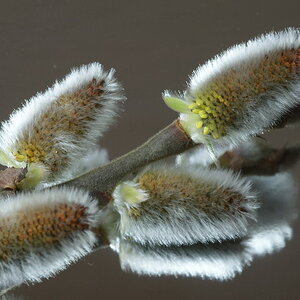
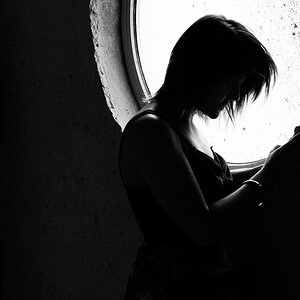
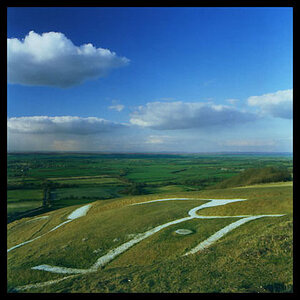
ryanwaff
No longer a newbie, moving up!
- Joined
- Dec 25, 2011
- Messages
- 186
- Reaction score
- 50
- Location
- South Africa
- Can others edit my Photos
- Photos OK to edit
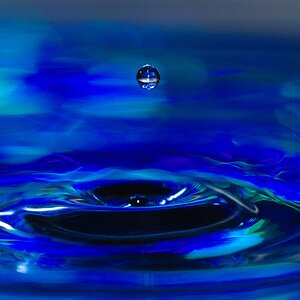
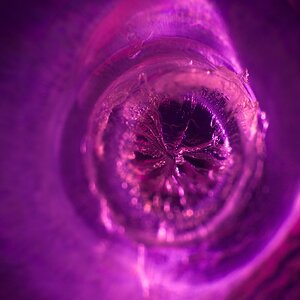
I havent done water drop photography in a while, but here are a few of my images from when i last did some ")
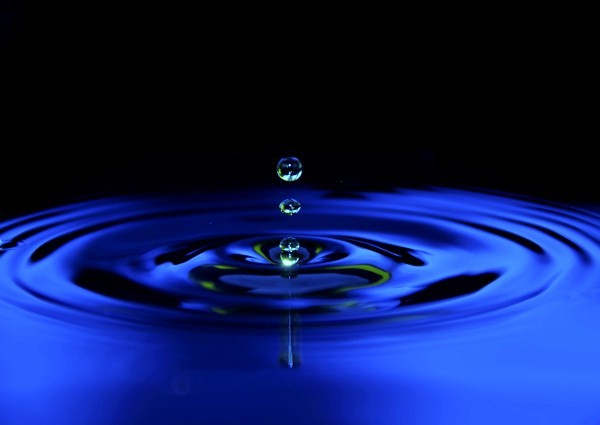
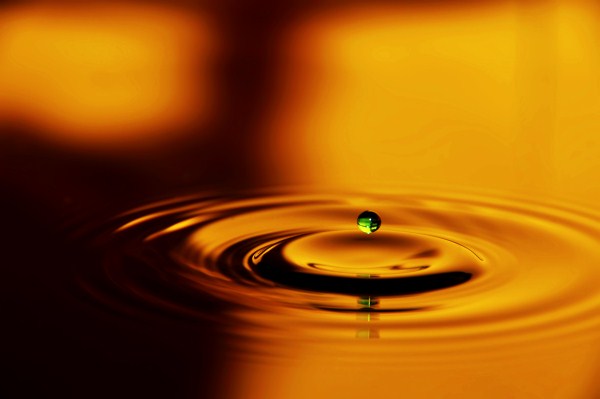
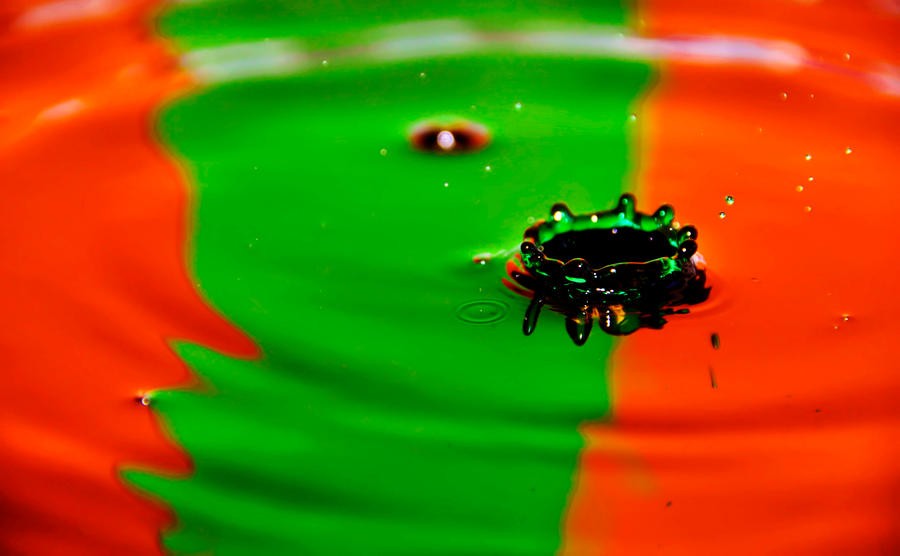
My setup included a baking tray filled with water, the water in both the tray and the dropper i added some green food colouring to, to add some interest.
For the background I placed coloured paper against the wall with a SB-600 flash set to slave. Camera used was a D-90, lens Nikkor 18 - 200mm VR. for a dropper i used an upturned coke bottle with a hole in the lid, balanced on a wooden spoon with a hole in the middle to allow for the water to drip through. To increase the rate of flow from the bottle, i made another hole at the top of the bottle and covered it with prestik. If you uncover the hole, the drip rate increases, cover it up and it slows down. Focusing, i used manual focus, placing my finger in the water where the drops were. Some one asked about lighting, one time i didnt have my flash and instead used two lamps aimed at my background for the reflections of the water, then i used another lamp aimed at the dripping water along with my cameras built in flash set to 1/2 power in commander mode. ( a hint with the flash. dont use TTL, because generally it reads your image as being to dark and as a result you will end up with blown highlights)
Hope this helps if you have any more questions, i am more than willing to answer
My setup included a baking tray filled with water, the water in both the tray and the dropper i added some green food colouring to, to add some interest.
For the background I placed coloured paper against the wall with a SB-600 flash set to slave. Camera used was a D-90, lens Nikkor 18 - 200mm VR. for a dropper i used an upturned coke bottle with a hole in the lid, balanced on a wooden spoon with a hole in the middle to allow for the water to drip through. To increase the rate of flow from the bottle, i made another hole at the top of the bottle and covered it with prestik. If you uncover the hole, the drip rate increases, cover it up and it slows down. Focusing, i used manual focus, placing my finger in the water where the drops were. Some one asked about lighting, one time i didnt have my flash and instead used two lamps aimed at my background for the reflections of the water, then i used another lamp aimed at the dripping water along with my cameras built in flash set to 1/2 power in commander mode. ( a hint with the flash. dont use TTL, because generally it reads your image as being to dark and as a result you will end up with blown highlights)
Hope this helps
if you have any more questions, i am more than willing to answer 


![[No title]](/data/xfmg/thumbnail/31/31743-3b294ee78fc71e7bfc025b01eafb0c2d.jpg?1619734986)
![[No title]](/data/xfmg/thumbnail/36/36099-feb952513e45dbf9f061ab28c1dc1121.jpg?1619737342)