Vautrin
No longer a newbie, moving up!
- Joined
- Jun 26, 2008
- Messages
- 927
- Reaction score
- 58
- Location
- It changes
- Website
- www.withoutamapphotography.com
- Can others edit my Photos
- Photos OK to edit
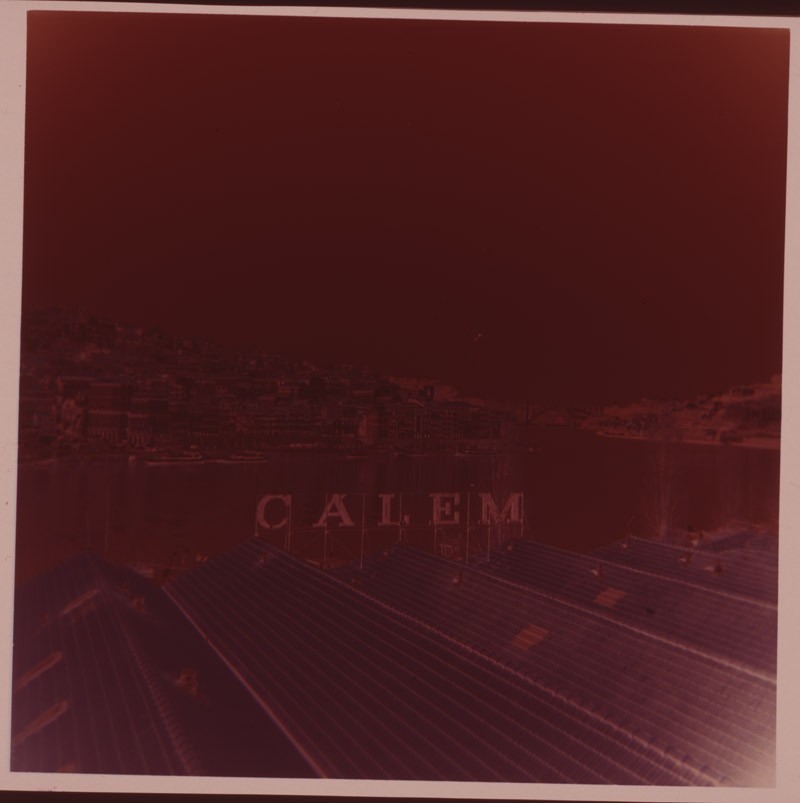
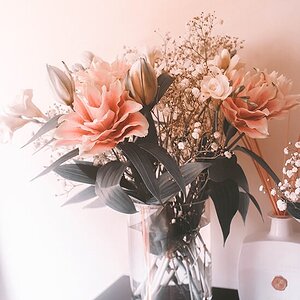
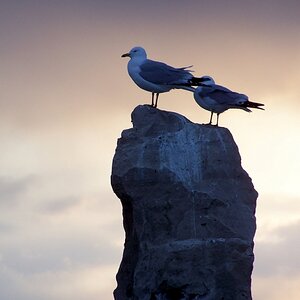
So I got a holga and I've been shooting off some film.
It's nice but it tends to really overexpose the negatives -- they look black and sometimes the scanner has trouble recognizing them -- but if I hold them up to a light I can see details.
And the weird thing is the prints my lab made look great, but the scans of the negatives are terrible.
So how can I recover my pictures with a negative scanner (I have the Canoscan 8800F)?
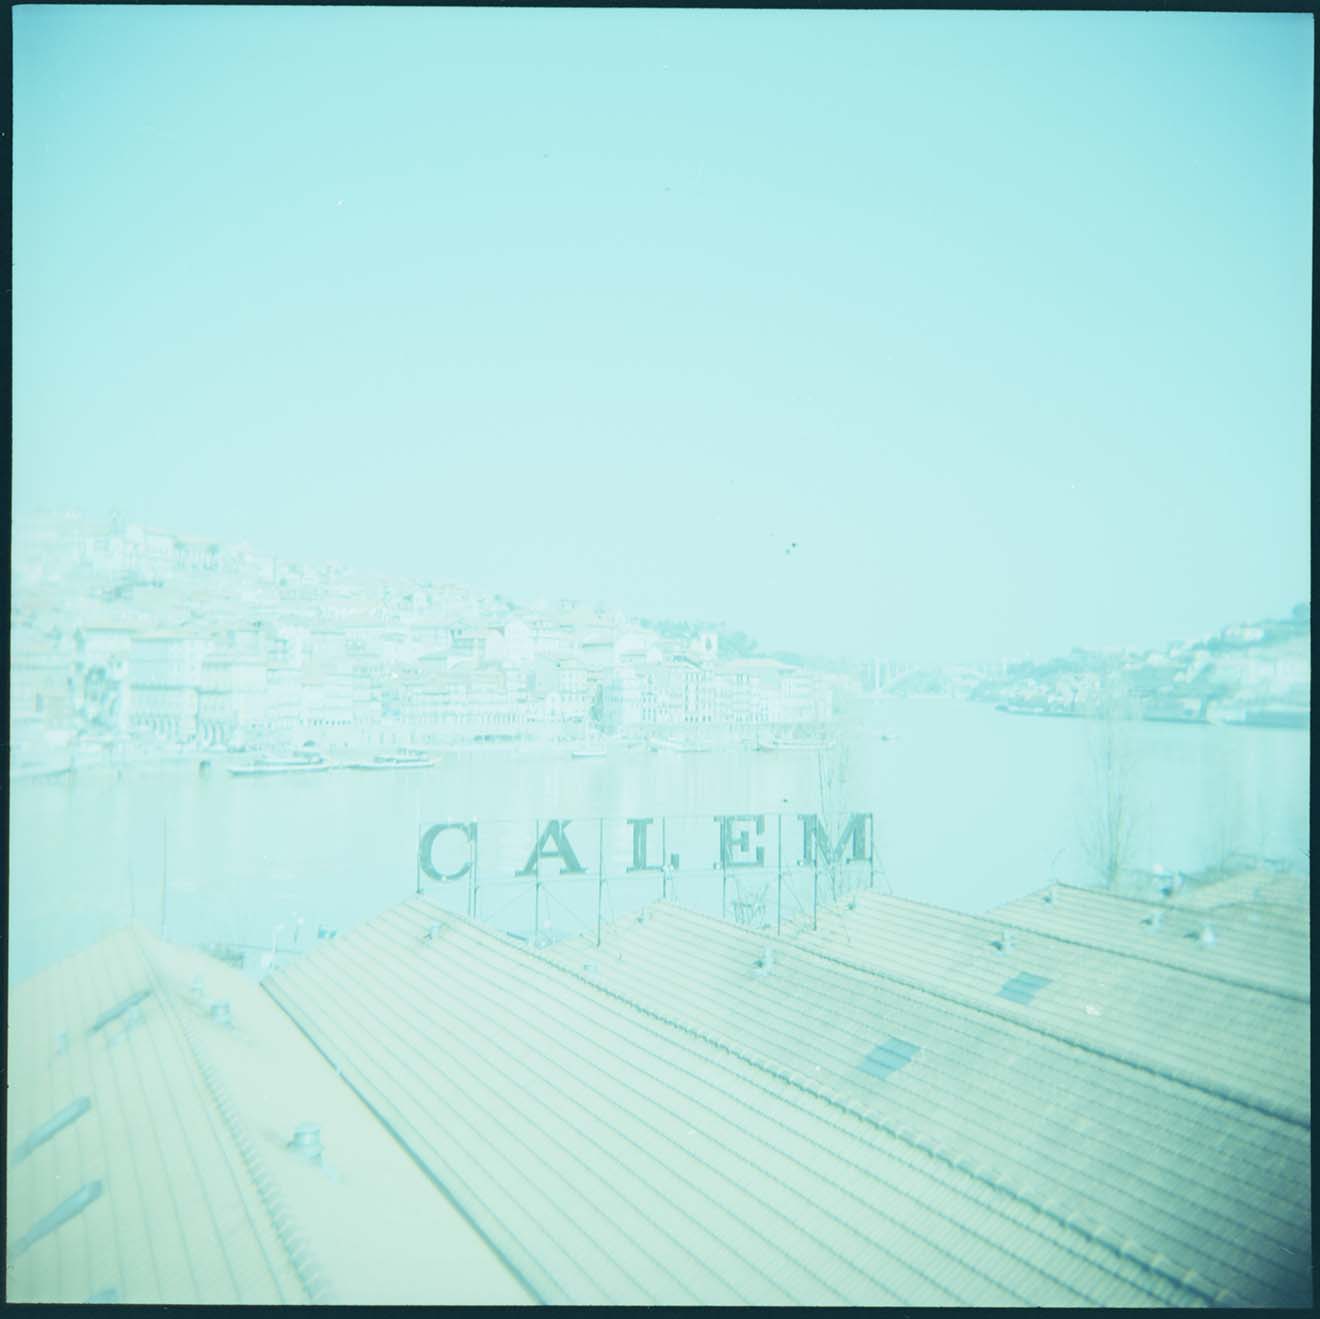
When I scan it I get:
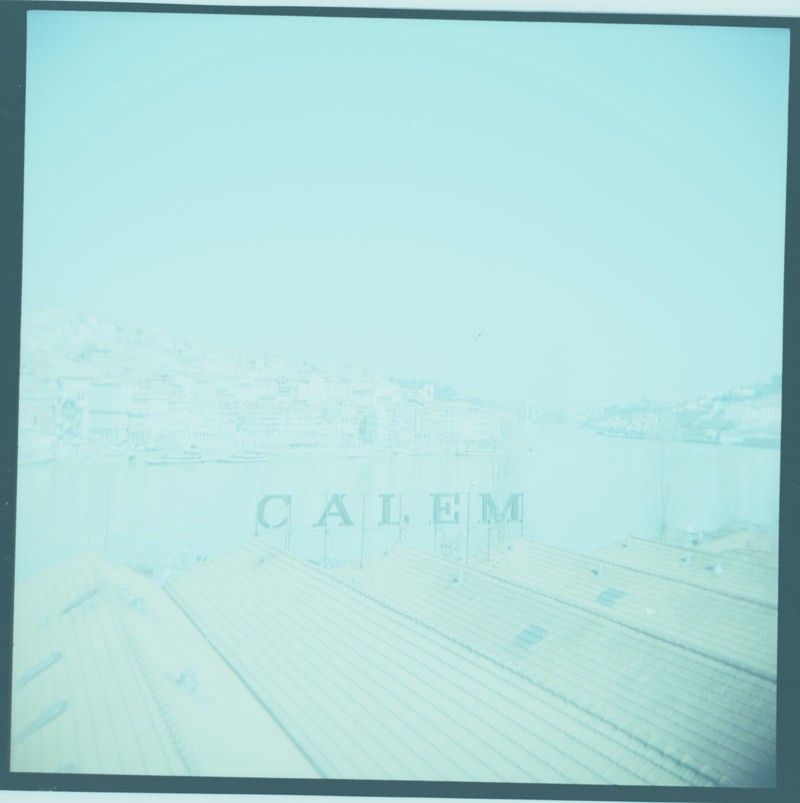
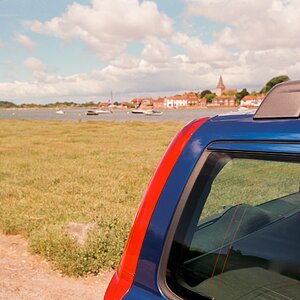
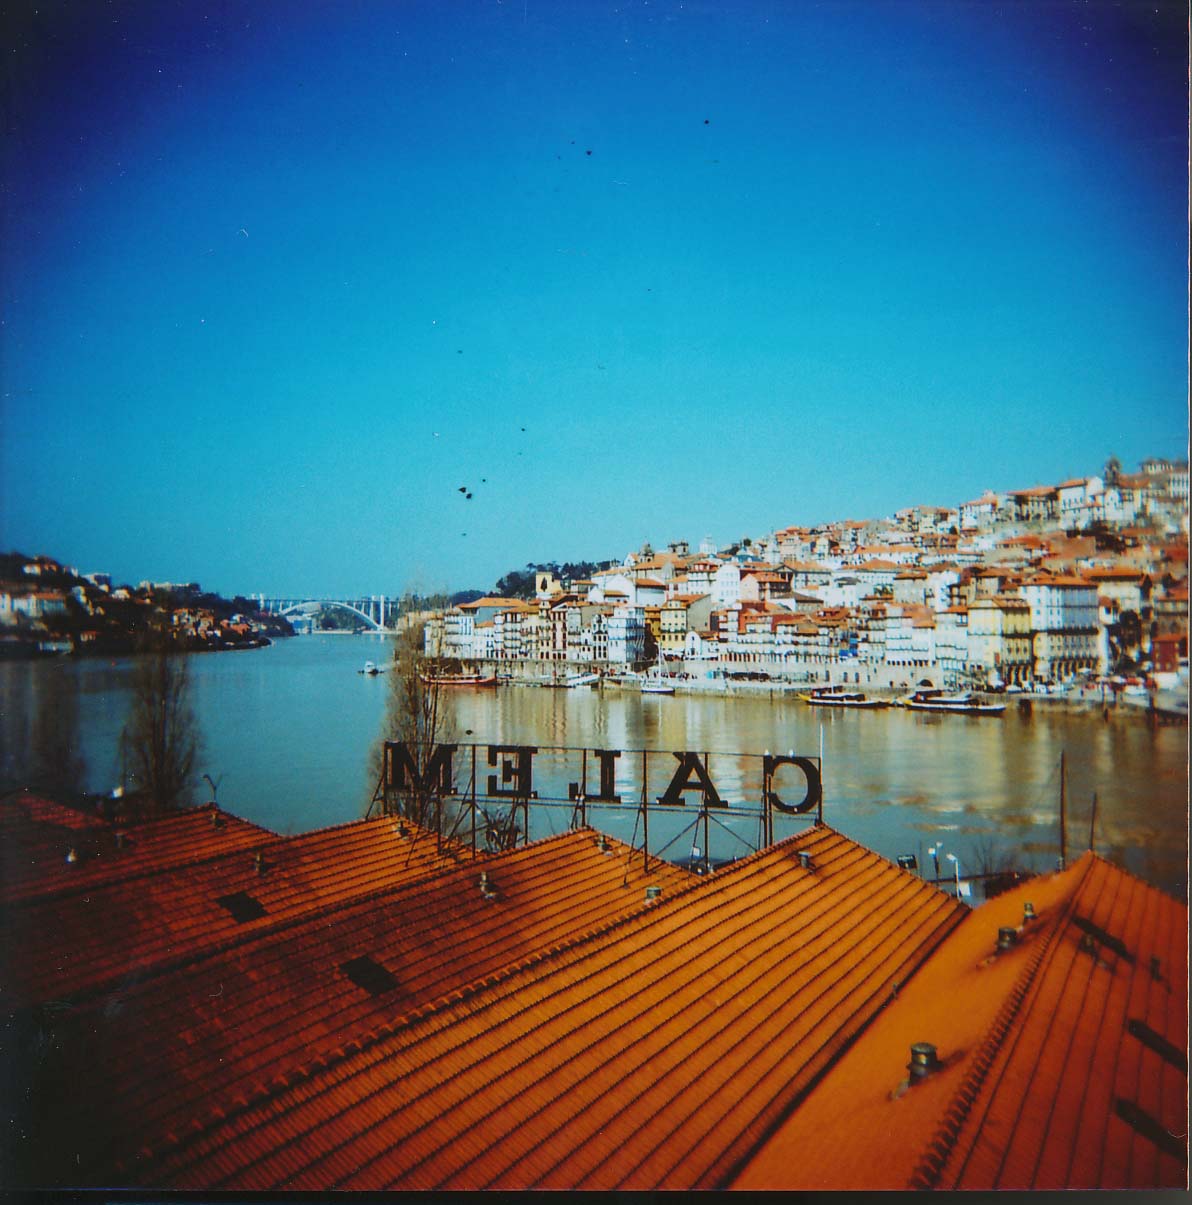
But when I look at the prints I had made it looks completely different:
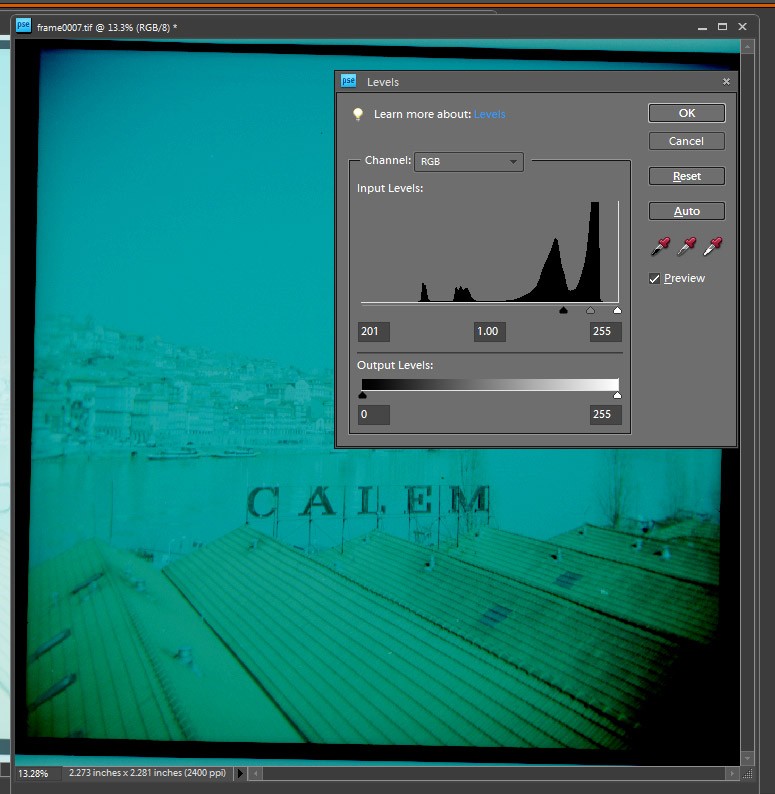
How can I get my negative scans to look like my prints?
It's nice but it tends to really overexpose the negatives -- they look black and sometimes the scanner has trouble recognizing them -- but if I hold them up to a light I can see details.
And the weird thing is the prints my lab made look great, but the scans of the negatives are terrible.
So how can I recover my pictures with a negative scanner (I have the Canoscan 8800F)?
When I scan it I get:
But when I look at the prints I had made it looks completely different:
How can I get my negative scans to look like my prints?