
jeytee
TPF Noob!
- Joined
- Feb 22, 2016
- Messages
- 67
- Reaction score
- 28
- Can others edit my Photos
- Photos OK to edit
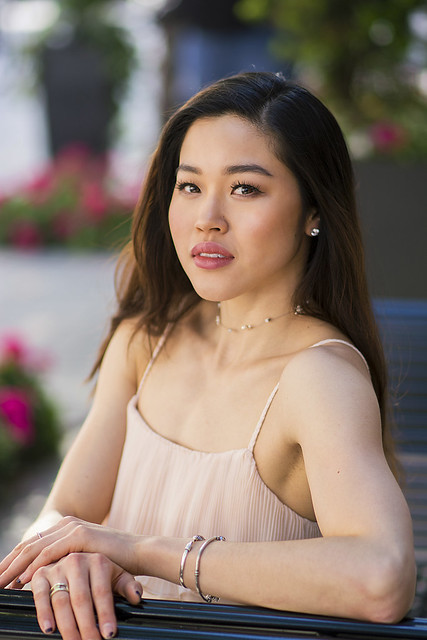
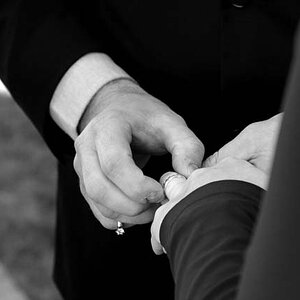
Hey guys, went out today with my friend to try out some of the advice I've been getting and trying to put it into practice. I have some other ones that I may post after I edit them.
Any critique would be appreciated!
I already see the blown out highlight on the cheek, but I'll just have to watch out for that next time since I couldn't recover it. And maybe the background is too bright as well (distracts from the model)? Also I think I should have angled her hand sideways to the camera as well instead of palm forward.
1.

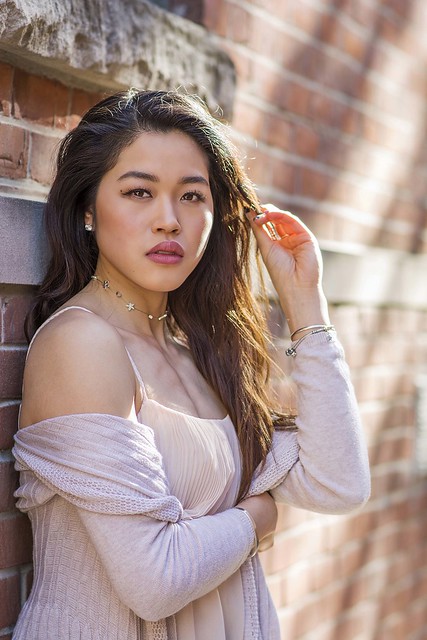
2.
[URL='https://flic.kr/p/Uck4sA']
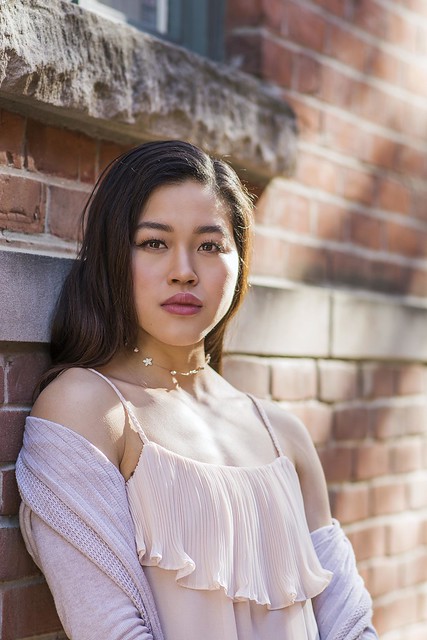
3.
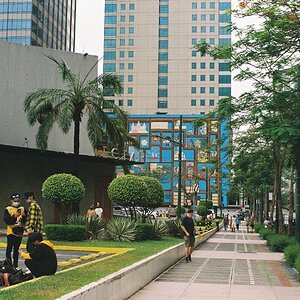
4.
 [/url]
Any critique would be appreciated!
I already see the blown out highlight on the cheek, but I'll just have to watch out for that next time since I couldn't recover it. And maybe the background is too bright as well (distracts from the model)? Also I think I should have angled her hand sideways to the camera as well instead of palm forward.
1.
2.
[URL='https://flic.kr/p/Uck4sA']
3.
4.
[/url]
Last edited:


![[No title]](/data/xfmg/thumbnail/42/42470-d80cbcbbacb42bbe46ac0a0f6fcb20e0.jpg?1619740193)
![[No title]](/data/xfmg/thumbnail/36/36394-700ff78d7b45c663863e641a9bcf1fe1.jpg?1619737548)