MarcusM
TPF Noob!
- Joined
- Sep 12, 2007
- Messages
- 1,236
- Reaction score
- 0
- Location
- St. Paul, MN, USA
- Can others edit my Photos
- Photos OK to edit
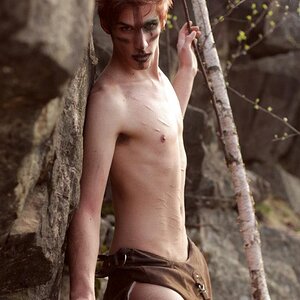
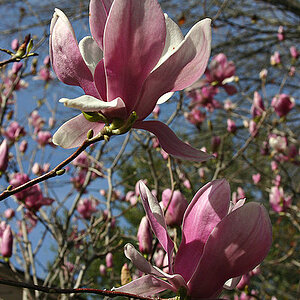
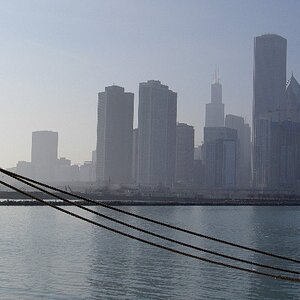
I think this is the best place for this. I just recently watched a good tutorial on using Curves in PS. It was pretty enlightening because I didn't realize the full potential before, but I think I'm a lot closer now. I wanted to get feedback on these shots. I just did a Unsharp Mask and Curves. With these shots though, I am unable to get ideal results using the standard "S" curve, is that correct?
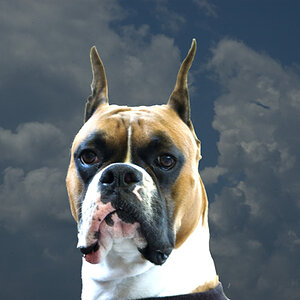
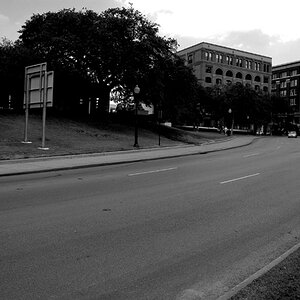
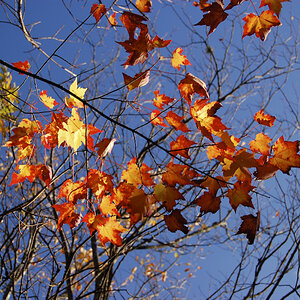
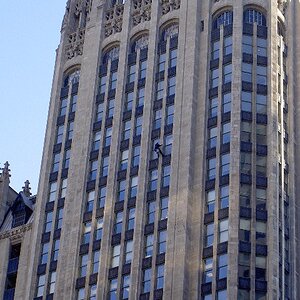
I want to remove the "haze" and really bring out the sky and clouds like I saw it. These are my edits, but I think they're coming out too dark. Please let me know how they look, if I'm getting the full potential, and also feel free to reedit the originals and let me know what you did. Thanks!
Original 1:
Edit
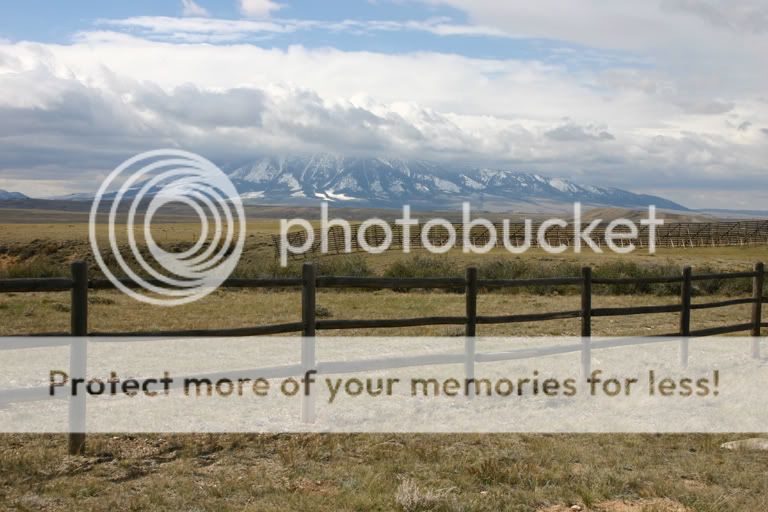
Original 2:

Edit:

I want to remove the "haze" and really bring out the sky and clouds like I saw it. These are my edits, but I think they're coming out too dark. Please let me know how they look, if I'm getting the full potential, and also feel free to reedit the originals and let me know what you did. Thanks!
Original 1:
Edit
Original 2:
Edit:
") Output settings seem to ignored as well but that might be good in lots of cases.
Output settings seem to ignored as well but that might be good in lots of cases.