- Joined
- Jul 8, 2005
- Messages
- 45,747
- Reaction score
- 14,806
- Location
- Victoria, BC
- Website
- www.johnsphotography.ca
- Can others edit my Photos
- Photos OK to edit
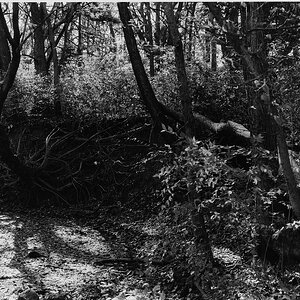
Pre-zact-ickly!To paraphrase John... There are many ways through the forest, but it's easier following a path.
")