Lmphotos
TPF Noob!
- Joined
- Dec 10, 2012
- Messages
- 390
- Reaction score
- 77
- Location
- Missouri
- Website
- www.lauramaephotos.com
- Can others edit my Photos
- Photos OK to edit
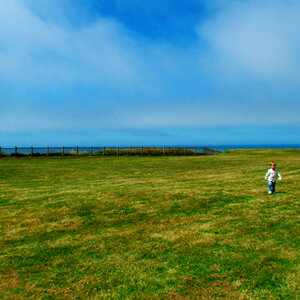
#1 Before SOOC

#2 After edits
#2 After edits
Follow along with the video below to see how to install our site as a web app on your home screen.

Note: This feature currently requires accessing the site using the built-in Safari browser.
")
Think this may be a tiny bit OOF just a hair maybe the edit does look nice
I agree I though maybe it was me looking at it too much lol
Think this may be a tiny bit OOF just a hair maybe the edit does look nice
Think this may be a tiny bit OOF just a hair maybe the edit does look nice
I focused and recomposed at f/4 to shallow to use that method?

Lm, where at in Missouri are you from? btw adorable little guy.
I did use a blur tool to smooth I really wanted to just get rid of the red and make it even I used a bit healing too.
I agree I though maybe it was me looking at it too much lol
#2 After edits View attachment 34317

![[No title]](/data/xfmg/thumbnail/31/31089-cc3a7a6049305e29a6be920fad49acce.jpg?1619734605)


![[No title]](/data/xfmg/thumbnail/31/31707-a2840f3af9af3a4fa6f6dfbd4028eae5.jpg?1619734964)
![[No title]](/data/xfmg/thumbnail/34/34694-c8f837b622c45caaa51c5507b8835376.jpg?1619736605)
![[No title]](/data/xfmg/thumbnail/34/34691-2fa9779b0e77f698b193a633b9242553.jpg?1619736604)