Another Retro Thread (C&C)

Sherman Banks

TPF Noob!
Joined
Feb 24, 2009
Messages
871
Reaction score
0
Location
Rain City
Can others edit my Photos
Photos OK to edit
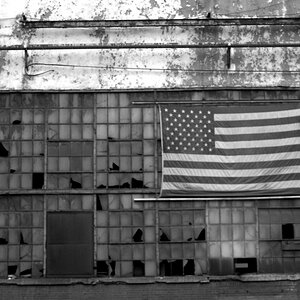
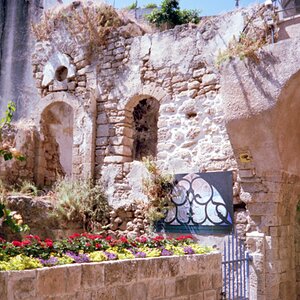
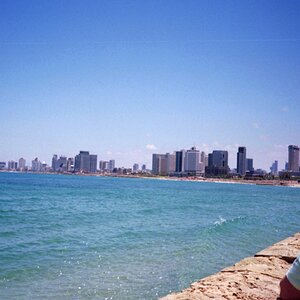
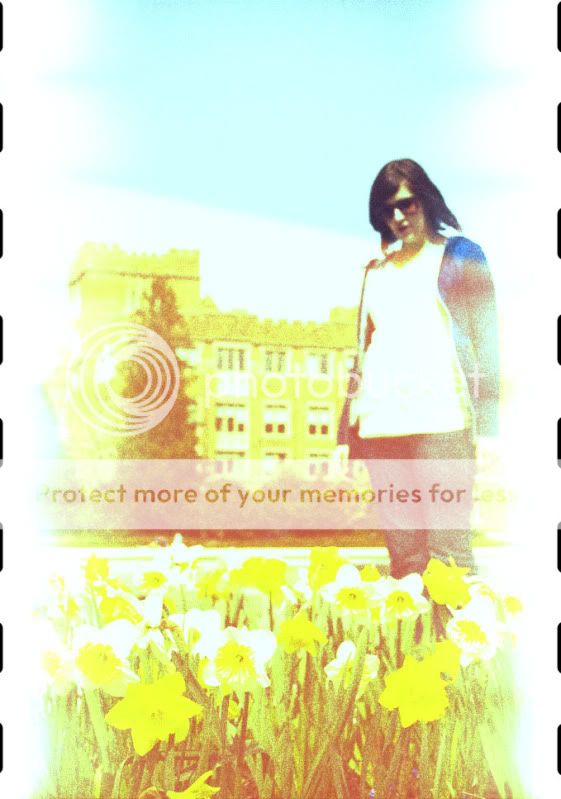
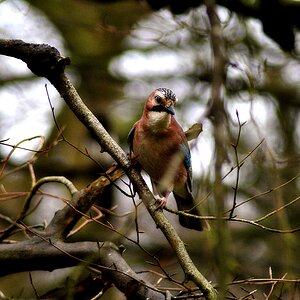
Thanks to bpetruzzo, I learned a few things about making a photo look older. I love the way old photos look with all their imperfections so I tried to add what I could without it looking to fake. Tell me what you think of the processing.
BatUWRetro.jpg


GasworksRetro.jpg

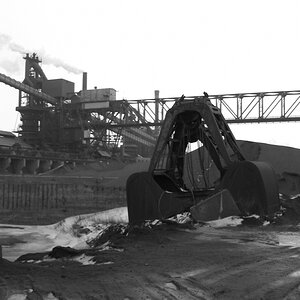
This one was done with bpetruzzo's instructions in his recent thread, although this isn't as cool.
 
I think the second is more effective than the first from a "vintage" standpoint, although all of the light leaks I've ever experienced have been red on color negative film (there's a scientific reason for this, but I forget what it is). I do think the processing in the first is interesting though- the only thing that's throwing me is sprocket hole placement. If it's 35mm you're going for, shouldn't they be little wider? If you want the maskless 35mm-in-a-Holga look, you can make the exposure go all the way to the edge completely encompassing the sprocket holes. It just seems s little odd.
 
Thanks for the feedback! I've never actually seen a ruined roll of color film in person so I have no idea what colors/effects it has. Also, didn't take into account the actual size of the sprocket holes but I assumed they'd be bigger. I wanted to include them in the framing but I couldn't make them look right (although these aren't accurate either). I'll have to find some images of the film frames to replicate. Thanks again!

PS: Here is where I got the idea for the sprocket holes.
http://mysite.verizon.net/DickBudnik/F8AndNotThere/12TwoBucks_DickBudnik.jpg
 
Last edited:
Looks good. I love the retro look you tried on these.
 
Hey, looks good! I definitely think the second looks more authentic, although it looks like you might have some dropout showing up in your shadows from the film-grain filter. That would, of course, be a digital tell tale. I had some of that too, I just used the burn in tool to clear it up.

The negative scan look is almost certainly going to be more challenging to get looking genuine. I fooled with it a bit, but couldn't come up with a technique swiftly enough to not give up. But, I was having pretty good success with exposure adjustment layers and masking around the holes. Here's as far as I got with my fooling around.

negative.jpg


It's a little closer to the original reference point, but still probably too exaggerated. If you're going to realistic, I would explore some more use the exposure and brightness adjustment layers. That seems to be a pretty promising avenue.
 
Very cool! I wish I had some experience shooting color film beyond a disposable camera so I could know exactly what some of the imperfections look like. I'll take your advice with the adjustment layers and see what I come up with. And good advice with the shadows on the 2nd. That one probably looks best because I used your method! Thanks again!
 

Most reactions

Back
Top