vipgraphx
No longer a newbie, moving up!
- Joined
- Dec 1, 2011
- Messages
- 2,415
- Reaction score
- 440
- Location
- Some Where In the Desert
- Can others edit my Photos
- Photos OK to edit
Follow along with the video below to see how to install our site as a web app on your home screen.

Note: This feature currently requires accessing the site using the built-in Safari browser.
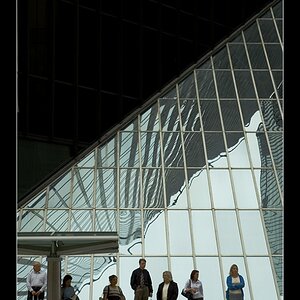
This may sound silly, but would you mind posting a specific workflow for one of these images? I also have a D7000 and the same software you use, but my HDR comes out quite differently. This type of image is exactly the PP style I'm going for with my architectural and RE photography (though not b&w obviously). If you're willing to be very specific, I'd greatly appreciate it.