photobug
TPF Noob!
Okay, I've been playing with this for awhile now and it's worth sharing.
Michael Reichman's site [clicky] has a tutorial on how to increase the dynamic range of a photo by blending 2 frames together.
I used the Layer Mask method for this example.
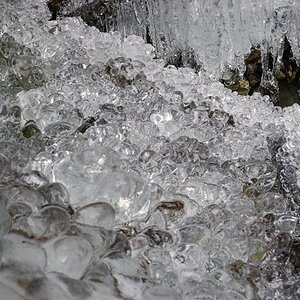
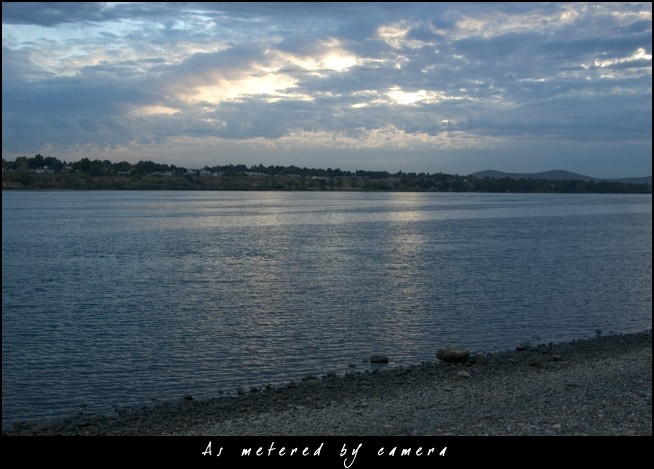
First, a shot as metered by the camera (no manipulation/correction):
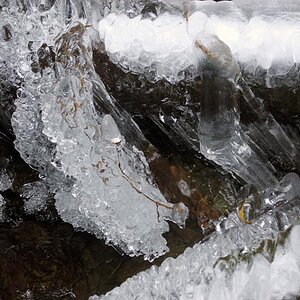
Next, 2 frames blended together. The frames were 1 stop over or under exposed reference the first shot. Again, no manipulation/correction:
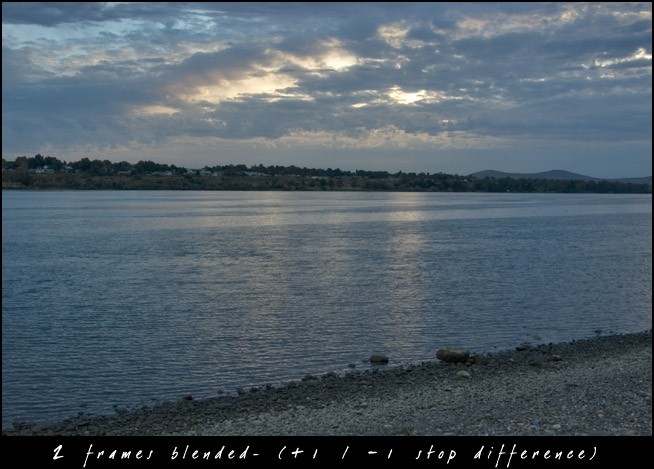
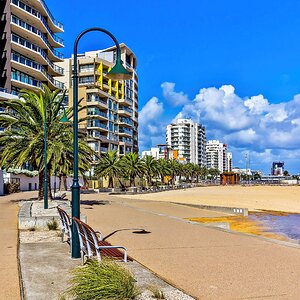
Notice the highlights in the cloud? The first shot is a decent exposure, but the light is nearly blown out. In the second shot, the highlight is toned down so details appear that are not present in the first shot, while the shadows in the remainder of the frame are improved.
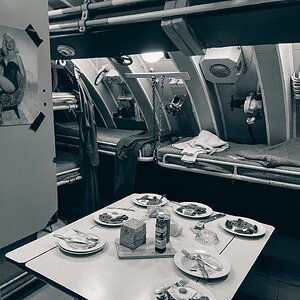
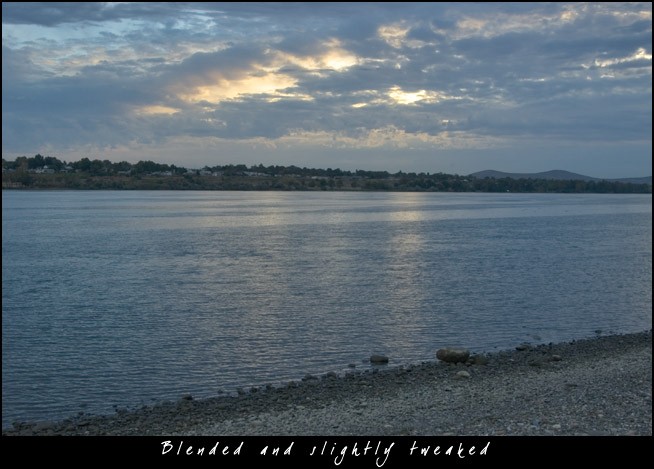
Now, the blended shot with some minor tweaks:
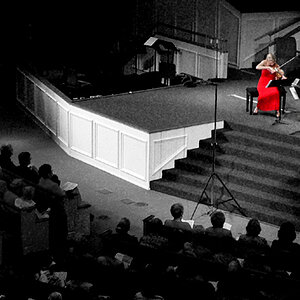
And another version with different tweaks:
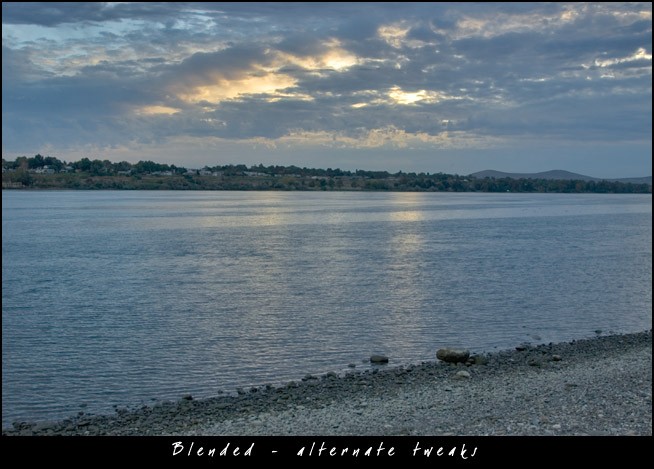
The effect can be altered by how much you over/under expose the frames and how much gaussian blur that you use. I like the fact that you can do tweaks before you flatten the layers.
Michael Reichman's site [clicky] has a tutorial on how to increase the dynamic range of a photo by blending 2 frames together.
I used the Layer Mask method for this example.
First, a shot as metered by the camera (no manipulation/correction):
Next, 2 frames blended together. The frames were 1 stop over or under exposed reference the first shot. Again, no manipulation/correction:
Notice the highlights in the cloud? The first shot is a decent exposure, but the light is nearly blown out. In the second shot, the highlight is toned down so details appear that are not present in the first shot, while the shadows in the remainder of the frame are improved.
Now, the blended shot with some minor tweaks:
And another version with different tweaks:
The effect can be altered by how much you over/under expose the frames and how much gaussian blur that you use. I like the fact that you can do tweaks before you flatten the layers.
![[No title]](/data/xfmg/thumbnail/37/37493-07470d1244285a42bb716c7df65abfda.jpg?1619738112)