mikedadude
TPF Noob!
- Joined
- Nov 22, 2009
- Messages
- 32
- Reaction score
- 0
- Location
- UK
- Can others edit my Photos
- Photos OK to edit
Hello.. so I dabbled a bit with photoshop to improve these pictures.. please tell me what I can do to make them better, or if I've missed something?
Photo 1:
Original:

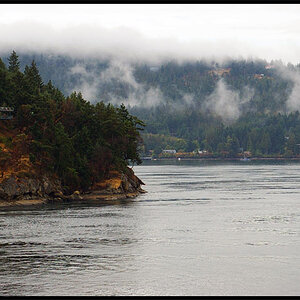
Changes: I added a new adjustment layer (brightness and contrast), set brightness to 48, contrast to 32. Then used the reflect gradient from top until the bottom of the sky. I then made the front slope a new layer, added a new adjustment layer (brightness and contrast) and set brightness to -45, and contrast to -14 as it was a bit overexposed. I then made a new layer with the area around the avalanche slides and changed that brightness to -15 as that was a bit overexposed as well.
Photoshop edit:
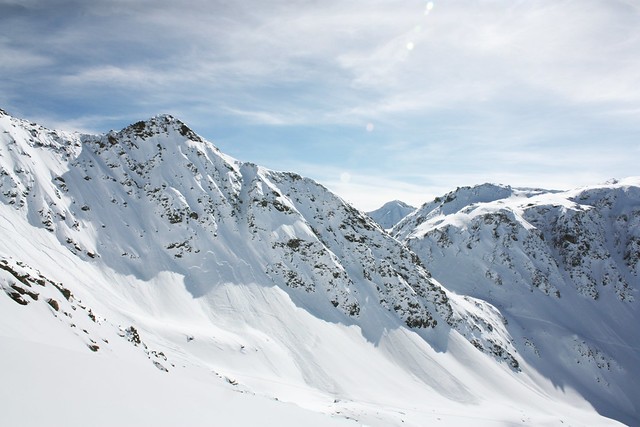
Photo #2
Original #2:
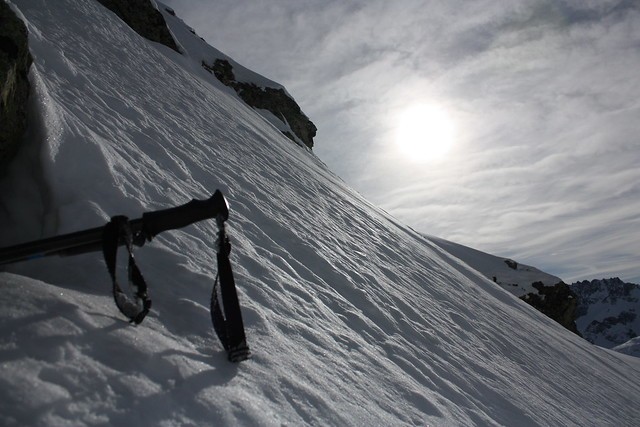
Changes: Not as much as first one, added a new adjustment layer for brightness and contrast: brightness: 23, contrast: 14. I then made a new layer with just the foreground and used auto colour to try to stop it being so blue.
Photoshop edit #2
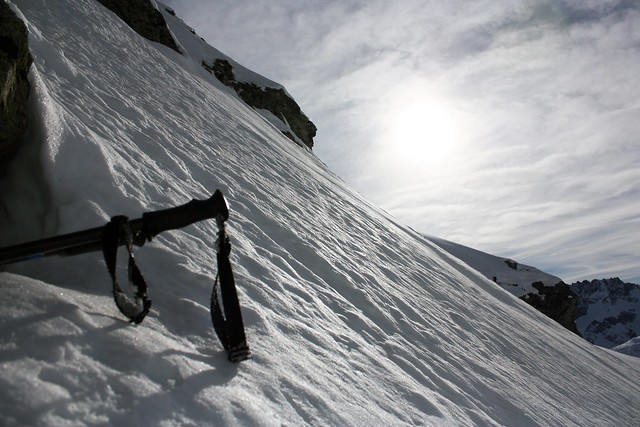
I think the first one looks significantly better, whereas the second needs a bit more work?
Photo 1:
Original:
Changes: I added a new adjustment layer (brightness and contrast), set brightness to 48, contrast to 32. Then used the reflect gradient from top until the bottom of the sky. I then made the front slope a new layer, added a new adjustment layer (brightness and contrast) and set brightness to -45, and contrast to -14 as it was a bit overexposed. I then made a new layer with the area around the avalanche slides and changed that brightness to -15 as that was a bit overexposed as well.
Photoshop edit:
Photo #2
Original #2:
Changes: Not as much as first one, added a new adjustment layer for brightness and contrast: brightness: 23, contrast: 14. I then made a new layer with just the foreground and used auto colour to try to stop it being so blue.
Photoshop edit #2
I think the first one looks significantly better, whereas the second needs a bit more work?


![[No title]](/data/xfmg/thumbnail/38/38721-a6c38c7ae974a8a5518bfbf14be98f18.jpg?1619738701)
![[No title]](/data/xfmg/thumbnail/37/37604-7ad625e983f92f880eb65a264eeef5e4.jpg?1619738148)
![[No title]](/data/xfmg/thumbnail/38/38722-8003d9d84f1c7164b5c8f2b884c2e428.jpg?1619738702)