Can someone help me...

butterflygirl

TPF Noob!
Joined
Feb 21, 2007
Messages
401
Reaction score
0
Location
Michigan
Website
www.photosbymcdonald.com
Can others edit my Photos
Photos OK to edit
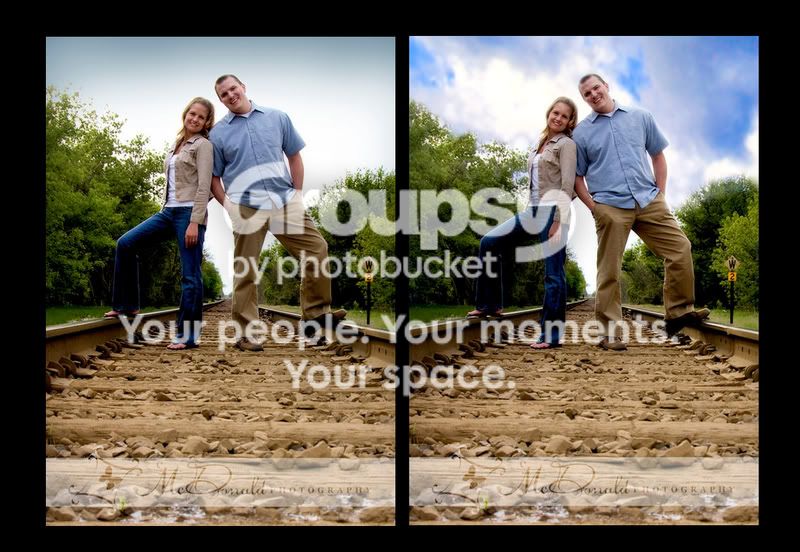
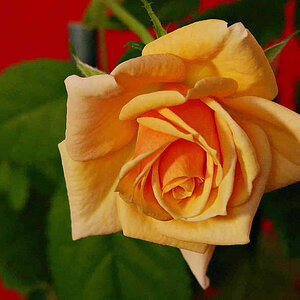
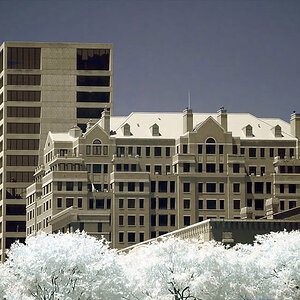
with the sky in this photo?

It was totally overcast, no blue whatsoever. It looks so washed out. What can I do to make it look better? I'd love the photo if the sky wasn't so crappy! Please help! Any tips or suggestions would be much appreciated!

Thanks in advance :hail:

IMG_0125RT1.jpg
 
Use Select>color range, select the sky, then create a new layer, fill with a light blue and adjust the opacity to get the slight gradient that you already have to come through. Try different shades of blue until one looks right with the right opacity. When your selecting, you can adjust how much color range it will accept, try to get a good portion of the sky so it blends with the grey color.

That's what I'd do anyways. You might want to go through and erase any blue on the new layer that overlapped onto the white shirt and stuff.
 
Personally I don't like over-manipulating a picture; if the day was overcast I'd go back and take the shot again in light I was happy with. Fake skies always look, um, fake. Sorry.
 
Personally I don't like over-manipulating a picture; if the day was overcast I'd go back and take the shot again in light I was happy with. Fake skies always look, um, fake. Sorry.

I dont agree. Sometimes they can turn out alright. Only one way to find out...

Just try it and see for yourself.
 
Well I'll give it a go tonight when I get home from work - we'll see how it turns out. :) Thanks for all your suggestions and comments!
 
Some other options to consider...

Another way to get a blue natural sky... If you have the pic in RAW you may be able to underexpose the picture to get a bluer sky, which you can then layer over the other picture.

Sometimes if I know the sky will be a problem, I'll deliberately take a blank shot to get just the sky in the same general direction as my original subjects. This will get me a more natural looking blue gradient... the pure "this color to this other color" gradient can often be somewhat fake looking AND/OR not be appropriate for the position of the sun.

Once you have your "target sky"... (assuming PS)

I've only done this exact process a few times, so my instructions may be a LITTLE off. You should get the gist, however. (I'm often like "Ok, did I want reveal all here or hide all?")

Paste the layer of your new sky (or the whole shot with the bluer sky) over the background of the people exposed the right way.

Do a select as described in some previous posts to get the space that is the sky, invert it, feather the selection, and create a layer mask of that on the corrected sky shot. Do a reveal all.

Set transparency on the layer (blending options), and then move it around until you get the desired color you want.

The benefit of this option is it should give you the color you are looking for with far less issues of funny edges (such as you will likely have in the trees there... trees are HELL)

The other benefit is you can simply grab a paintbrush and paint directly on the layer to hide or expose trouble areas, and because of the transparency and layer method, you can be somewhat sloppy and it will still look normal... it will just darken or lighten the surrounding elements (such as leaves) a bit.
 
Just for fun, I did it on yours... this was a VERY sloppy job because I have to run an errand and I'm late :lol:, but it gives you an idea. I took about 5 mins to do this.

Again... trees are hell, and you can see where I had the most trouble. With more than 5 mins you can definitely make this work pretty well, but the absolute ideal is to know ahead that you're going to have trouble and do a second exposure from the same spot (tripod!) and underexpose the sky... this will allow you to be blending in trees AND sky, vs. just sky (which will muck up your leaves a bit).

If you are doing a more straight-line edge such as a building, this becomes way easier and the second exposure is a little less critical (though I still think it looks better to have a real sky vs. a gradient).

[EDIT] By the way, try using a Select by color range. Hold down shift and add colors to the selection... then use manual tools to remove erroneous parts. Works really well when selecting things like skies.

[EDIT] You can see I did a better job on the trees on the right... I thought I had more time and was working a LITTLE harder at it. LOL

Here was my quick try at it...

test.jpg
 
All of the solutions here are good ones, but if I may, I would submit that there is one better one; that is to account for the washed out sky before you get to the "darkroom". Graduated neutral-density filters are your friend. A two stop grad ND especially with a polarizer would have made the colours in this capture pop.
 
hope you dont mind but here is my try at this.
this was a very quick edit and would probably turn out really well if enough time was taken.


_-3.jpg
 
^^^ what was your method? That's really clean.
 

Most reactions

Back
Top