can't get a good picture of close-up jewellery

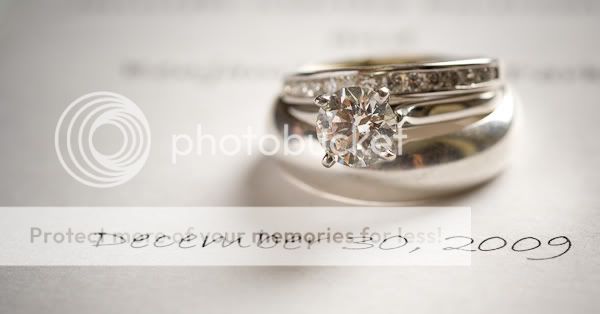
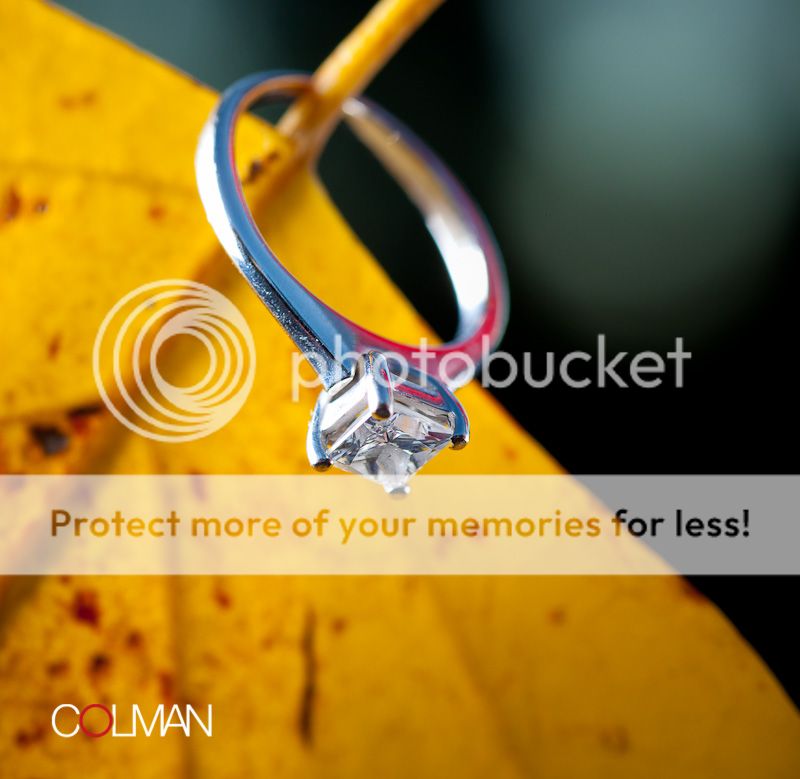
I have a similar problem, with silver jewellery in particular, though I end up fixing most of it in Photoshop afterwards, which can be very time consuming. I have read through this thread and will try out the advice.

If there is any additional advice you can direct me to around the basics of close up techniques for really small silver charms and thin bracelets, that would be awesome.

Cheers.
 
1. Tripod
2. White Balance
3. Mirror Lock-up
4. Use camera timer to get your hands off the camera

That's what i'd do.
 
As also said; use a tripod.

Your background is too close in color to the piece -- more importantly it's too close in tone. The jewelry is blending into the background. I would suggest something like a tray of very dark uniform pebbles. This would also help your camera do a better job metering.

With the piece and the background all the same uniform tone your camera's internal meter can be expected to meter the scene incorrectly. Use an incident meter in a case like this, otherwise bracket.

The tent would be the correct approach given the general category "jewelry." However this particular piece is real trouble. It is crudely made and it's surfaces are not uniform. The key to jewelry photos is what parts of the piece are reflecting light and what parts aren't. The depression in the center of the heart should be inscribed with "impossible to photograph." Given the rough and uneven surface of this piece there is no good lighting solution. I would find a different piece to photograph; you can only expect limited success with this item.

Take Care,
Joe

Again, I say, hire a specialist.


Get over it. Maybe she wants to LEARN to do it herself.
 
Get the jewelry up, off the background.

I looked at the photo and the EXIF metadata from it.

Put the camera in Spot metering mode or center-weighted, not matrix.

You had the White Balance set to 'Sun', when it should be set to the kind of lights you are using, being desk lamps they are probably Tungsten, but check to be sure in case they are flourescent. It would be better to buy bulbs made for photography, you know the color temperature of.

Your lens likely will focus a little sharper if you back it off of 200 mm, to 175 mm or so since you're using an inexpensive variable aperture kit kens.

I don't get why the EXIF data shows your ISO as 0 (zero). :scratch:

By the way...that photo was the 3080th time the shutter on your D90 had been released.

How the hell did you find out all this info!!?
 
I'm helping a friend out get some pictures of her work to exhibit it, they're small jewellery pieces. I'm using a light tent I bought online with a white background with strong desk lamps pointed in from either side and one above.

I'm using a Nikon D90 with 200 mm focal length, f/16 1/30 sec.

Lighting seems to be off in all the pictures and they simply don't look good in my opinion.

Image - TinyPic - Free Image Hosting, Photo Sharing & Video Hosting

Does anyone have any experience in this field and can give me any advice?

Thanks for reading.. :sexywink:

Yes, I can. Hire a professional product photographer.

Seriouly PP, what's your problem? The guy is asking for some help because he wants to learn and here you are, being a smartass like you always are. If you don't have any productive advice then STFU.

Anyways, back to the original post. I would say your WB is yor biggest issue right there. Try auto wb, then if you still don't like the color, then change it to manual and play with it until you're satisfied. Or shoot in RAW then you can play with all that in post processing. Also, instead of laying it down flat, why don't you try hanging it with the white background then shoot it with all different angles. Try it again then post some pictures up for us to see.


:hail:

Some people are just too full of themselves...
 
jewelery is mostly shot on black backgrounds. or something that'll bring the jewelery out. oh and set white balance right, using desk lamps you'd set wb for tungsten.
 
As also said; use a tripod.

Your background is too close in color to the piece -- more importantly it's too close in tone. The jewelry is blending into the background. I would suggest something like a tray of very dark uniform pebbles. This would also help your camera do a better job metering.

With the piece and the background all the same uniform tone your camera's internal meter can be expected to meter the scene incorrectly. Use an incident meter in a case like this, otherwise bracket.

The tent would be the correct approach given the general category "jewelry." However this particular piece is real trouble. It is crudely made and it's surfaces are not uniform. The key to jewelry photos is what parts of the piece are reflecting light and what parts aren't. The depression in the center of the heart should be inscribed with "impossible to photograph." Given the rough and uneven surface of this piece there is no good lighting solution. I would find a different piece to photograph; you can only expect limited success with this item.

Take Care,
Joe

I'd go to a totally black background-it just makes most everything show up better.
 
1) as said before, use a darker background. First thing I noticed is that it blends into the background. You want it to stand out. As a photographer, you can figure out what kind of background to really make it pop.
2) white balance. Are you using auto white balance? Did you shoot it in RAW or JPEG? In raw, you can fix this in Lightroom.
3) Its definitely out of focus. I can assume you shot this handheld since, to me, there is a bit of camera shake or your camera didn't focus right. As others have said, open the aperture and let more light in. Should fix your focus issues
4) I'd personally get closer to the pendant. There is too much whitespace showing. I would want to see the pendant if your trying to sell me in it. I could care less about the chain personally. We want to see detail :)
 
try bouncing your pop up flash into the light tent. You'll get much better light or use off camera.
My example isn't perfect but maybe it will help.

Shot in a white bookshelf with a black vhs case(yes vhs, lol) behind it.

D90
Tokina 100mm f2.8 macro(150mm on cropped)
1/60
F36 ( Actually F18, this is the effective loss of light aperture)
ISO400


5175960337_7ede27ceb7_b.jpg


1. Tripod
2. White Balance
3. Mirror Lock-up
4. Use camera timer to get your hands off the camera

That's what i'd do.

This is all well and good (however it says nothing about lighting) but there are other ways to get great pics that use opposite techniques such as hand holding, no mirror lockup and normal shutter release.

How you ask? Simple. Use an off camera strobe. The strobe can be a simple speedlight or monolight. The trick is to get it off the camera. You can use a camera connect cord or wireless trigger, but your light, OR THE APPARENT LIGHT SOURCE must appear to come from off camera.

Here's how I shot all the following photos. All were shot in a variety of settings, both indoor and outside, with no tripod.

1. Light is off camera about a foot from the subject to one side or the other. You can use a bare light or fire it into a softbox or other diffuser, but when working this close, a bare speedlight works just fine.
2. Use a macro lens.
3. Place a white bounce card (or napkin, plate, shirt or any other white surface) opposite the light so that it will "bounce" or reflect the light back onto the subject.
4. Set your camera to manual, aperture to about f/10. Shutter speed doesn't matter as long as it's slower than your camera's sync speed.
5. Shoot a test shot. If the histogram shows that the object is overexposed, dial down the power of your light (or move it farther away), or stop down the aperture a bit. You can also dial down the ISO of your camera to it's lowest setting.
6. If the histogram shows the photo is underexposed, up the power of your light (or move it closer) or increase the ISO of your camera. You can open up the aperture however your depth of field will decrease.
7. There is no need to use a tripod as the strobe (which fires around 1/8000 or faster) will "freeze" the subject.
8. That's it. Play with aperture a bit to get more or less depth of field. Also, play a bit with light placement to get different results.

odalys-158.jpg


thad-179.jpg


A softbox and larger (wider) aperture was used for this shot. You can see that the light was placed above the ring by the shadow. No bounce card was needed.

jen-162.jpg


courtney-132.jpg


This should give you a few ideas. You can use an on-camera light but you should aim it towards a white card placed next to the object and not the object itself. The reason is that the light will appear to come from one side or the other and give the object some depth and detail.
 
Last edited:
Haven't read the whole thread, but this might help: ;)


Regards, P.
 
Last edited by a moderator:

Most reactions

Back
Top