Jgould25
TPF Noob!
- Joined
- Sep 7, 2015
- Messages
- 11
- Reaction score
- 4
- Can others edit my Photos
- Photos OK to edit
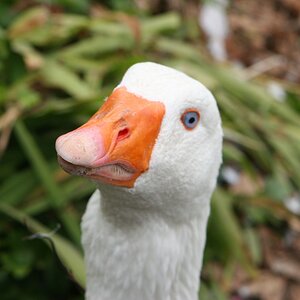
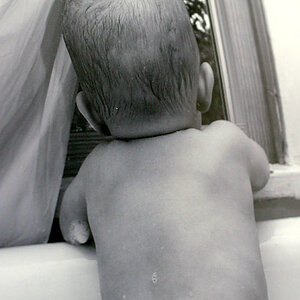
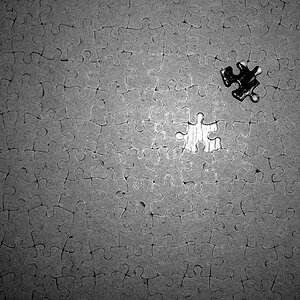
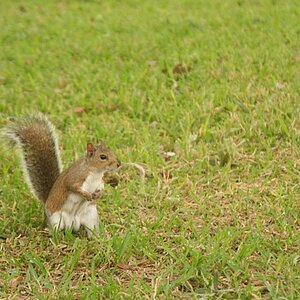
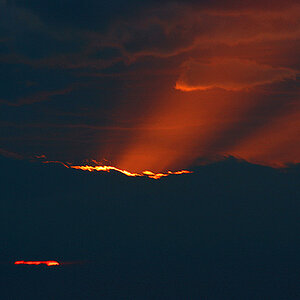
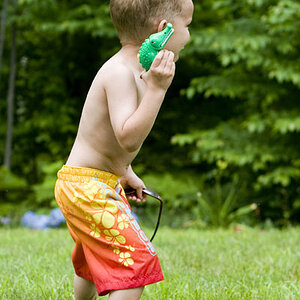
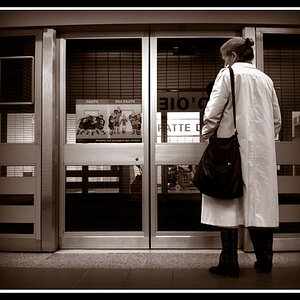
So, second post on the forum, and I wanted to share some of the pictures I've already taken with my new (to me) Pentax K200D. I have zero idea what I'm really doing when it comes to photography (as in settings for shutter speed, aperture, ISO etc), because everything before this was point and shoot on an iphone... usually of random stuff to throw up on instagram. Anyways, I spent yesterday at the magical kingdom of Disneyland, and had a blast taking pictures. I was playing around with the aperture settings, as that's the first thing I've really noticed has an effect on the pictures. So, here is a small sample of the pictures I took... feel free to brutally critique and hopefully give me some tips and insight on what would've made a much better picture. I really want to improve as much as possible over the next month before I head off to my 6 month long Japanese adventure.


![[No title]](/data/xfmg/thumbnail/35/35947-ab35bfc67d8e12ce65dda301d3bf2b66.jpg?1619737255)
![[No title]](/data/xfmg/thumbnail/35/35953-1a8b92df0115ff7026f31b78855ac815.jpg?1619737264)


![[No title]](/data/xfmg/thumbnail/35/35952-55c8d42ec1c6ff0e13b45356cbf9c068.jpg?1619737263)