NebraskaNewGirl
TPF Noob!
- Joined
- Jan 16, 2012
- Messages
- 91
- Reaction score
- 6
- Location
- Lincoln, NE
- Can others edit my Photos
- Photos OK to edit
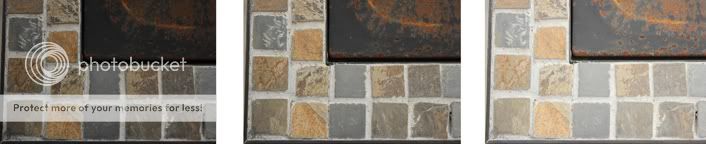
Over the weekend, I worked on proper exposure. I did some bracketing on a few shots, to help me see what the varying exposures. I feel that exposure is at times individual preference and what you are trying to express with what you are photographing. However, I would like to get some more input as to what correct exposure should look like so I can start to train my eyes. ")
1.

2.
3.

4.

5.

1.
2.
3.
4.
5.
Last edited:


![[No title]](/data/xfmg/thumbnail/32/32942-4440dd4ca2ff307a5d19277feedf1d94.jpg?1734162769)

![[No title]](/data/xfmg/thumbnail/32/32941-f21147be61c00828a23d6ce011d840eb.jpg?1734162763)
![[No title]](/data/xfmg/thumbnail/33/33342-79274d7e5cdf3e52939255e1cd89f2d0.jpg?1734163237)


