- Joined
- Mar 29, 2016
- Messages
- 14,849
- Reaction score
- 8,296
- Can others edit my Photos
- Photos NOT OK to edit
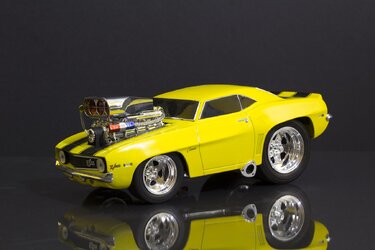
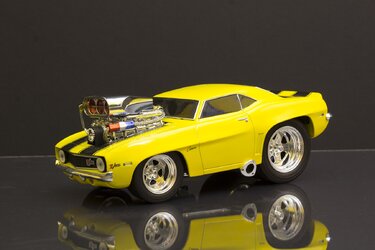
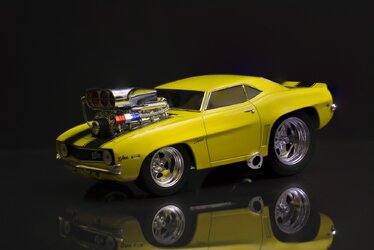
as I originally did exactly that and made it stand on a black solid background but I actually thought it lacked something then so I brought it back to the original and just darkened the background up a tad. I don't know maybe its just personal artistic preference but I think the one with a solid black is "lacking" something. Hard to explain lol.
One thing you might try is using plexiglass with black foam core underneath for the base. Gives you some nice reflections. Or go crazy with your image in HDR format. Lot's of possibilities. Look forward to seeing more from you.

![[No title]](/data/xfmg/thumbnail/34/34122-fb99897e57c9440aede4be4fdc5f1352.jpg?1619736292)


![[No title]](/data/xfmg/thumbnail/37/37625-7e132688457d56e50320a8c99a79fe38.jpg?1619738154)

![[No title]](/data/xfmg/thumbnail/35/35956-7047189d31e1c1f6029266079390f54a.jpg?1619737269)
![[No title]](/data/xfmg/thumbnail/37/37629-fa70c9f81cc7da4d6a9b512502f9bf84.jpg?1619738155)