cgipson1
TPF Noob!
- Joined
- Aug 18, 2011
- Messages
- 17,142
- Reaction score
- 4,350
- Can others edit my Photos
- Photos NOT OK to edit
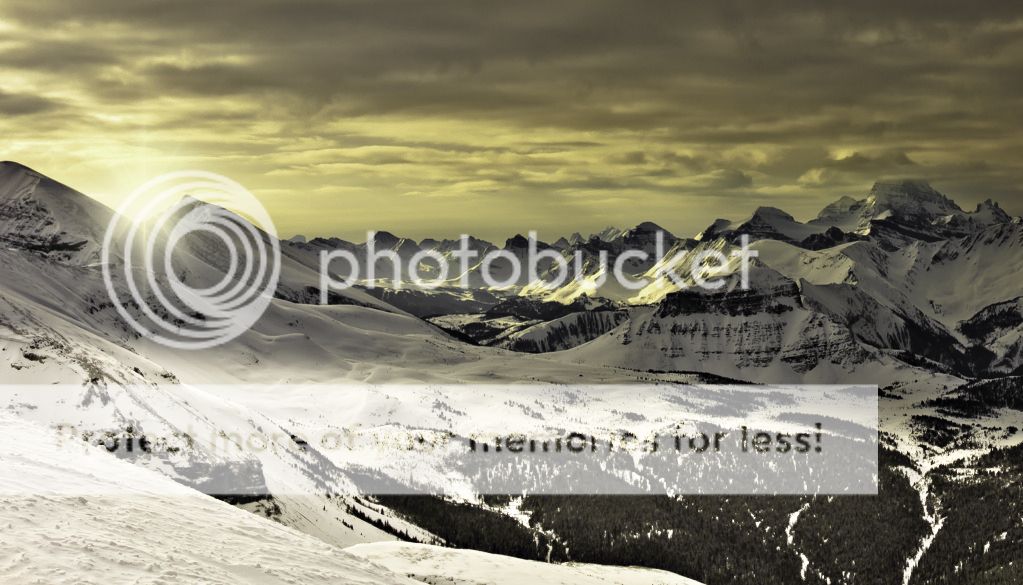
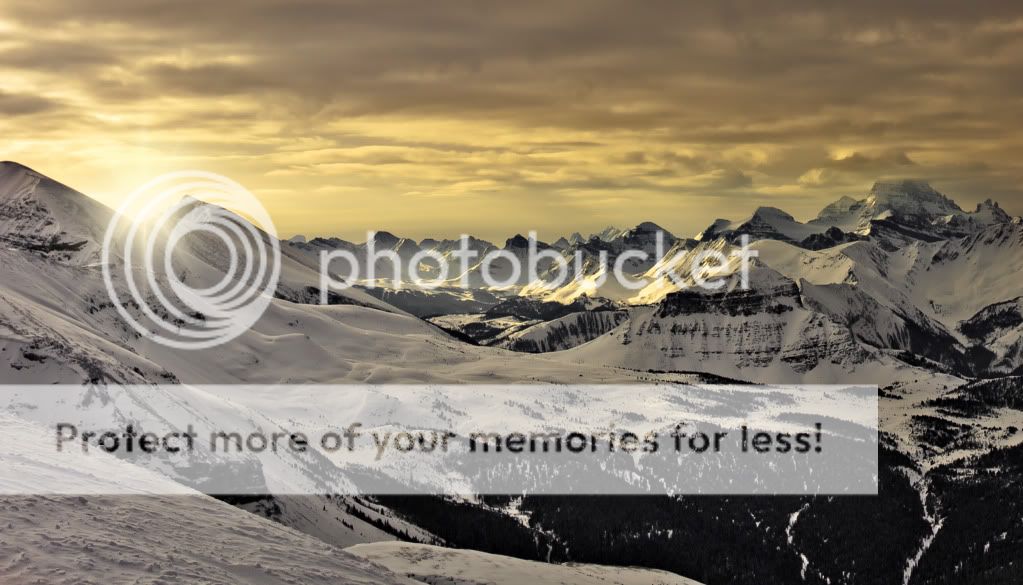
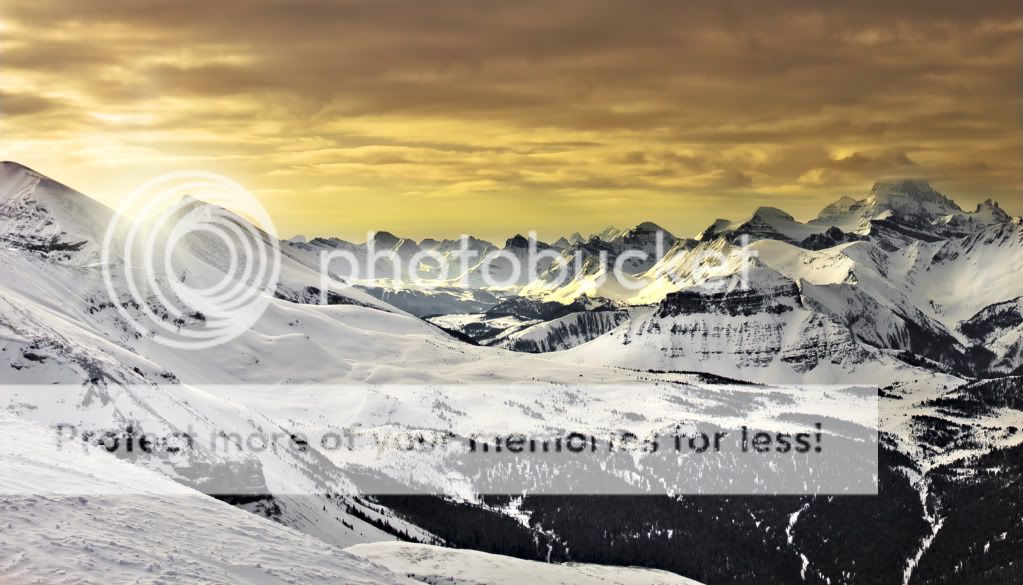
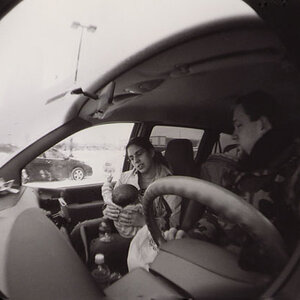
I took a quick shot at it.. totally different take. It was a quickie.. so the blending isn't perfect...
View attachment 5302
View attachment 5302


![[No title]](/data/xfmg/thumbnail/32/32807-d5379cd3a34c7d2ac3535361dd969c10.jpg?1619735667)