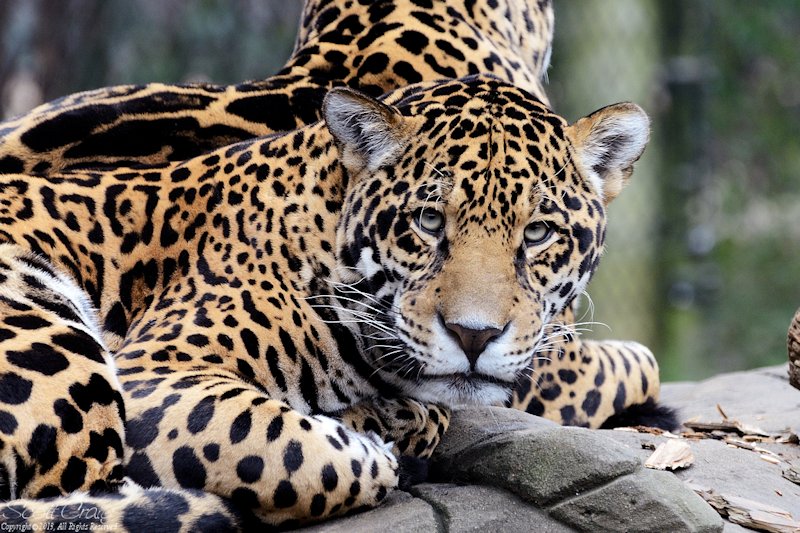
Zoo animals might not be in the wild and much easier to approach; but zoos themselves often present significant challenges to photographers - esp as many zoos are not geared up for photography (and most are often legacies of older generations and thus can't easily be made more accommodating).
A few tips I've picked up
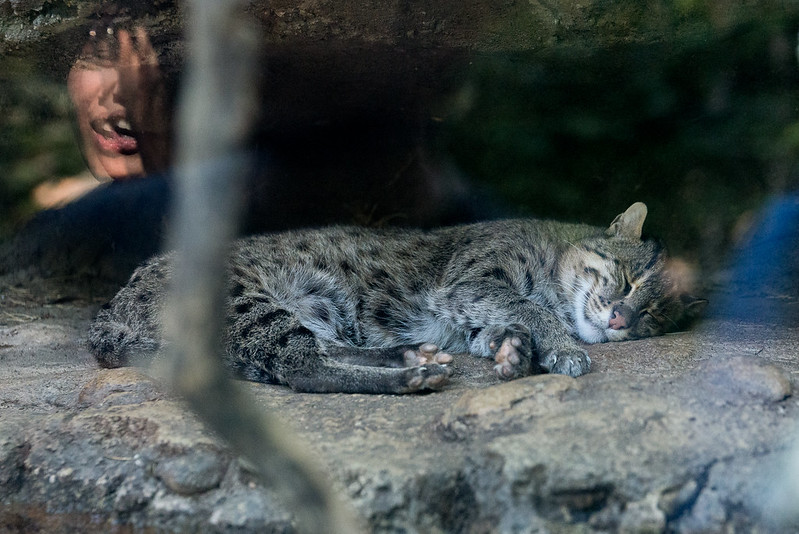
Glass:
1) Take some of those quick screen wipes with you - because chances are kids have put their fingers alllllllll over the glass. So if you find a bad spot you can wipe off the marks on your side at least.
2) Flash and general reflections on the glass itself are a pain. The key is that reflections need to shine on the glass - then bounce off it and down your lens. So what can you do? You can either;
a) Get close - simple as the closer your lens is to the glass the less reflections are a problem; you can even use flash like this because the whole setup can be close enough that the flash light won't get a chance to bounce off a part of the glass that the lens is seeing though.
b) Block the light from reaching the glass - a square of cardboard (black) put over the end of your lens - now the card is blocking the light so it can't flash onto the glass and then back into the lens.
c) Block the light from reaching the glass - method two is to use a rubber lens hood (sold on
ebay). This works best with lenses of a fixed focal length so that you've got a ring hood instead of a petal shaped one (petal have shorter sides so that the wider angle of the zoom lens won't get dark shadows from the lens hood).
By pushing the rubber onto the glass you block the chance for reflections to affect your shot - rubber also helps as it provides a nice tight seal whilst also being soft enough to cushion the pressure a little (not too much pressure mind as you don't want the hood to bed into and block the light reaching the lens itself.
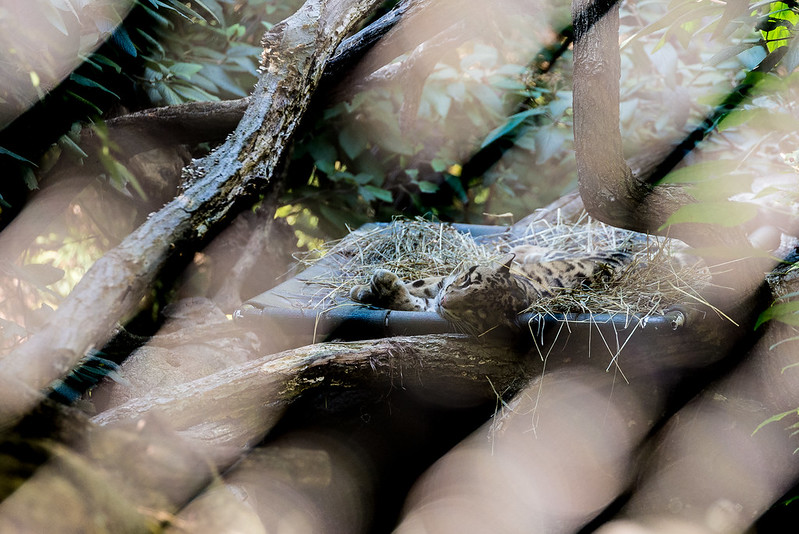
In editing you might also find that boosting the contrast helps, glass or out-of-focus wire that you got up close to can cause a global (glass) or area specific (wire) drop in contrast and a boost can help hide the quality loss.
When in the dark also don't fear your ISO. A Good clean shot at a higher ISO is going to have less noise than one shot at a lower ISO. For wildlife I'd say start at ISO 400, or even ISO 800 on a darker day and see how your exposures and shutter speeds are - and adjust as needed.
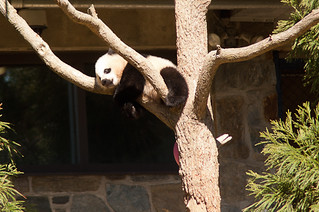
Patience also helps, sometimes you've just got to wait an hour or two at one enclosure to get the shot; other times plan your trip so that you can work you way around the site to see what you want. Note also to keep an eye on feeding times and talks - sometimes zoos will time events so that they run in a loop around the site one after the other - creating an almost guided tour of the site - its a great way to get shots as many times food or activities with the animals will make them more mobile.
Talk to the keepers - so long as they are not rushed off their feet most are quite happy to chat about the zoo and the animals and you can pick up some good tips on where to get a good sight (might not be the best spot for a shot but at least you'll get tips on when animals might perform certain actions or be more awake). This can be helpful info as sometimes animals won't have a feeding slot on the day your visit (esp for big cats and wolves), the animals though will have a "slot" they become active in - but they are being fasted for a day as part of their normal diet so their food just won't appear (they'll still be active for it though)
Note fasting is oft used on animals that gorge their food - they eat loads in one sitting and then rest up a lot. Zoos adapt to this by staggering feeds so that the animals don't end up over-fed. It's also something used for "wild" or animals being set for re-introduction as in the wild food sources are not going to be regular for most predators.


![[No title]](/data/xfmg/thumbnail/32/32929-22e23acc63d6ecb25e5ee941be87121f.jpg?1734162700)


