ADavis85
TPF Noob!
- Joined
- Jul 25, 2011
- Messages
- 188
- Reaction score
- 11
- Location
- Owings Mills, MD
- Can others edit my Photos
- Photos OK to edit
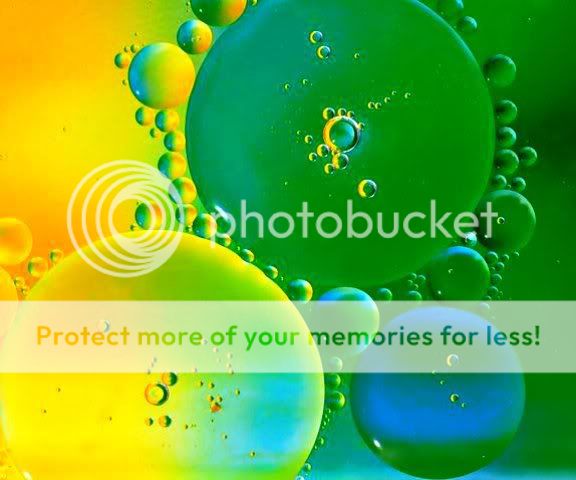
I'd tried this a few times before without much luck. But, I found a simple tutorial that required no external flashes...and I went to it. I used my newly acquired Minolta 35-70/4 on Macro Mode for these. I want to try again, maybe with different colors etc...plus I want to work on my timing. ~100 shots, these were the best two.
Think I got a pretty good one here...
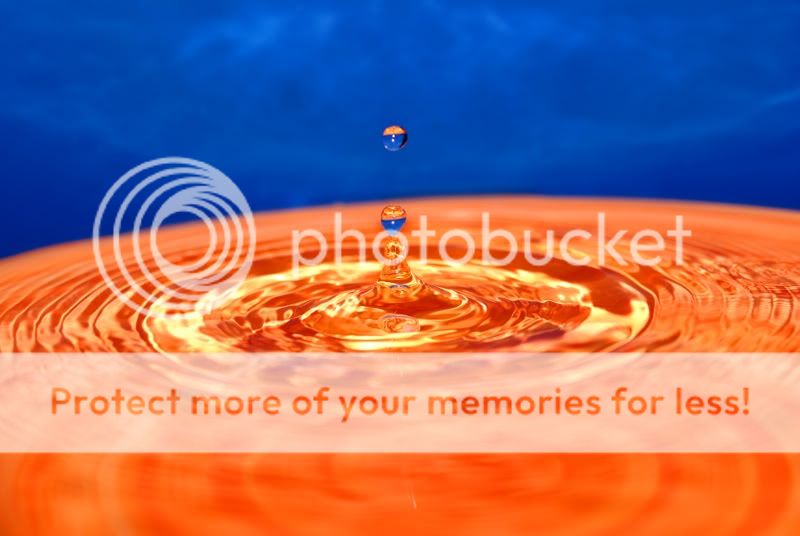
Hi-Res Version Here
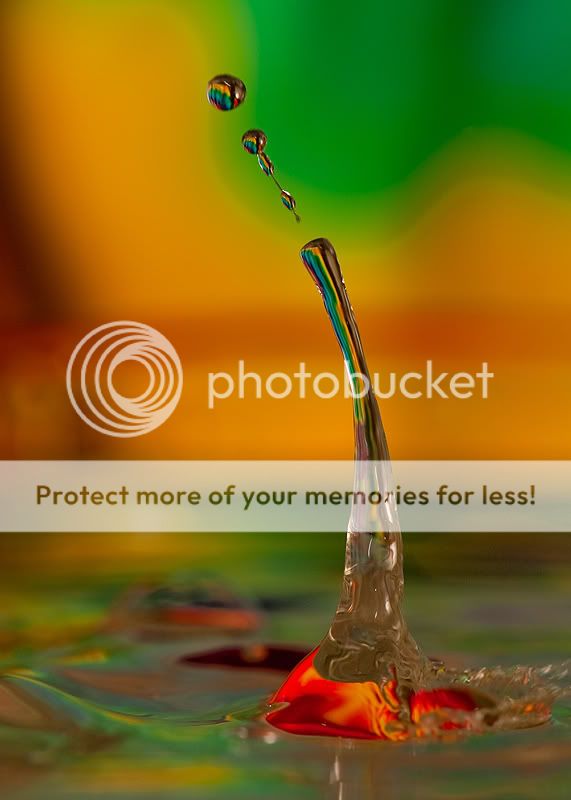
This one I did a little more with the colors in GIMP. Played with yellows, reds and blues a bit more. Turned out rather nice.
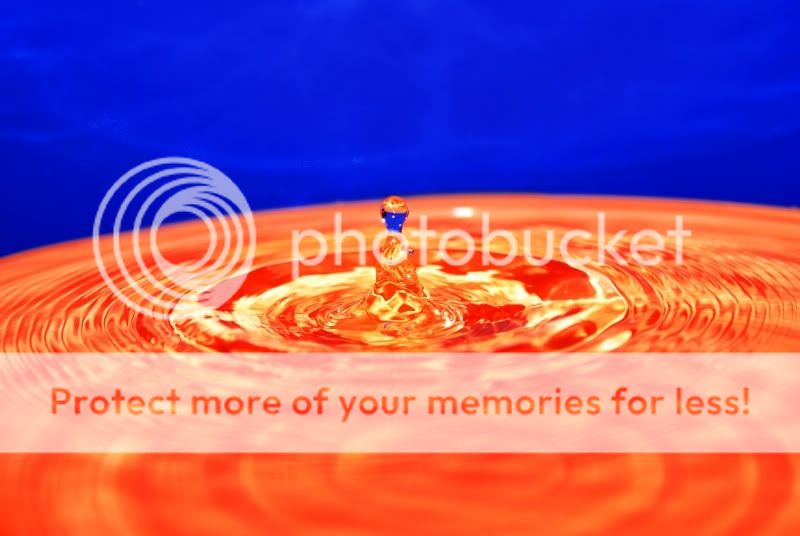
Hi-Res Version Here
How I did it:
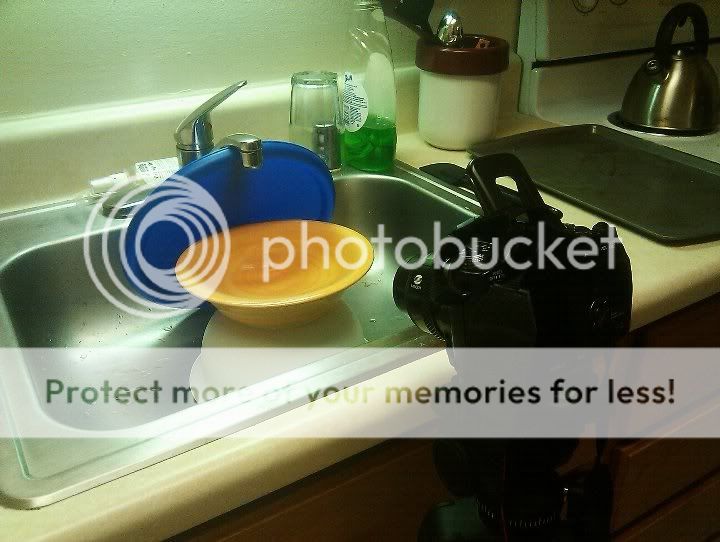
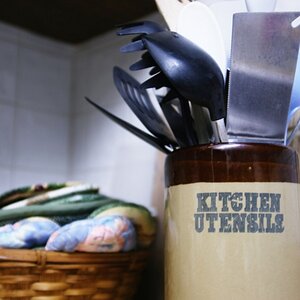
Here's the rig:
Think I got a pretty good one here...
Hi-Res Version Here
This one I did a little more with the colors in GIMP. Played with yellows, reds and blues a bit more. Turned out rather nice.
Hi-Res Version Here
How I did it:
- White bowl as a base
- Yellow bowl on top - filled with water
- Blue lid behind for color contrast
- Turn sink on to SUPER low - about a drop every two seconds
- Macro mode on 35-70f/4 lens
- Manual focus on Spatula where drops are hitting
- Set stock flash to -2EV
- Set White Balance to 'Florescent +4'
- SNAP, dang. SNAP, dang. SNAP, dang. SNAP, dang. SNAP, dang. SNAP, dang. SNAP, dang. SNAP, dang. SNAP, dang.
- SNAP.........SWEEEEEET!!!!!

Here's the rig:


![[No title]](/data/xfmg/thumbnail/38/38444-6063bb59cb410c520a1ccccbe58db9c7.jpg?1619738614)


![[No title]](/data/xfmg/thumbnail/42/42494-ba608b57b09b00c0ee005a2360a510f5.jpg?1619740198)