randg111
TPF Noob!
- Joined
- Sep 24, 2010
- Messages
- 23
- Reaction score
- 0
- Location
- Indiana
- Can others edit my Photos
- Photos OK to edit
Again, I'm a complete beginner here! Lighting is not my best friend yet, and I have lots to learn! This site and the advice I am getting has been wonderful! I can tell when my pictures are overexposed, I just don't know how to fix it. 
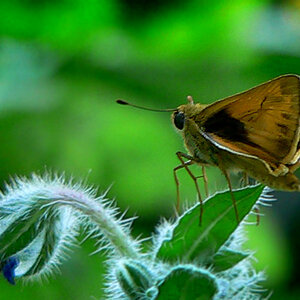
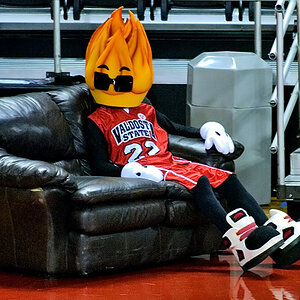
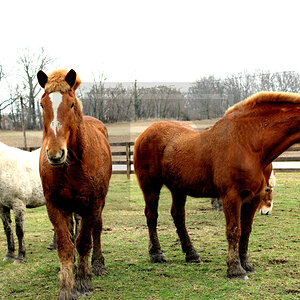
So, here are a few more samples. Let me know what your opinions and suggestions are! Thanks!
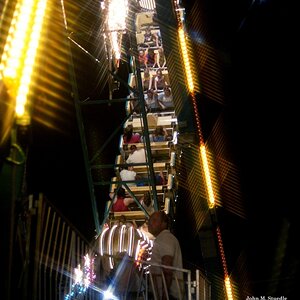
1.

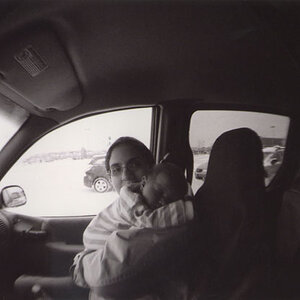
2.

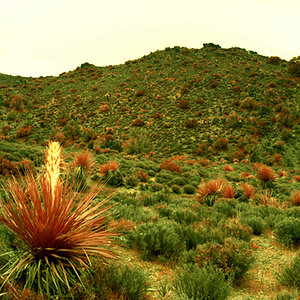
3.

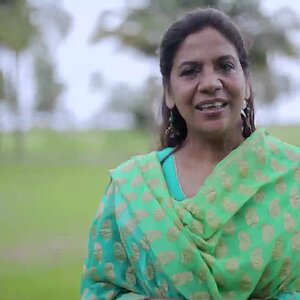
4.

5.

So, here are a few more samples. Let me know what your opinions and suggestions are! Thanks!
1.
2.
3.
4.
5.