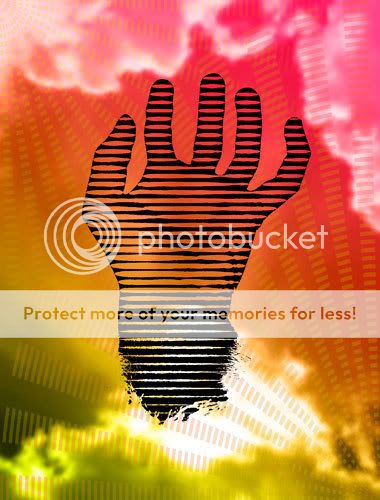
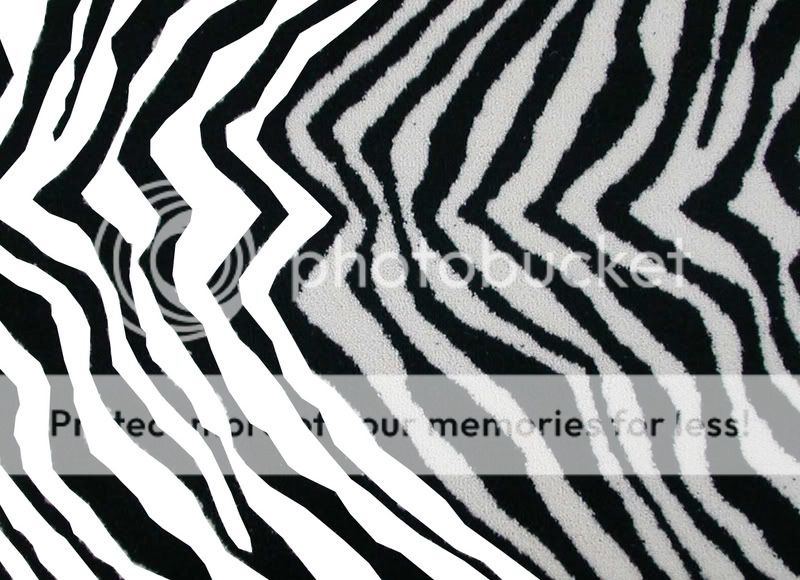
Take a photo of a zebra, or find a photo, and chop the white bits out?? Im serious.. save it on a transparent background, and then just lay it over what you want, and trim to size?? Just a thought
I like the idea of the zebra stripes, that would be sweet, but the lines in the hand grow wider as the brightness decreases. How would you go about doing that?
i think the only true way would be set the image you want to have the effect on a black background then lasso the areas you dont want, and you yourself making the thicker bits etc. then by deleting from the top layer, the bottom, black layer would show through.
I know your photo uses liner lines, but ive had a go. I just used a picture of my face to cut strips out, where the shadows are make that bit of the strip thicker. Altho i followed the contoursof my face, instead of using linear lines. < Thats just way to time consuming for me to try to make look good lol.
Just have a go..... i did.
Hi guys, new member here. Just came across this site yesterday. Looks like a great place.
Wedding gallery has some really nice work, didn't get much further yet.
I have a thing for photoshop and look forward to sharing my work.
I'm a big noob to photography in general. However I've been working with graphics for years now. Alot of Photoshop and creating CG stills.
Just wanted to weigh in on this subject.
I don't know the exact technique for this effect, but I can tell you what it looks like to me.
The lines themselves just look like some basic brushwork in Photoshop using a brush with a hard edge. If this is the way this was done, it was most certainly done with a wacom and the artist used light pressure when doing the tapered edges.
However, this same effect could be acieved by creating a new layer set, then a new layer inside the layer set, then zoom in on the hand and create the line shape with the rectangular marquee tool or the pen tool across the palm (the pen tool will allow you to feather the edges as you convert the path into a selection). Then fill it with black and erase the corners to give it that point on both ends.
Then copy the shape you just made and paste it into a new layer inside the layer set, then position it above or below the first line and keep repeating til the palm is filled with the lines.
Then for the fingers, copy and paste one of the lines from the palm and position it over one of the fingers. Use the free transform tool to make the new line just as wide as the finger and keep repeating over all the fingers.
Then merge all those layers into one. Then put your background image in if it isn't already, and put it below the lines layer.
This will create very hard edges if you don't feather the selection, and the image above has softer edges in the lines and what looks like a little distortion in the symmetry of the lines.
Which suggests to me that it was done by hand using a wacom tablet utilizing the tablets pressure sensitivity.
There's also a couple other methods I can think of that would most likely achieve this result.
Using masking, and possibly some filters combined with bumping up the contrast.
But I can't think of any way to do it in only a few mouse clicks unless you can find a filter that does it specifically.


![[No title]](/data/xfmg/thumbnail/37/37490-9848752f4de5e403f7f20db193e0fb64.jpg?1619738111)