
ronlane
What's next?
- Joined
- Aug 3, 2012
- Messages
- 10,224
- Reaction score
- 4,961
- Location
- Mustang Oklahoma
- Website
- www.lane-images.com
- Can others edit my Photos
- Photos OK to edit
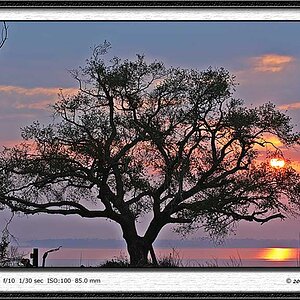
Thanks Ray. That was a really good video tutorial. To me you have improved this photo.
")


![[No title]](/data/xfmg/thumbnail/33/33337-23549254ce2ac92ac5cb86ac0366633f.jpg?1619735908)