yeforme
TPF Noob!
- Joined
- Jan 5, 2013
- Messages
- 5
- Reaction score
- 1
- Location
- vancouver island bc
- Can others edit my Photos
- Photos OK to edit
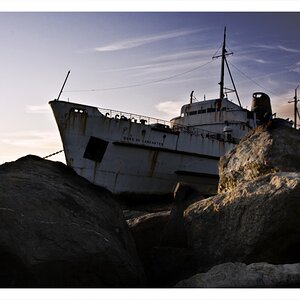
Pictures from my walk two days ago
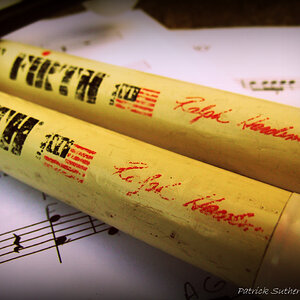
All shots were with canon t3i with 55-250 telephoto lens, as well as a tripod
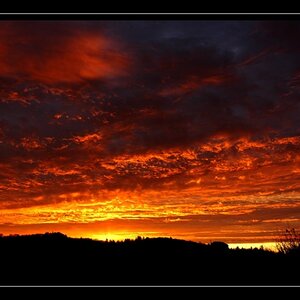
1.

F-stop = 4
Exposure = 1/15s
ISO= 100
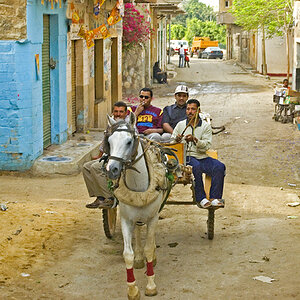
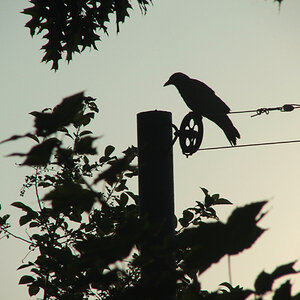
2.

F-stop = 5.6
Exposure = 1/60
ISO= 800
I was mainly trying to capture the light coming in between the two trees here
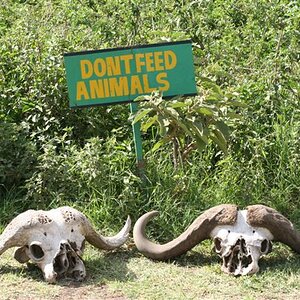
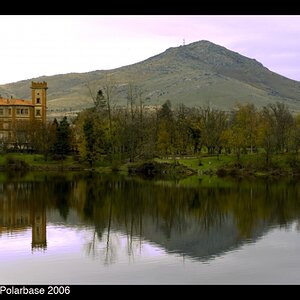
3.

F-stop = f/11
Exposure =1/10s
ISO= 200
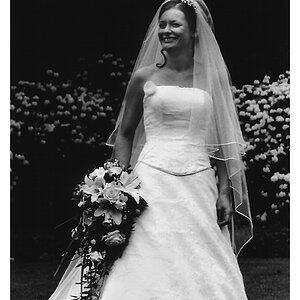
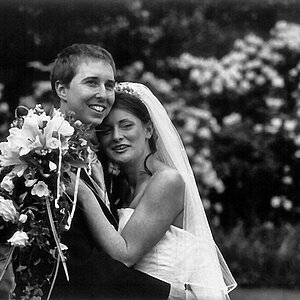
4.

F-stop =f/11
Exposure = 1/10s
ISO= 200
Here the main focus was originally on the frosted fern but when I looked over the pictures later I really liked the frozen brown, leaves contrasting the green of the fern.
All shots were with canon t3i with 55-250 telephoto lens, as well as a tripod
1.
F-stop = 4
Exposure = 1/15s
ISO= 100
2.
F-stop = 5.6
Exposure = 1/60
ISO= 800
I was mainly trying to capture the light coming in between the two trees here
3.
F-stop = f/11
Exposure =1/10s
ISO= 200
4.
F-stop =f/11
Exposure = 1/10s
ISO= 200
Here the main focus was originally on the frosted fern but when I looked over the pictures later I really liked the frozen brown, leaves contrasting the green of the fern.
Last edited:


![[No title]](/data/xfmg/thumbnail/31/31012-f5e0c7cdea2f2c3e44737e3f61c2461a.jpg?1619734567)