banpreso
TPF Noob!
- Joined
- Jan 26, 2009
- Messages
- 32
- Reaction score
- 0
- Can others edit my Photos
- Photos OK to edit
Hi All:
I'm new to this forum. I've had my Rebel XT for maybe over 2 years now, have been shooting with the 18-55 lens that came with it. Nothing too serious, just frame and shoot. I think I'll take photography a bit more seriously now, now that I actually have some assignments to shoot concerts and events and other fun stuff around the guitar scene. I just purchased the Canon 50mm f1.4 lens, with polarizes, will be here tomorrow! I'm super excited!
Anyways, I've always been curious about post production. I really haven't done any up to this point. I'd appreciate some C&C on the pictures which I'll be posting below, as well as some tips on how I can do some PP on these pictures and make them... better?
Thanks in advance
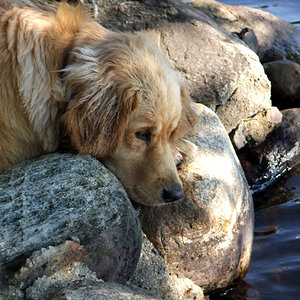
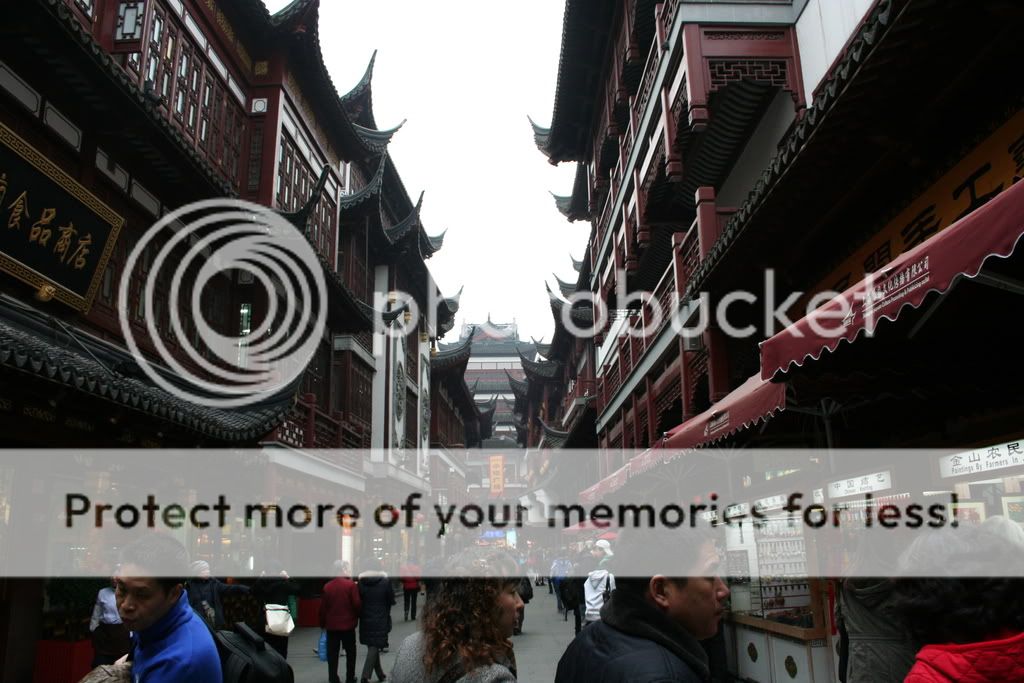
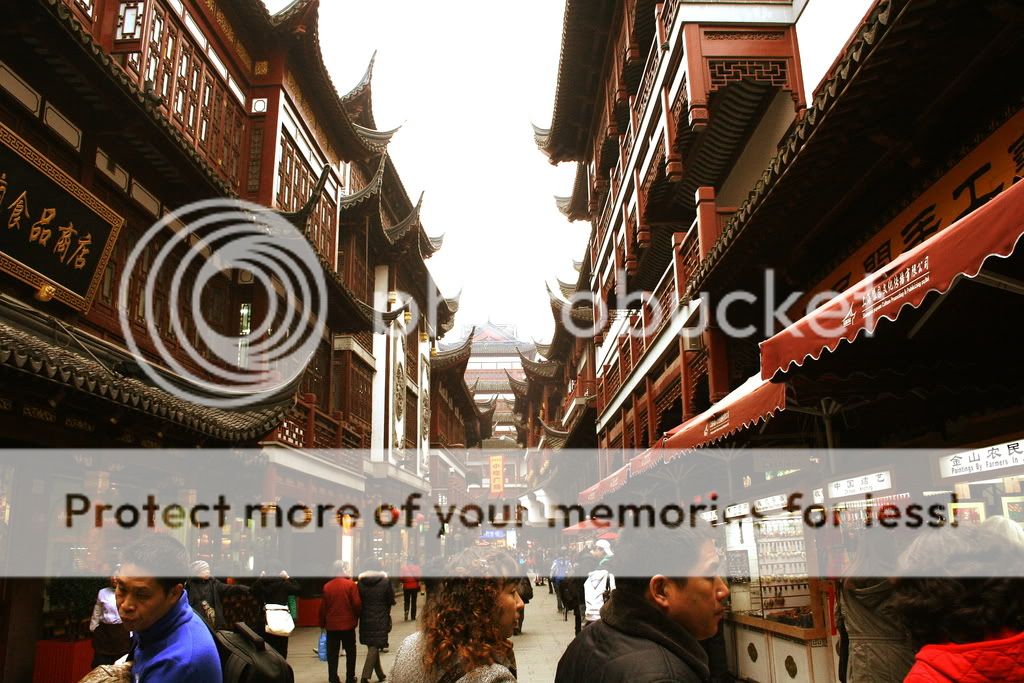
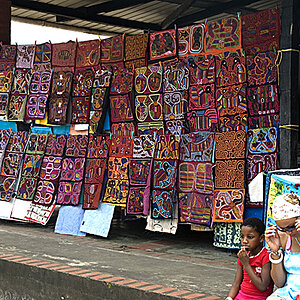
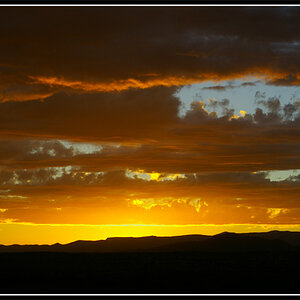
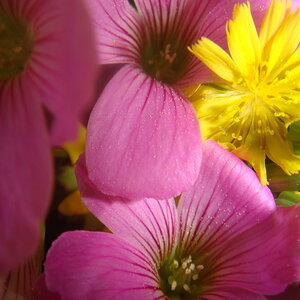
Pictures are taken on a recent vacation to Shanghai
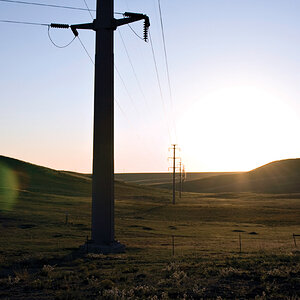
1.

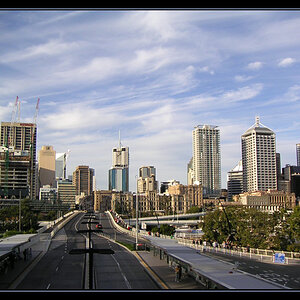
2.
3.

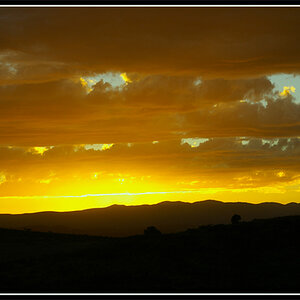
4.

I'm new to this forum. I've had my Rebel XT for maybe over 2 years now, have been shooting with the 18-55 lens that came with it. Nothing too serious, just frame and shoot. I think I'll take photography a bit more seriously now, now that I actually have some assignments to shoot concerts and events and other fun stuff around the guitar scene. I just purchased the Canon 50mm f1.4 lens, with polarizes, will be here tomorrow! I'm super excited!
Anyways, I've always been curious about post production. I really haven't done any up to this point. I'd appreciate some C&C on the pictures which I'll be posting below, as well as some tips on how I can do some PP on these pictures and make them... better?
Thanks in advance
Pictures are taken on a recent vacation to Shanghai
1.
2.
3.
4.


![[No title]](/data/xfmg/thumbnail/36/36401-dfb1077e5917eb47c5acf9c208e7be2a.jpg?1619737552)

![[No title]](/data/xfmg/thumbnail/32/32183-06800ba86381f42976d75297ee6b5942.jpg?1619735235)
![[No title]](/data/xfmg/thumbnail/31/31755-9bffabfa76f6307bcd78f535b2421cb5.jpg?1619734993)