sothoth
TPF Noob!
- Joined
- Jul 6, 2006
- Messages
- 250
- Reaction score
- 0
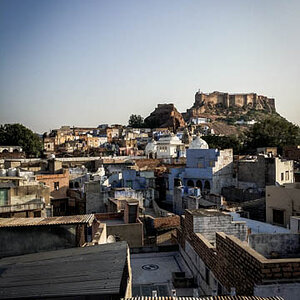
I have the RAW version of this photograph. It's got a few problems and I'm hoping for some suggestions on how to fix it. Essentially the sky is way over exposed and the mountains in the distance look very washed out. The water and trees are fairly well exposed.
I'm not looking for a composition critique, but a suggestion or suggestions on how to get daytime photos like this a little better. The photo was taken in Alaska on a recent trip. Unfortunately, when you're on the road in a new place, you don't always have the luxury of waiting for the perfect lighting, you just get one shot at it.
I have a circular polarizer for this lens but didn't use it because I wanted the water to have some reflection.
Any specific things I could do with a different filter (neutral gradient or something?) or post-processing to get the sky/mountains less washed out, without darkening the water or hills too much? Or is this a very simple matter of using PS and darkening the sky? With film I used to let more light in where there was a very bright spot, then burn in the underexposed areas in the darkroom. With digital the reverse seems to be called for (let in less light and not more), but then I'm less knowledgable on how to deal with such naturally contrasty shots, esp in digital. My experience so far suggests that if you overexpose in digital there's little/nothing you can do to darken it up, the detail is lost forever.
")


![[No title]](/data/xfmg/thumbnail/37/37930-501fdf314a05686acde53d9899f68091.jpg?1619738402)

![[No title]](/data/xfmg/thumbnail/37/37929-d9f744e40945eb18b68bb10eb79dbbbc.jpg?1619738401)
![[No title]](/data/xfmg/thumbnail/42/42348-b961c40032587da9952402de14b5976a.jpg?1619740146)
![[No title]](/data/xfmg/thumbnail/42/42349-fa3065c4e047f0114ec8715d9168dff9.jpg?1619740147)