Photoshop technique - 'Paradise Effect'

mal

TPF Noob!
Joined
Jan 30, 2005
Messages
218
Reaction score
2
Location
York, UK
Website
www.keeprolling.co.uk
Hi, I thought you guys might be interested on a Photoshop technique I stumbled across recently. It's known as the Paradise Effect, and gives you deep, smooth colour and saturation. This works best of lighter images, with a fairly even colour balance.

Here's how:

1) Convert the background into a layer
2) Duplicate the layer
3) Filter > Blur > Gaussian blur (radius=2.0)
4) Set layer mode to 'Overlay'

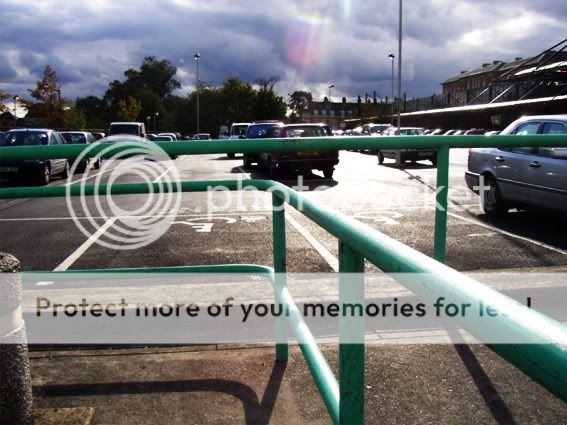
Here's an example of the effect it has:

Without Paradise Effect
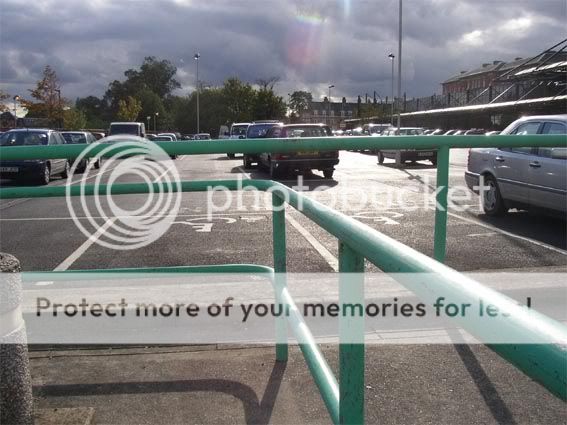
Sainsburyshandicap2copy.jpg


With Paradise Effect
Sainsburyshandicapparadise.jpg
 
hmm that's interesting! I've to try this one :)
 
Just tried it...it really does make images look really good...although seems like its the contrast turned WAY up lol
 
Yeah, it only works for certain pics, and you get a very stylised look, but when you find a pic that it suits, the effect can be really striking. As with everything like this, it's worth playing around with things like the radius of the gaussian blur to vary the effect.
 
Soft Light is another layer mode, however its not so contrasty.

Try playing around with the opacity too.
 
mal said:
Hi, I thought you guys might be interested on a Photoshop technique I stumbled across recently. It's known as the Paradise Effect, and gives you deep, smooth colour and saturation. This works best of lighter images, with a fairly even colour balance.

Here's how:

1) Convert the background into a layer
2) Duplicate the layer
3) Filter > Blur > Gaussian blur (radius=2.0)
4) Set layer mode to 'Overlay'

How do I 'convert the background into a layer? Is that not the same as duplicating the layer?
 
How do I 'convert the background into a layer? Is that not the same as duplicating the layer?
As the background, the layer is locked (as indicated by the padlock icon). You can doubleclick on the layer and click ok to turn it into a normal layer. That step isn't necessary as you can just duplicate the layer and apply the blending mode and gaussian blur to the new layer.
 
I've tried this technique before and here's the results from a recent attempt. Thanks for the tip!

gcanyonspringpano.jpg
 
siv said:
i'm going to have to use this rather than just turning the contrast way up.

Ummm... all this IS doing is "turning the contrast way up."

If you want more control, add a curves adjustment layer and create an S-curve, then lower the opacity of the adjustment layer 'till it fits your liking.
 

Most reactions

New Topics

Back
Top