Serious Post Processing Noob Question (w/ 2 examples)

ArntorFTL

TPF Noob!
Joined
Jun 7, 2008
Messages
32
Reaction score
0
Can others edit my Photos
Photos OK to edit
I feel fairly confident (sometimes!) in my photography skills as far as taking the actual photos goes, I just know NOTHING about what to do with the photos after taking them.

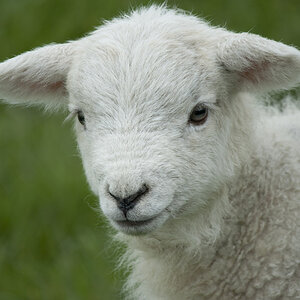
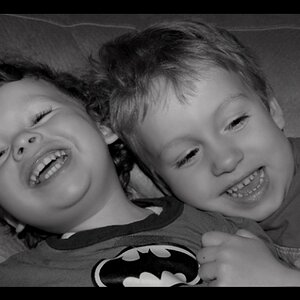
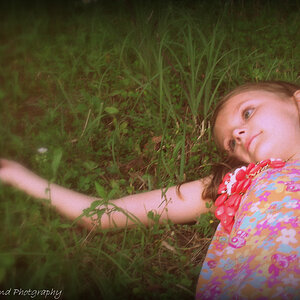
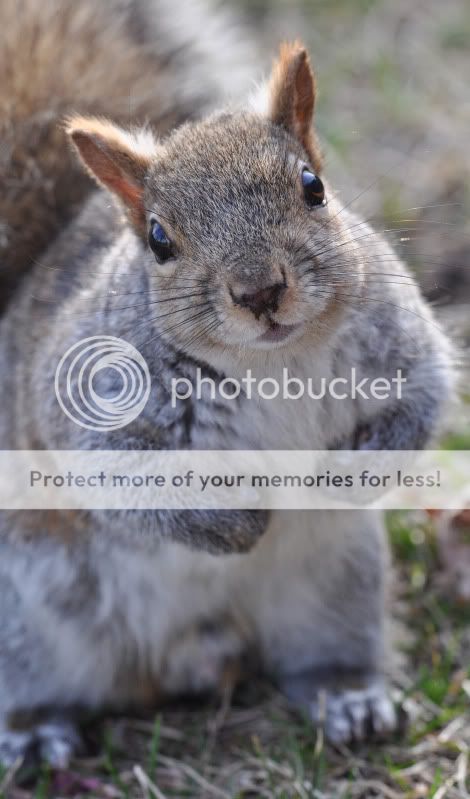
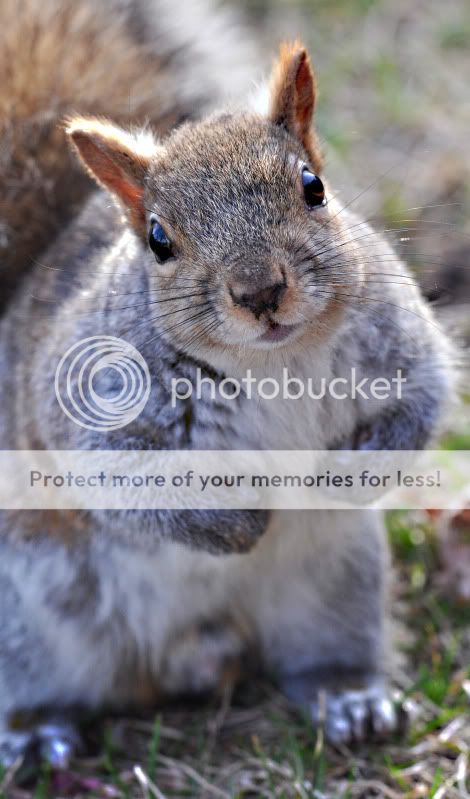
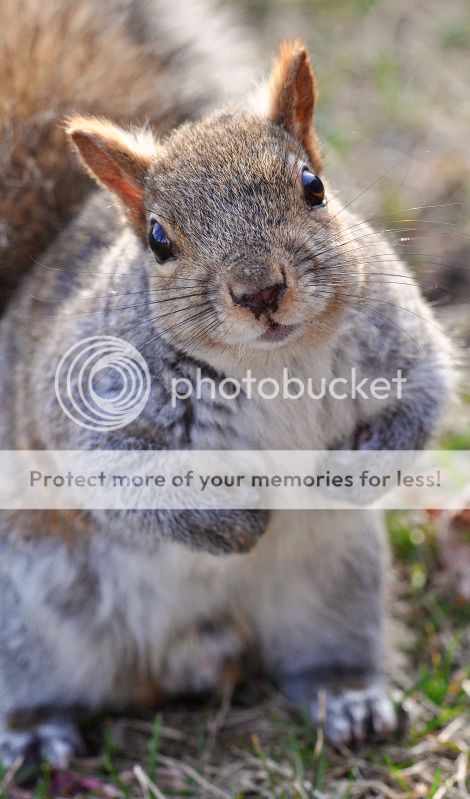
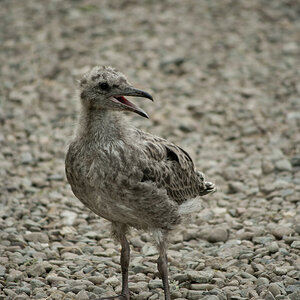
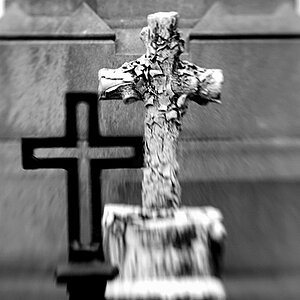
I just got Photoshop CS3 and would like to use it to give my photos an extra touch of pizazz, but I'm thoroughly overwhelmed. What should I be doing? Sharpening? Some kind of filter? Levels (whatever that means)? Looking specifically at the two photos attached, could anyone offer any advice (strictly from a PP standpoint, since I feel happy with the actual composition, exposure, etc) on what would really make these shots stand out? Or should I just leave well enough alone?


CUTE.jpg


DSC_00343333.jpg
 
Contrast is an image element most people find very pleasing to look at.

The image of the squirrel doesn't have much contrast in so far as the subject isn't well isolated from the background.

You could use a Curves adjustment layer to enhance that isolation and add contrast to the image.

Your profile says it's not OK to edit your images so we can't show you examples of things you might try.

Having just gotten CS3 (hopefully not a bootleg copy) you have just begun your learning process on what can be done, what works, what doesn't work, and plug-ins that can save you work.
 
I just changed that not OK to edit option. Please, by all means, I'd love to see what could be done. Thanks.
 
Nice shots. Just a couple minor tweaks really helps. Contrast (as mentioned).

WB adjustment for the Squirrel. Used dropper against the chest area, can click around until you see a natural look. I thought a warmer look helped.

p966300121-4.jpg


p877679396-3.jpg
 
OK, I played with the contrast a bit. Did I make it too dark? Seems so :(

CUTE2.jpg
 

I opened your image in Adobe Camera RAW (ACR). I color corrected it and fine tuned the exposure.

I increaseed the blacks slider to 10 and added 75 on the clarity slider. My ACR is set to do capture sharpening at 25, radius 1.0 and 0 threshold.

I then open the image in photoshop CS4 and duplicated the background layer (short cut is hold the Alt and hit the J key). With that layer selected I clicked at the bottom of the layers pallet and opened a Curves adjustment layer. I adjusted the contrast manually but there are persets you can select at the top of the Curves dialog window (continued below the image)

CUTE.jpg


That Curve's adjustment effected the entire image which is known as a global adjustment.

I then re-selected the background layer copy and used the Quick Selection tool to select just the background.
On the tool options bar I selected "refine edge", then feathered and softened the selection.
With that done and the selection active (marching ants still visible) I first saved the selection, so I wouldn't have to do it again, I clicked at the bottom of the layers pallet again and opend an exposure adjustment layer that, because only the background was selected, would only effect the background.

I reduced the exposure 1 stop.

I re-selected the background copy layer and using the saved background selection selected just the squirell by clicking on "Select > Inverse". I then clicked on the "Filter" tab, selected "Sharpen > Unsharp mask" and set the value to 150, radius to 1, and threshold to 0.

Essentially done I added a .005 inch black border using "Image > Canvas Size". I then clicked on Layer > Flatten, Alt J, Image > Canvas Size and made a .5 inch white border, clicked on the fx icon at the bottom of the layers pallet, selected Drop Shadow, played in the dialog box till I liked the look, clicked on Image > Mode and converted to 8-bit, clicked File > Save AS and saved as a JPEG, quality level 12.

The actual editing of the image took about 60 seconds and typing what I did took about 10 times longer. :D
 
I did everything within Gimp.
CUTEedit.jpg

I started by warming the color temperature (lowering the number). That made the biggest difference. Everything else was slight tweaks. I lightened the shot slightly in curves (pulled the curve up slightly), increased the color saturation, raised the contrast, and added sharpening. All very small adjustments, that together brought the picture to life.
 
THis video will show you how

[ame=http://www.youtube.com/watch?v=EJ_R5XaD2-8]YouTube - Duffy Duck - Robin Hood[/ame]
 
cuteqy.jpg


Contrast adjustment
Curves adjustment
Unsharpend mask
Brightness adjustment
Burned the darker colors more
Noise reduction to blu the back ground a little more
 

Most reactions

New Topics

Back
Top