aMac
TPF Noob!
- Joined
- Jul 7, 2007
- Messages
- 35
- Reaction score
- 0
- Location
- UK
- Can others edit my Photos
- Photos OK to edit
Well after what seemed like a good deal on a new camera turned out to be a scam, I was so in-the-zone for a new piece of equipment that I went ahead and just bought a 30D from a store anyway.
It's an amazing jump to go from a 300D and I'm over the moon with it, but that's for another time and another thread. What I'm here for is to ask about spot metering. I've done some searches and what I find seems to be explanations of how the different metering modes work and compare, rather than specific use guidelines.
What's the normal process for using spot metering and where is it appropriate? So far what I understand and from having a play is that I can use the spot meter to get a reading on a piece of scene, and then adjust the shutter/aperture while looking at the meter reading to set it's exposure how I'd like, up to +/-2 stops (after that it goes outside the meter range and is flashing so it's a guess up to +/-3 stops). I seem to be getting acceptable results so far but what kind of objects should I be taking readings from for example?
I've never studied photography in a learning environment, having instead learned what I needed to know from hands-on experience or from knowing other photographers so forgive me if this is basic stuff.

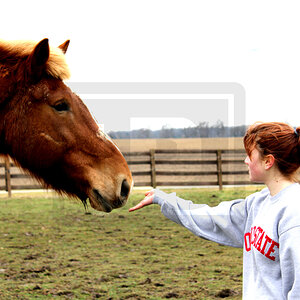
![[No title]](/data/xfmg/thumbnail/37/37621-b86590cf53fc4001d12701ee3091029b.jpg?1619738152)
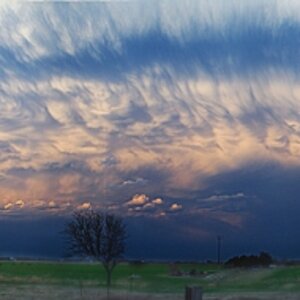
![[No title]](/data/xfmg/thumbnail/37/37620-c3155da657d8b81637b9050d879694f5.jpg?1619738152)


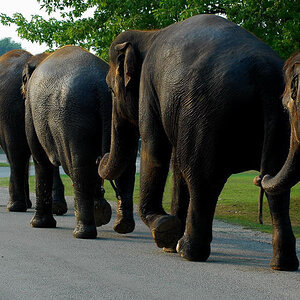
![[No title]](/data/xfmg/thumbnail/35/35597-714b74cc48992e5353856abfe325df68.jpg?1619737065)