Mr_Chris
TPF Noob!
- Joined
- Aug 22, 2016
- Messages
- 22
- Reaction score
- 1
- Location
- Glasgow, Scotland, UK
- Can others edit my Photos
- Photos OK to edit
Hi all, looking for some help getting better product shots at work please - I am a keen amateur photography and made the mistake of volunteering to help out in my new job getting their catalog and web presence up to speed!
I am use a Nikon D5300 with 18-55 kit lens and two 500w GODOX LED Panels (white LEDS) and a large light tent....
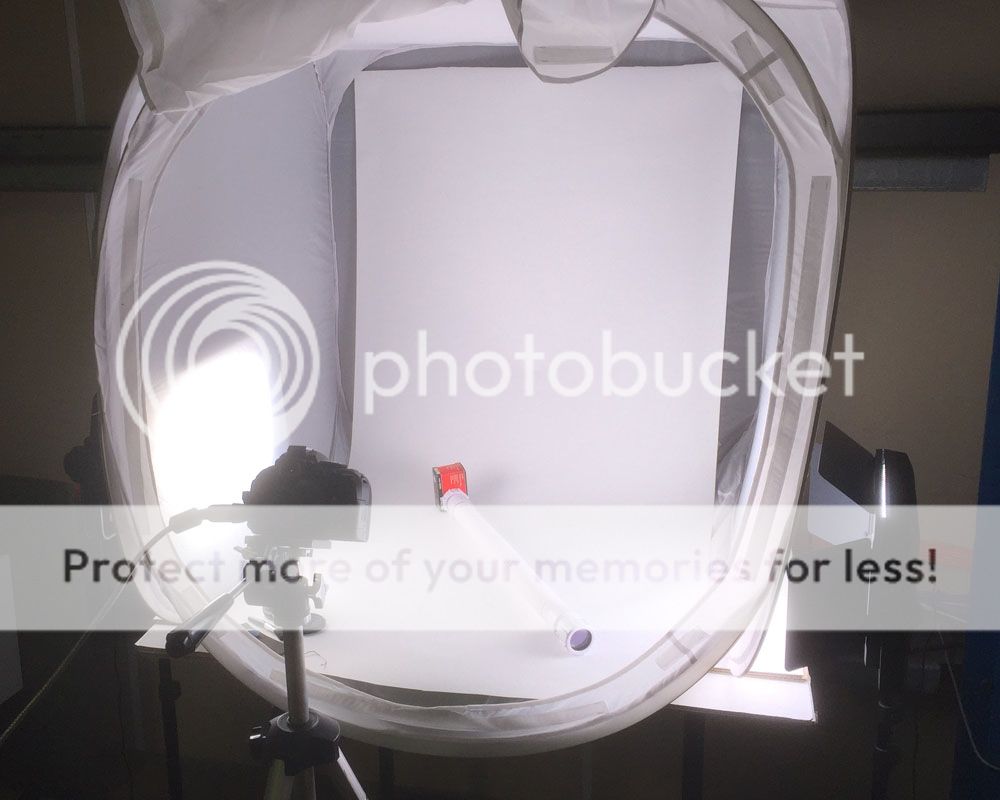
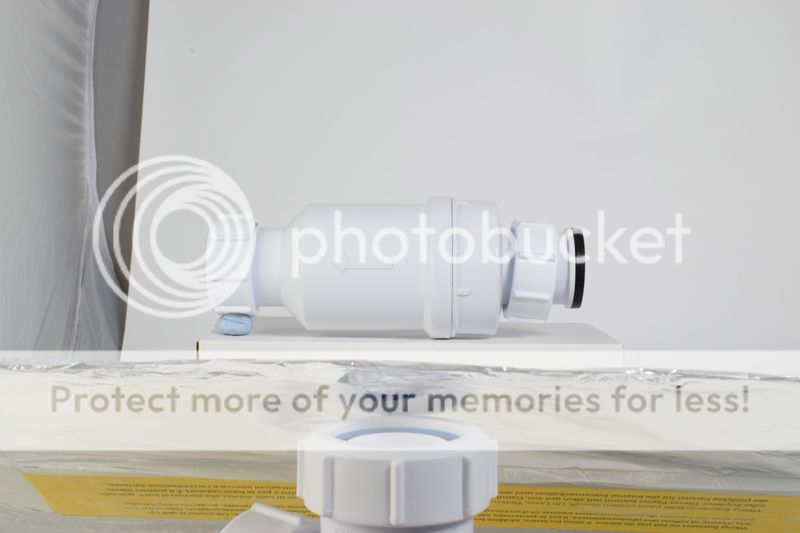
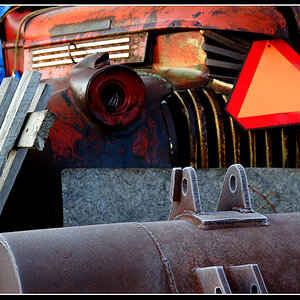
Basically I need the product in focus from front to back - I am sticking to 35mm length, f22 and 1/40 to get the most DOF and brightest image without being burnt out...and i end up with:
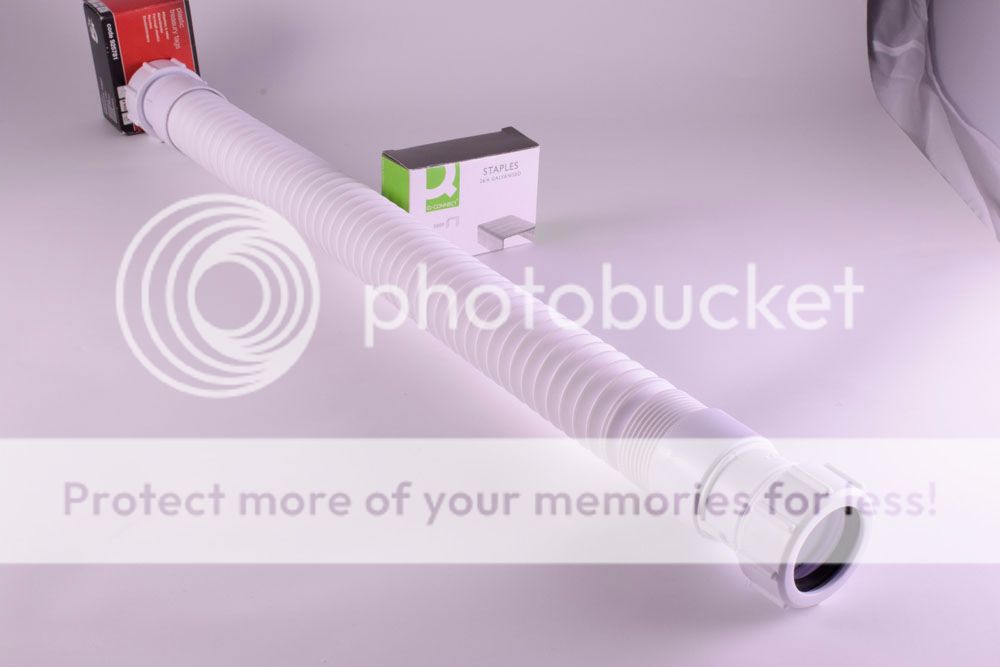
The boxes are there to help me focus on something - this shot was focused on the closest part of the pipe and you can see the focus dropping off by halfway up. I do have some experience shooting products and i know DOF only stretches a foot approx in front of - and behind - the center of the image. I would usually use my trusty 50mm lens to improve the situation but for now i need to get it to work with the kit lens before my bosses give up on me!
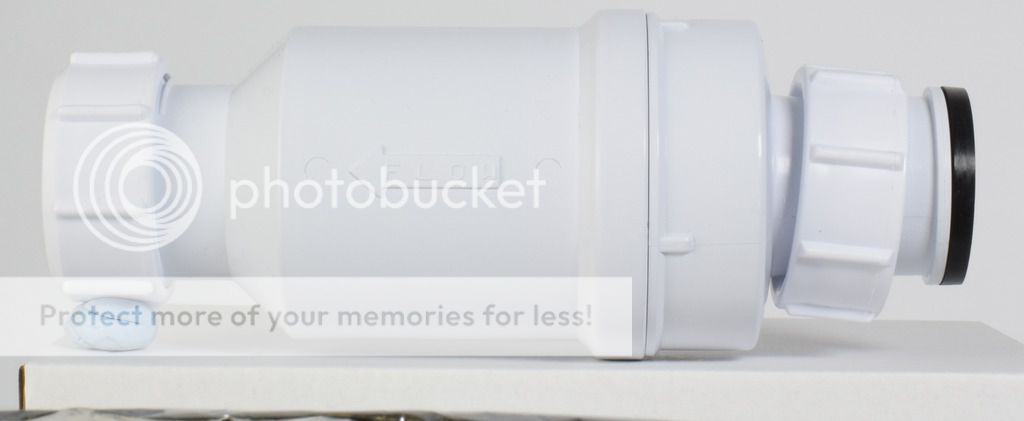
This is how the images need to look - they were taken by a pro studio and i noticed from the file data that they used a 90mm lens - is this usual practice?
Please don't post images to which you do not hold rights. You may post a link.
I have achieved some OK results with the help of photoshop but its hit and miss with the focusing - even at f29 the above image would be slightly out of focus towards the back for example - i cant figure out if its the lamps (my first time using LED panels) the lens or the settings. I had better results at home using Tungsten bulbs/lightboxes but i dont think thats the key.
Where am i going wrong? my only other option is focus stacking software at this stage it seems...
Lastly - i have linked my images from photobucket but i have grown sick of its adverts etc - can anyone suggest a good free alternative? preferably with some kind of quick resizing options too? thanks
Chris
I am use a Nikon D5300 with 18-55 kit lens and two 500w GODOX LED Panels (white LEDS) and a large light tent....
Basically I need the product in focus from front to back - I am sticking to 35mm length, f22 and 1/40 to get the most DOF and brightest image without being burnt out...and i end up with:
The boxes are there to help me focus on something - this shot was focused on the closest part of the pipe and you can see the focus dropping off by halfway up. I do have some experience shooting products and i know DOF only stretches a foot approx in front of - and behind - the center of the image. I would usually use my trusty 50mm lens to improve the situation but for now i need to get it to work with the kit lens before my bosses give up on me!
This is how the images need to look - they were taken by a pro studio and i noticed from the file data that they used a 90mm lens - is this usual practice?
Please don't post images to which you do not hold rights. You may post a link.
I have achieved some OK results with the help of photoshop but its hit and miss with the focusing - even at f29 the above image would be slightly out of focus towards the back for example - i cant figure out if its the lamps (my first time using LED panels) the lens or the settings. I had better results at home using Tungsten bulbs/lightboxes but i dont think thats the key.
Where am i going wrong? my only other option is focus stacking software at this stage it seems...
Lastly - i have linked my images from photobucket but i have grown sick of its adverts etc - can anyone suggest a good free alternative? preferably with some kind of quick resizing options too? thanks
Chris
Last edited by a moderator:
 Depth of field calculator
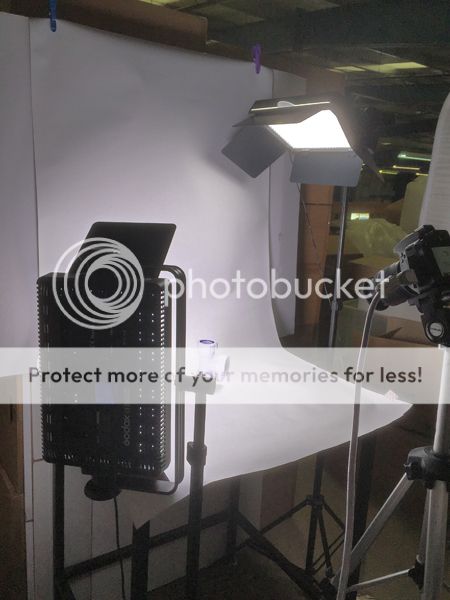


![[No title]](/data/xfmg/thumbnail/31/31754-af76ae89cc75bd1855937374ff359efe.jpg?1619734992)