Very amateur photographer

erewnoh

TPF Noob!
Joined
Jun 5, 2008
Messages
11
Reaction score
0
Location
Washington
Can others edit my Photos
Photos OK to edit
Greetings,

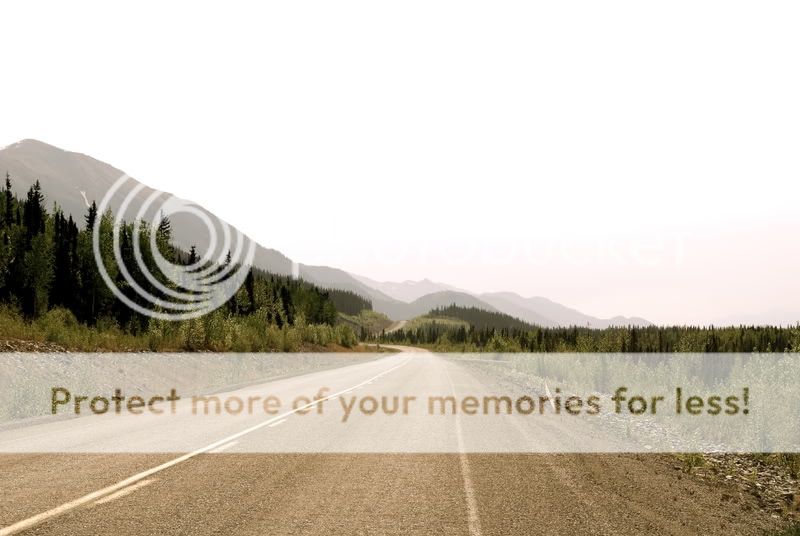
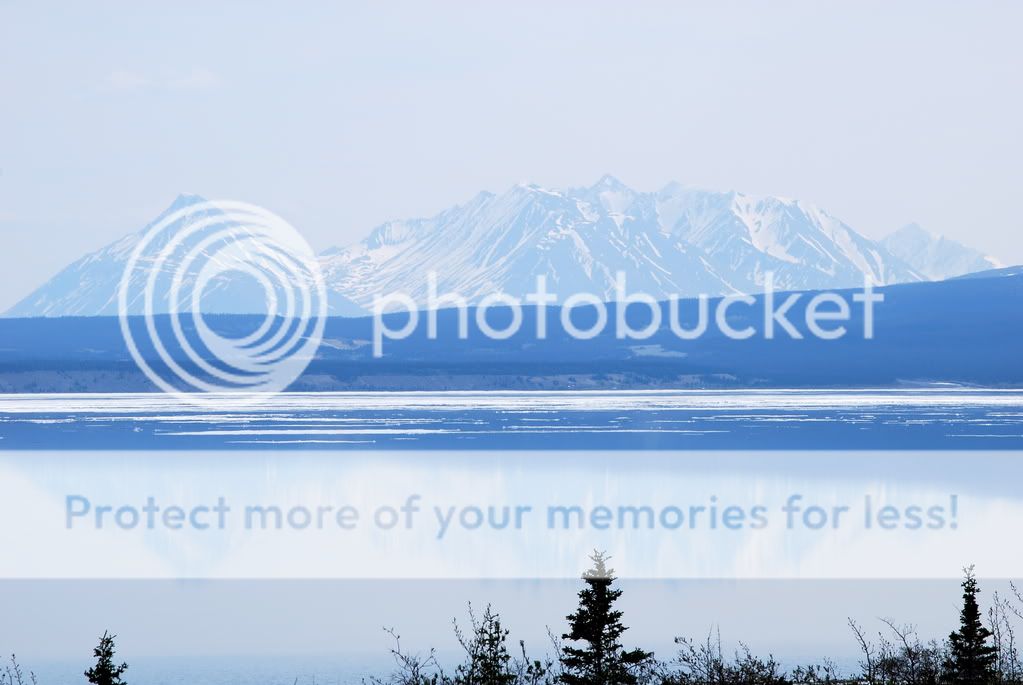
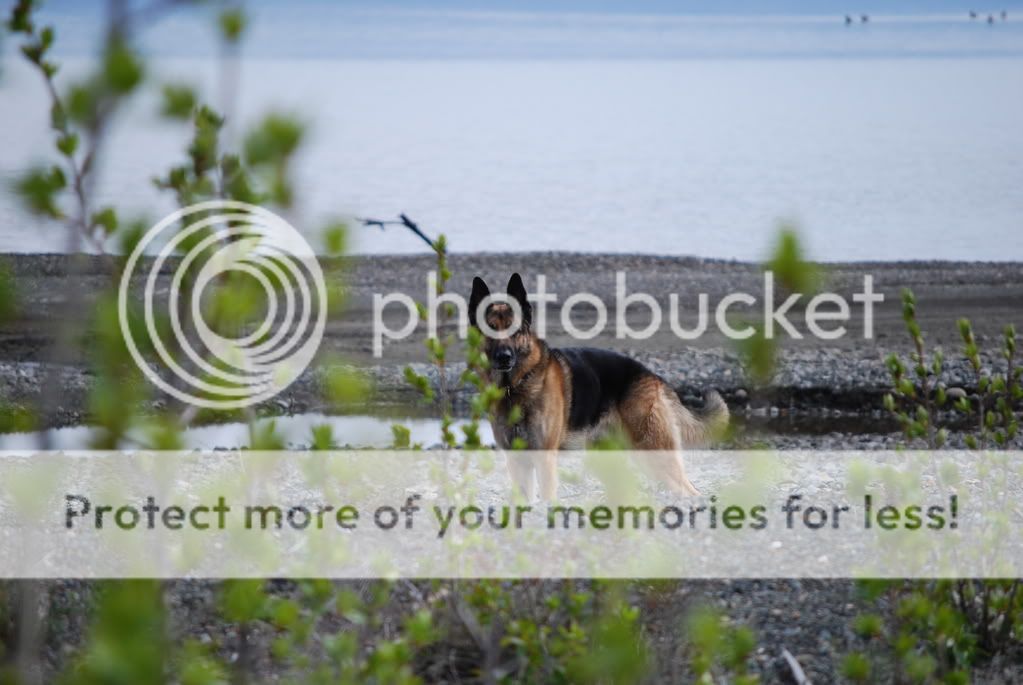
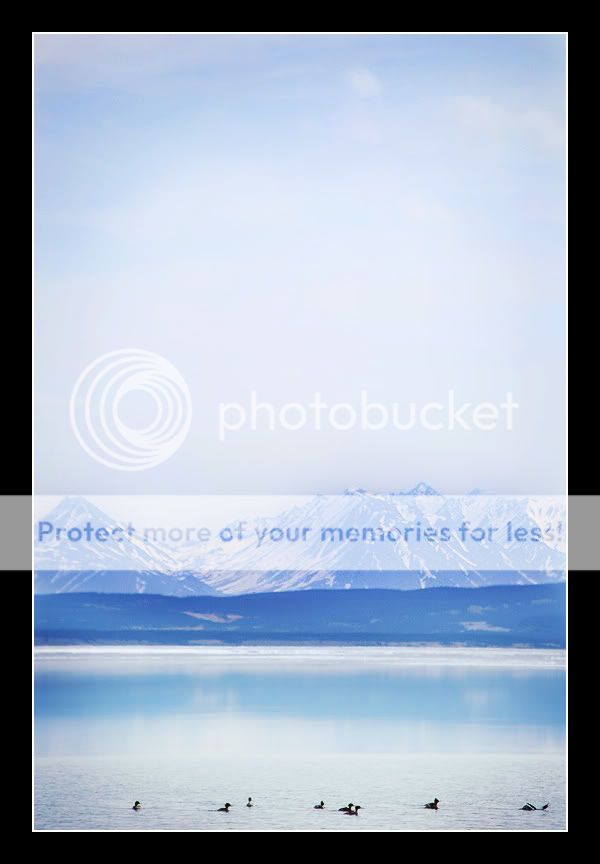
My first post here. I find that I'm interested in photography and managed to talk the wife into letting me get a dSLR (D60). I'm moving down to the mainland from Alaska, and there were some what I'm hoping are pretty good photo opportunities through Canada.

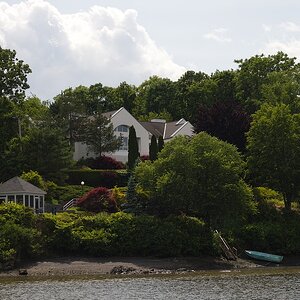
Anyway, I think I could really get into photography, and would like some critiquing on my photos so far. Rather than post them here, they're in a web gallery thanks to the stupid easiness of a mac. A few of them I played around with, but I'd like to know what people think, and what I can do to improve.

Here's the link to the .Mac gallery.
 
i think you'll get more responses of you post some pics here, since people dont click links alot :)
Especially when it's some kind of Flash like gallery.

I waited 5 minutes, still had a blank screen. When I gave up and closed, it closed all of my browsers...
 
You have a good style to your shots, but I think there is a problem with your lighting - many shots have blacks that are too deep and lose details in and several other show very harsh light, so at a guess you were shooting much during the brighter parts of the day.
If you could tell us what mode you were shooting in most of the time and also some common settings that you used - its tricky to comment on so many shots at once though so here is some general advice:

1) when shooting during the day set your exposure compentation to -1 that should help deal with the harsh light. I really think that your style of shooting is leading you to lose details in the darks possibly as a result of reducing the brightness of shots to counter the extra brightness.

2) shoot in apature priority mode - for shots like wildlife set your apature as wide as you can (that means the smallest f number you can set it to). for something like a landscape you want to do the exact opposite - and also consider using a tripod to help with the longer exposure times where hand held will get a blurry image from handshake
 
Here are a few...

Agoat.jpg


Attemptatcloseup.jpg


BeautifulWater.jpg


Intheshadow.jpg


LongroadAntiqueFilter.jpg


Reflections.jpg


Dog.jpg
 
Thanks for the feedback so far, and sorry about the problems with the gallery. It just seemed easy enough to let iphoto do the work of putting them online.

I was shooting during the brighter parts of the day, and I didn't like how faint some of the far off scenery got.

For the landscapes I was using landscape mode on the D60. The one of the dog is portrait mode zoomed in using the 55-200 lens that came with the camera kit. The flower closeup was originally shot using close-up mode, but I found portrait mode gave a better background blur, which seemed kind of nice, so I threw the other one out.
 
I hope you don't mind, I loved these images and wanted to play around with them.

I used some Kubota Actions on them with a bit of personal touches.

On the water and mountain I used:

"Smokeless burn" AV2...I used this lots on the mountains, land, and sky.
"Too Blue Tungsten Daylight 1" AV1...I masked this and painted back in some of the blue in the sky and the mountains.


On the road and trees I used:

"The NEW BW" AV2...This already has a mask. I painted back the color and left the road B&W. There is a bit of a fade from B&W to color in the bottom of the image.
"Digital fill Flash" AV2...on the road and on the trees.
"Smokeless Burn" AV2...swipe down the middle of the road, on the mountains, and on the edges.

Intheshadow_copy.jpg


LongroadAntiqueFilter_copy.jpg


Amber
Kubota Image Tools team
 
I don't mind at all. The picture of the road I applied an antique filter to before uploading it, it seemed kind of fitting. I'd also again like to give thanks for the tip on the exposure compensation. I'm in central Idaho now with some absolutely beautiful mountain shots, and the compensation is really allowing me to catch the details in the shadows on a bright day.
 
I was shooting during the brighter parts of the day, and I didn't like how faint some of the far off scenery got.

Try a UV or Skylight filter.
OR (not 'and': don't stack) try a Circular Polarizer filter (and a tripod).
 
Great shots. Some seem a little overexposed, but besides that it looks great. Keep up the good work!
 
I'd agree. Some appear to be slightly overexposed and a polarizer would have definitely helped the skies and water.
 
Thanks, I'll look into getting some filters when I'm near a bigger town. To the question about the spot above the goat's head, that's an insect.

I've got some more photos I'll be uploading pretty soon for critiquing. I've been shooting in raw ever since reading through some of the faqs and links listed on these forums. I also have been going through some photoshop tutorials and discovering layer masking. I took some photos today of really old log cabins. I'm currently in the process of making the cabins the only thing with color in the photo.

Could anyone link some really good photoshop tutorials by chance?
 
I hope you don't mind, I loved these images and wanted to play around with them.

I used some Kubota Actions on them with a bit of personal touches.

On the water and mountain I used:

"Smokeless burn" AV2...I used this lots on the mountains, land, and sky.
"Too Blue Tungsten Daylight 1" AV1...I masked this and painted back in some of the blue in the sky and the mountains.


On the road and trees I used:

"The NEW BW" AV2...This already has a mask. I painted back the color and left the road B&W. There is a bit of a fade from B&W to color in the bottom of the image.
"Digital fill Flash" AV2...on the road and on the trees.
"Smokeless Burn" AV2...swipe down the middle of the road, on the mountains, and on the edges.

Intheshadow_copy.jpg


LongroadAntiqueFilter_copy.jpg


Amber
Kubota Image Tools team


Wow. I really like how these pictures have turned out with your changes. I liked the originals just fine but these changes made a difference for me.
 

Most reactions

Back
Top