- Joined
- Sep 13, 2013
- Messages
- 1,545
- Reaction score
- 636
- Location
- United States, PNW
- Can others edit my Photos
- Photos OK to edit
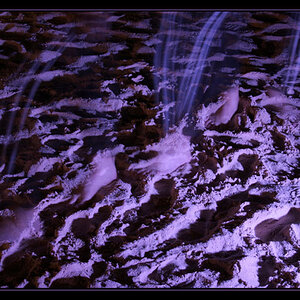
What do you think?
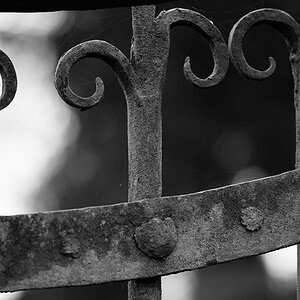
I did a door photo a year ago and it was ... well ... pathetic.
This one I think, and hope, is aesthetically pleasing and well thought out compositionally.
But please, any C&C is welcomed!

I did a door photo a year ago and it was ... well ... pathetic.
This one I think, and hope, is aesthetically pleasing and well thought out compositionally.
But please, any C&C is welcomed!


![[No title]](/data/xfmg/thumbnail/34/34042-f37784c4a5db3d0cf34059cad22b288c.jpg?1619736251)