redbourn
No longer a newbie, moving up!
- Joined
- Dec 18, 2009
- Messages
- 476
- Reaction score
- 36
- Location
- Nazaré, Portugal
- Website
- best-food.info
- Can others edit my Photos
- Photos OK to edit
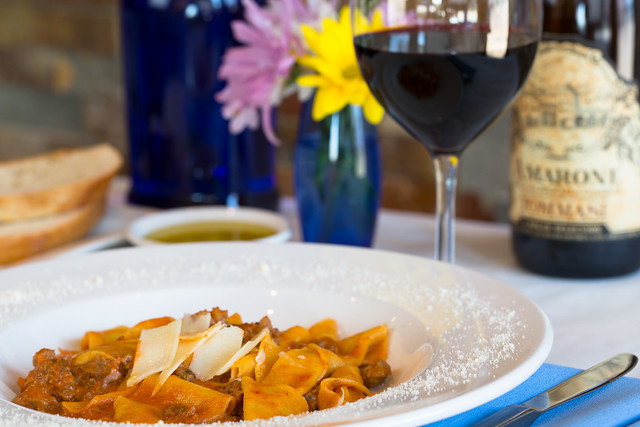
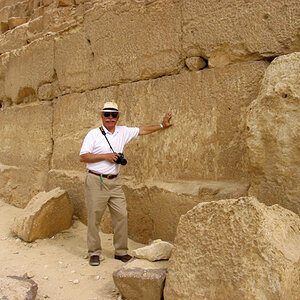
Many people have been very encouraging lately but suggested that I sometimes use props.
So I tried it today.
Just ordered and arm for my tripod so I will be able to shoot straight down from next week.
Michael

So I tried it today.
Just ordered and arm for my tripod so I will be able to shoot straight down from next week.
Michael


![[No title]](/data/xfmg/thumbnail/42/42349-fa3065c4e047f0114ec8715d9168dff9.jpg?1619740147)
![[No title]](/data/xfmg/thumbnail/42/42351-b976e32171d0405397bf5237bc4b902e.jpg?1619740148)