rvrkids
TPF Noob!
- Joined
- Sep 6, 2014
- Messages
- 18
- Reaction score
- 1
- Can others edit my Photos
- Photos OK to edit
I've been posting quite a bit here lately with lots of questions. I am a hobbyist and have taken thousands of pics of my kids playing sports but now they're older and I'm getting more interested in more planned photos and portraits. My daughter just had her senior pictures taken and now I want to be able to take photos like these (just for personal use)....so, much to her dismay she is going to be my guinea pig. Every question I get answered just makes me think of more questions....I am become obsessed :sillysmi: and I am the type of person that needs to know why things work the way they do.
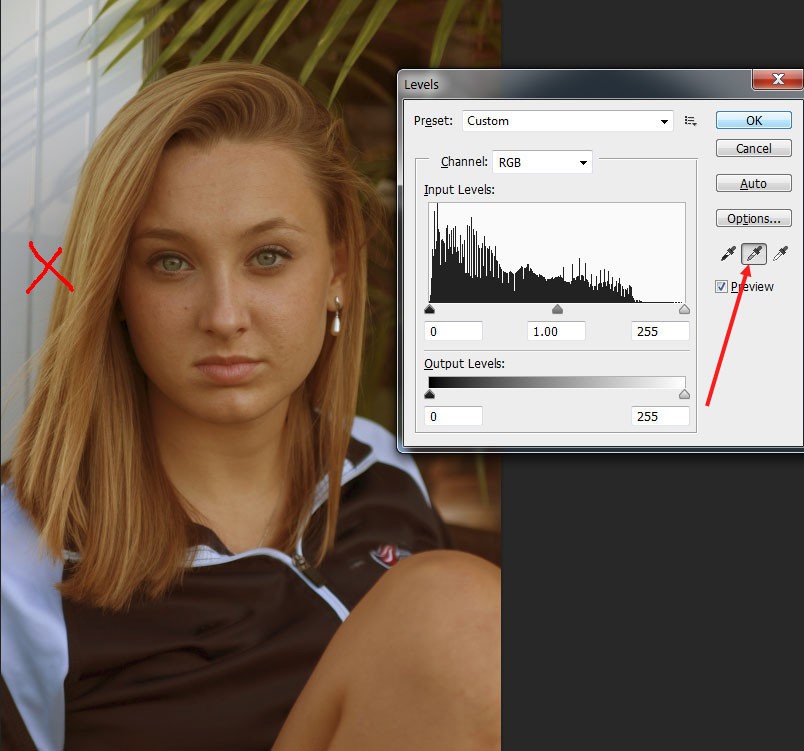
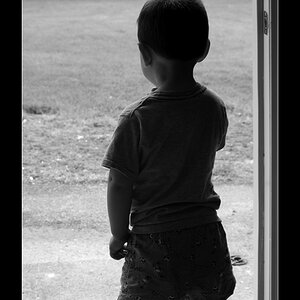
I just took some raw photos of her in my backyard. We were in the shade and I was on manual (although you can see sun in the background in some...don't know if that affected my readings). I kept my aperture very big for shallow depth of field. I was using my Tamron 28-75 and tried different focal lengths. Every time I made sure my metering was spot on and adjusted my shutter speed when needed. Nikon D50, ISO 200, Center metering
I have several questions...sorry so many:
1. Most of them seem to be underexposed.....why, if my metering was right on? Should I always step up my exposure or is it something else I did?
2. My eyes are going bad so I do use auto focus and focused on the eyes. I would normally then recompose but some of these today are boring as I was just testing for lighting and sharpness. They don't really seem to be as crisp as I would like. Is this the nature of the Tamron lens? I do have a Nikon fixed 50mm f/1.8 lens. Would you expect me to have better luck with that lens instead? I just thought being able to zoom to affect depth of field would be nice.
3. Some pics seem to have a bluish-green tint. Does white balance setting have an effect when in raw? I thought it didn't. My white balance was on auto but just because I didn't think I needed to worry about that while in raw. Assuming it does not have an effect, why would my pics be bluish?
4. She likes photos taken in the sun so you can see the light shining on her. How do you know where to take a meter read? They were vastly different just on 2 different spots on her skin that were fairly close to one another (her cheek away from sun and neck which look very similar re: light). And, the highlight has completely washed out her hair in one spot, is that avoidable if you want the sun shining on the subject? Or is this just a see what works best scenario?....Actually I now see why her hair is washed out in that spot...the background in that spot is light also so I guess there is nothing to contrast it against??
I have attached some of the pics that I exported to jpg with no edits....I did edit one of them in lightroom (the last one, had to increase exposure 1.31 among other things). Please help and Thank You Much !!!


![[No title]](/data/xfmg/thumbnail/39/39224-aa3271aa220fe57f37caf898b6984846.jpg?1619738926)
![[No title]](/data/xfmg/thumbnail/32/32950-1cc3896bf614e9412d7fda271f5e63c8.jpg?1619735784)