Scatterbrained
Been spending a lot of time on here!
- Joined
- Apr 19, 2010
- Messages
- 2,184
- Reaction score
- 1,083
- Location
- Yucca Valley, Ca
- Can others edit my Photos
- Photos NOT OK to edit
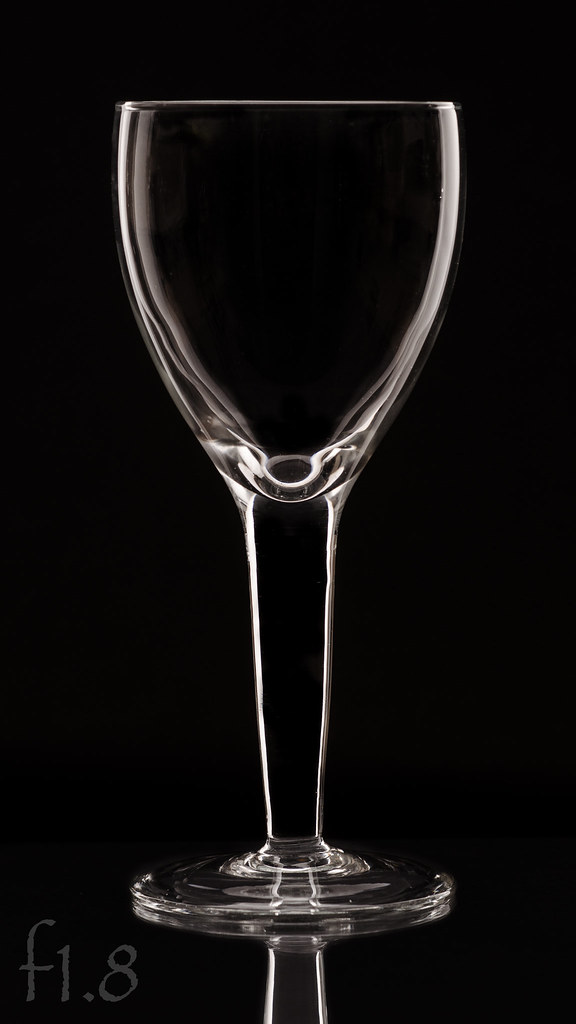
It does the same thing as the black cards, while leaving a more open set...........")
.............. What is the reason for masking off the white area that is not in the frame?
.........
Rob
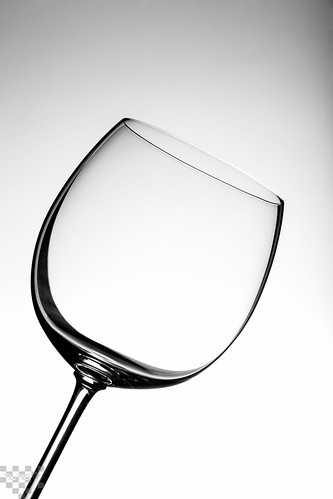
The point of the black cards is really to stop wrap around light from outside of the frame from illuminating the edges of the glass, if there is no light from outside of the frame, but black instead, you eliminate that issue. You can then use the black cards to fine tune even more, this ability will be quite helpful if you are going to use a reflector to light the powder. You can use a white card up high with a black card below it.