Traditional backdrops for portraiture

adamhiram

No longer a newbie, moving up!
Joined
Feb 6, 2015
Messages
858
Reaction score
576
Can others edit my Photos
Photos OK to edit
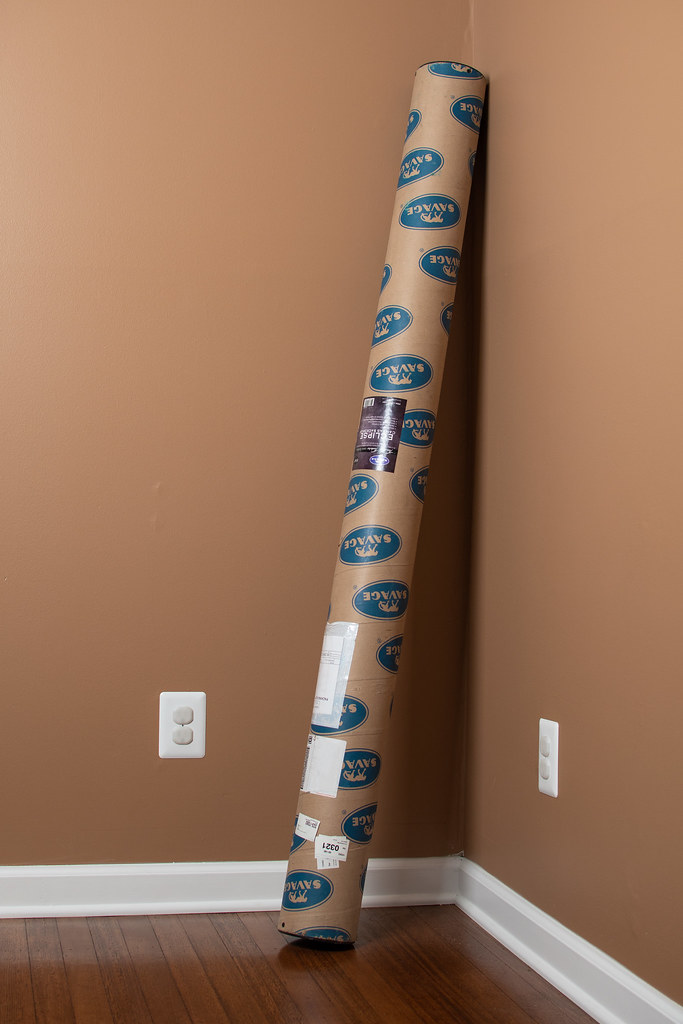
As I continue learning about lighting and portraiture, I am looking for additional options beyond seamless paper for backgrounds to add some texture for more traditional portraiture, or even a basic "school photo" look. I've seen some more affordable options like painted canvas and washed muslin backdrops from Savage, but was looking for recommendations.

What materials, patterns, brands do you recommend? I'm looking for something nicer than a bedsheet, cheaper than an Oliphant, and hopefully versatile enough that I can get a few looks out of it.
 
One option I've used is a canvas drop cloth. 9 Ft. x 12 Ft. Canvas Drop Cloth You can wash and use as is, dye them or paint them yourself. I use as is and adjust my lights to make it white, grey, or black.
 
Last edited:
One option I've used is a canvas drop cloth. 9 Ft. x 12 Ft. Canvas Drop Cloth You can wash and use as is, dye them or paint them yourself. I use as is and adjust my lights to make it white, grey, or black.
I don't know man, this is what happened the last time I bought something from Harbor Freight...
harbor_freight.jpg


In all seriousness though, time is my limiting factor, so I'm not really looking for a DIY option. Great suggestion though!
 
I don't know man, this is what happened the last time I bought something from Harbor Freight...

Had a couple of takebacks but they replaced them no hassle. Time is why I never got around to painting mine. After it was washed it had a nice texture that was easy to change color with the lights. Just never found the need.
 
I have a couple of hand painted backgrounds by this company. They do really good work.

Professional Photography Backdrops, Muslins and Studio Equipment | Silverlakephoto.com

These look great! Any thoughts on differences between canvas and muslin fabrics when it comes to both looks and handling? From my experience, canvas looks great and doesn't really wrinkle, but can be easily damaged if not handled and stored carefully.

I only have painted muslin and don't know how their canvas products compare... the painted muslin is quite thick and I store it rolled, not crumbled in a bag. The quality is excellent.
 
I wound up going with the Savage hand painted canvas backdrop mentioned in my original post. They looked great (at least online), got decent reviews, and the price was right.

First of all, they shipped it it a nice rugged container that will double as storage.


20180604-DSC_7934a
by adamhiram, on Flickr

I wasn't thrilled when it showed up with the packaging broken, but it was wrapped well enough inside that nothing got damaged.


20180604-DSC_7941a
by adamhiram, on Flickr

Here is the setup I used to test it out and see what kind of variations I could get by changing the amount of light on the backdrop. It looks good, and seems to be built well, from being mounted on a sturdy aluminum tube, to having a wooden weight attached at the base, and integrated velcro straps for storage.


20180604-DSC_7986a
by adamhiram, on Flickr

And lastly, here are some sample shots that range from dark and moody to lighter and more neutral, all shot at 85mm, 1/160s, ISO 400, f/8. My only minor complaint is that I wish they had a medium gray version available without any additional color casts mixed in. I'm able to get it pretty light if needed by blasting it with a background light, but the brightest image on the right already has my background light at full power while shooting at ISO 400 at f/8.


backdrop
by adamhiram, on Flickr
 
I used to paint them for a photog back in the day, before I knew what cameras were. I painted canvas backgrounds in exchange for his binned photo prints and portfolio images of my work. This was prior to the digital era. I bought canvas in big mamma rolls and stretched my own canvas, so it was super easy for me to do. I made a lot for them for him. He told me what he wanted, I made a sample on crescent board. He was a neat guy, very creative. Unfortunately, he was killed by a drunk driver (hit head on, drunk was driving on wrong side of freeway) about 5 years ago or I'd be mentored from him.
 
Looks like you are lighting the bg separately from the subject. The tonal difference between subject and bg can be controlled separately. Looks like you have plenty of distance to the bg, 8-10 feet? If you slide the subject and lights closer to the bg should be able to pick up some more brightness there from your bg light based on inverse square rule. I saw your other post with this shot in it. The bg is pretty narrow for more than one or two of people so I don't expect it to be a group shot. I don't expect this is a full length shot with no sweep and the bg/floor arrangement, so you could avoid the hazard of dropping a light on someone's head, having to work with a cumbersome boom and not have to climb a ladder or pull down the light to adjust if you don't have wireless controls if you mounted a stud to a board an placed the light right behind the subject or used a bg stand as another poster showed. Easily accessible, for power and aiming. You don't need a soft box, a light reflector is all needed and if I want to create a fall off, just pop in a grid. As to the tone of the bg, it is dependent on the difference from the exposure on the subject and bg. Decrease the power of the light on the subject, re set the camera exposure and the bg will be relatively brighter if you leave it the same. I use a reflective meter reading of the bg from my stool, and adjust it to the desired difference to incident reading of subject and get exactly the shade I want instantly. No fumbling around shooting, chimping shooting chimping endlessly, not very professional or efficient. Messing around like that can lose the connection with the subject and the mood. I can take spot reflective readings all around the subject to check they are pretty even. If the incident reading and bg reading are the same, the bg will have it's actual tone.
 
Looks like you have plenty of distance to the bg, 8-10 feet? If you slide the subject and lights closer to the bg should be able to pick up some more brightness there from your bg light based on inverse square rule.
Yup, good observation - I think it's about 8'. In this case, I was looking to see the tonal range I could get with this new backdrop by controlling the light on it separately, from about 1/16 power up to 1/1. For a darker background, I will definitely keep this in mind, as one fewer light will make setup much easier!

placed the light right behind the subject or used a bg stand as another poster showed. Easily accessible, for power and aiming. You don't need a soft box, a light reflector is all needed
This is the next thing I had planned to experiment with. For headshots on a seamless background, I will often use a background light positioned on a small stand behind the subject, with a gridded snoot for a central hotspot and rapid falloff. However I would like to have the ability to light this backdrop more evenly. I tried using a bare flash zoomed to its widest setting, but still got a central hotspot, and metered pretty significant falloff near the edges of the frame. I am using speed lights, so using a basic reflector on the light isn't an option without some additional gear - this is why I opted to use a soft box here. Perhaps using the built-in diffuser panel, or something like a Stofen diffuser dome would give more even lighting without needing an extra soft box? I'll have to experiment with a light meter and see if I can get better results this way.
 
Cool setup.

A boom light is something that I've thought about, but have not given serious thought about getting one.
I need to get more comfortable with the standard floor lights, before going overhead.
 
I did some lighting tests with a speed light on gray seamless paper to see what configuration would light the background most evenly. While any of these options would probably work just fine, particularly for a tighter headshot, I was a little surprised at the results.


bg_lighting
by adamhiram, on Flickr

  1. Bare flash @ 35mm zoom: I set the zoom to match the equivalent focal length to ensure full coverage while saving about 1/3 stop of power over its widest setting. This was pretty evenly lit, but with pretty sharp falloff at the top and bottom due to the flash head being positioned horizontally for a vertical shot.
  2. Bare flash @ 20mm zoom: This would have been my default go-to configuration, and looks pretty usable. Mostly even and full coverage at only 1/3 higher power than the prior test.
  3. Bare flash @ 20mm with diffuser: This didn't really add any value, it cost a full stop of light, and actually introduced some subtle artifacts if you look closely.
  4. Overhead soft box: I expected this to be a lot more even with no noticeable hotspot, but noticed significant fall off towards the bottom due to the inverse square law. Still usable if I don't need even lighting towards the bottom of the background, but also a lot more work to setup a soft box on a boom arm.
  5. Bare flash @ 35mm zoom (vertical): I reshot the first test with the speed light oriented the same way as the frame, and got much better results with full coverage. The only catch is that positioning the light this way on a background light stand is harder to hide behind the subject.
  6. Bare flash @ 20mm zoom (vertical): The same test, but zoomed to its widest setting. This will probably be my new go-to configuration for a background light when I need even lighting. Full coverage, no hotspot, evenly lit, and almost no falloff within the frame.
I probably put a lot more effort into this than was really necessary, but it was definitely interesting to see the results. In the future I'll probably stick with option 2 or 6, and skip the overhead soft box.
 
A very good test and writeup, Adam. Thanks go out to you for having posted this.One issue regarding falloff; the closer a light is to a background, the more of a tendency for fall-off due to either insufficient beam-spread OR due to the Inverse Square Law causing rapid disparity in illumination levels between the close edge of the light and the farther edge. When more-even illumination is needed, it's often easy to get it by moving the light father away from the subject or the backdrop, which minimized light fall-off due to Inverse Square Law type scenarios, OR which can allow a narrower-angle speedlight zoom head setting (like 50mm or 35mm), to spread wider, so that the entire background can be illuminated.

Again though, kudos to you for testing out the options, and for arriving at a good,solid speedlight background coverage setting at that flash-to-background distance. I do not think there was unnecessary effort involved: it shows very clearly that there are indeed differences between the various background lighting options.
 

Most reactions

Back
Top