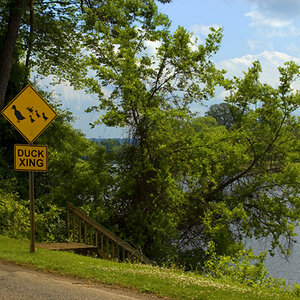
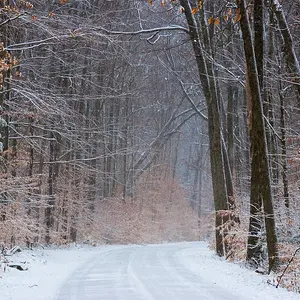
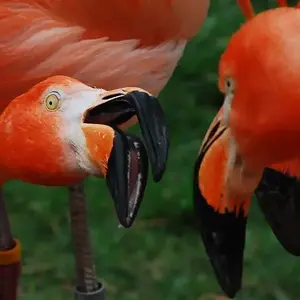
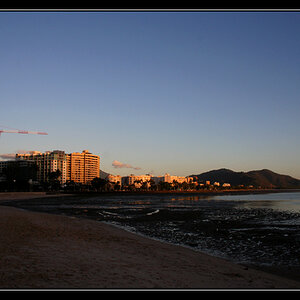
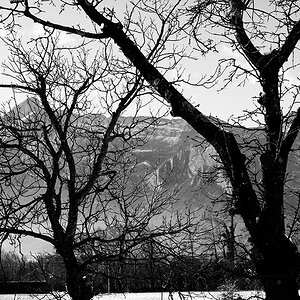
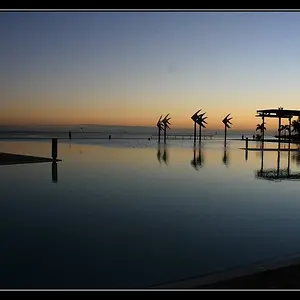
The bottom line is that your new camera is working, not only as intended... but frankly most people HIGHLY desire a camera that can create a tack-sharp subject with a deliberately out-of-focus background. It helps draw a viewer's attention to the subject.
In full automatic mode, the camera has to size-up the exposure for the shot you'd like to take. It's allowed to use any ISO, shutter speed, or f-stop necessary to get an accurate exposure.
The camera doesn't know what you're trying to shoot or how you'd like it to look when you're in full auto mode. So it picks some middle-of-the-road safe settings.
If you WANT the background to be sharp, there are at least four different ways to do that. There is a caveat that I'll point out at the end that you DO want to know about.
1) Turn the dial to the scene mode which has the icon of the mountains with the cloud in the sky. That mode (landscape mode) tells the camera that you want the "widest possible" depth-of-field (the "depth of field" or "DoF" is the range of distances at which objects seem to be in acceptable focus.
2) Instead of using the green 'Auto' mode, switch the camera to 'Program' mode (that's the "P" on the mode dial). This mode stars out like auto mode, except you get to modify the settings. The neat bit is that when you modify the settings the camera automatically adjusts other settings to compensate. To adjust settings you do the following steps:
a) half-press the shutter button so that the camera 'meters' and focuses the shot.
b) Press the exposure lock button on the back of your camera. By default, that's the button with the asterisk (*) on it (but it is possible to remap the buttons.)
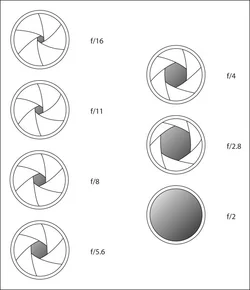
c) Rotate the main control dial (that's the dial just behind the shutter button on the top of the camera) and watch either through the viewfinder OR on the back LCD as you increase the f-stop. Dial it up to a higher value such as f/11 or even f/16 (the higher you take it, the broader the depth of field).
It's generally not necessary to go above f/16.
Be aware that the camera does not "remember" the settings between shots. Every time you re-meter the scene, the camera reverts back to what it wants to use (which is basically what it would have used in full-auto mode) but you can re-lock the exposure (press the "*") and turn the main control dial.
3) Use aperture priority mode. To use this, you set the mode dial to Av (Av = Aperture value). In this mode, YOU pick the aperture (or f-stop value) that you want the camera to use and the camera will automatically set everything else in order to get you that shot. This assumes you left the ISO set to 'Auto' and didn't pick a specific ISO. If you did pick a specific ISO then the camera wont change the ISO ... it will only change the shutter speed to create a balanced exposure.
4) Shoot in manual mode. I wont explain this here, but in manual mode, YOU set everything. You have full control over the exposure. The camera will offer you advice in that the light meter displayed when you look through the viewfinder has an arrow on a scale which ranges from -3 to +3. As you change settings, the arrow will slide left or right. When the arrow is centered, the camera thinks you picked a good exposure. Note that if the settings are more than 3 stops off what the camera believes is a good exposure then the arrow wont start moving until you get close.
You really should at least *learn* about shooting in manual, even if you choose not to use it. That's because the knowledge necessary to shoot in manual will give you a strong grounding in how exposure works and you'll be a better photographer for knowing that. As you approach a shot, you'll know what's realistic.
I mentioned above that there was a caveat that I'd mention. This is it:
When you make the aperture (the clear opening in your lens through which the light must pass in order to take a picture) smaller, you limit the amount of light that can be delivered to the sensor. This is much the same as filling a glass with water, but closing the tap on your sink so that the water flows at a trickle... it'll take a LOT longer to fill the glass when the water is hardly flowing.
That means if you dial the camera to a higher f-stop value (higher values actually represent SMALLER openings -- I know that seems counter-intuitive but the f-value represents the number of times that you can divide the diameter of the clear opening into the focal length of the lens) the camera needs to compensate for this reduced light somehow. It does this in two ways... it can increase the duration of time in which the shutter remains open, or it can increase the sensitivity of the camera sensor (increase the ISO setting). There are limits to how far it can adjust the ISO sensitivity... but there are practically no limits on how long it can increase the duration that the shutter remains open (there are, but the limits are so long that there may as well not be any limits).
But here's where I'm going with this: There's a point where the shutter speed is so slow that it's no longer possible to hand-hold the camera when you take the shot. No matter how still you attempt to stand, you'll move... just a tiny bit, but you will. And that movement (camera shake) will cause the image to be blurry... not because it was out of focus, but because the camera moved while the shutter was open. You could put the camera on a tripod so that it wont move... and if your subject is ALSO not moving, then you can take a photo as long as you want. If you are photographing a moving subject, you're now constrained by the fact the subject is moving so they will appear blurred with motion.
If you were shooting sports, for example, you need a fairly quick shutter speed to "freeze" the action... usually a shutter speed of 1/500th will freeze just about any action (all but the extreme motion). Most people who are actually trying to remain still would not appear blurred at 1/60th and possibly even 1/30th. Your camera lens also has image stabilization which helps you use a slower shutter speed that would normally be recommended for a lens that doesn't have image stabilization. Image stabilization is NOT a guarantee... it simply tips the odds greatly in your favor (you will still occasionally see a shot with blur due to camera motion EVEN when image stabilization was enabled. These will be "infrequent" but there's a difference between "infrequent" and "never". The occasionally blurry shot is not an indication of a defect. When you get into the weeds of how image stabilization actually works, you quickly learn there are limits to how far you can push it before it will no longer be able to "save you" from a blurred shot.