Msteelio91
No longer a newbie, moving up!
- Joined
- Apr 4, 2014
- Messages
- 1,284
- Reaction score
- 435
- Location
- Washington, DC
- Can others edit my Photos
- Photos OK to edit
Some of you may have seen my thread here looking for a cheap solution for a 10+stop ND filter.
Having not found any that seemed good enough, I decided to make my own for less than $20.
PLEASE NOTE: WELDING GLASS HAS A GREEN TINT AND YOU WILL NEED TO SET A CUSTOM WHITE BALANCE AND USE POST PROCESSING TOOLS TO CORRECT THIS.
Here's how I did it, and I'll post examples as soon as I have some.
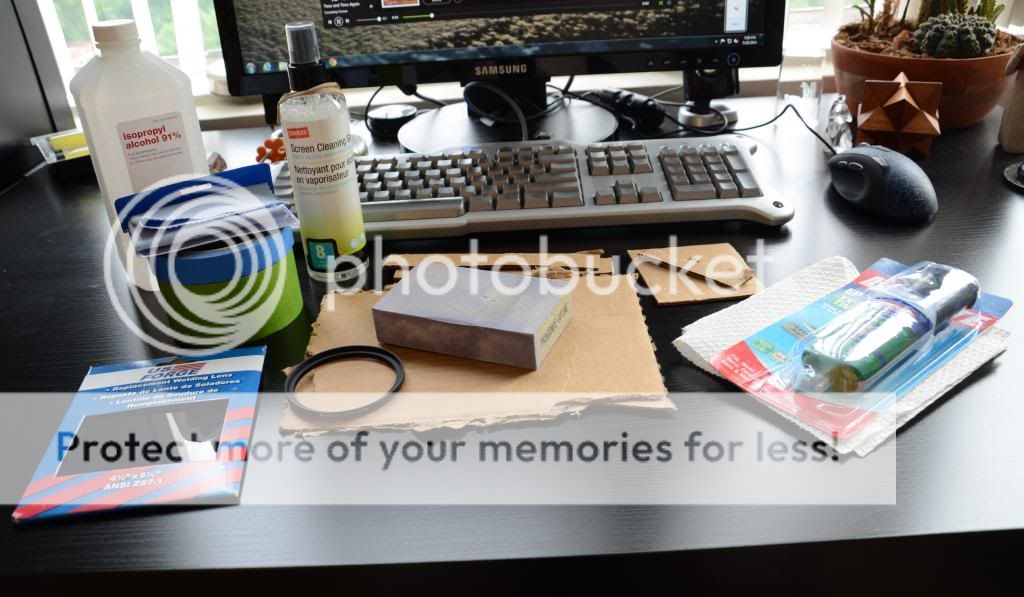
What you'll need:
-Welding Glass. Grade # determines level of opacity. #10 = roughly 12.8 stops
-Epoxy
-A step-up ring that fits your lens. I went with a 67mm to 72mm
-Glass Cutter (optional). This is for cutting the glass into a circle for that true "filter" feel. Otherwise you may want to align the welding glass to the ring while on the camera so you don't end up with a lopsided rectangle hanging off your camera.
Tools and other assorted stuff:
-Sandpaper or sanding block, between 150/200grit is fine.
-Cardboard or other disposable working surface
-Popsicle sticks or something disposable to mix the epoxy
-Lens cloth and cleaner
-Painters tape (blue 3m is best for this)
-Paper towels
-Rubbing alcohol
-Razor blade
First, once you have your welding glass you can easily test it by attaching it to your lens using a couple rubber bands and your sun shade. Reverse your sun shade, and wrap the rubber bands around the glass and then behind the sun shade. Make sure you have clearance between the welding glass and your camera lens glass!
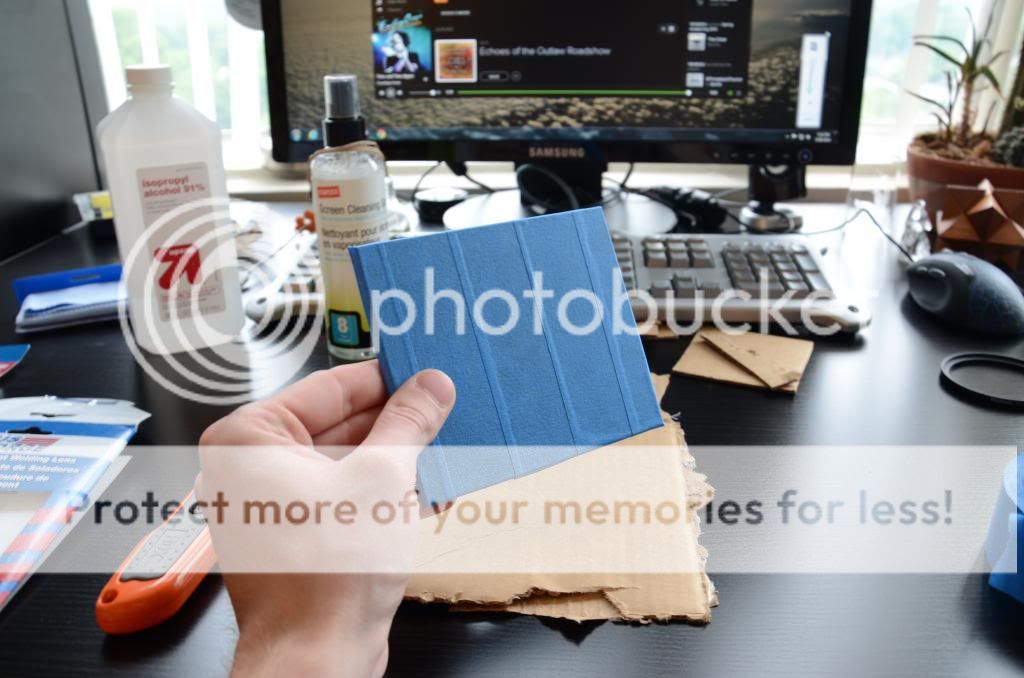
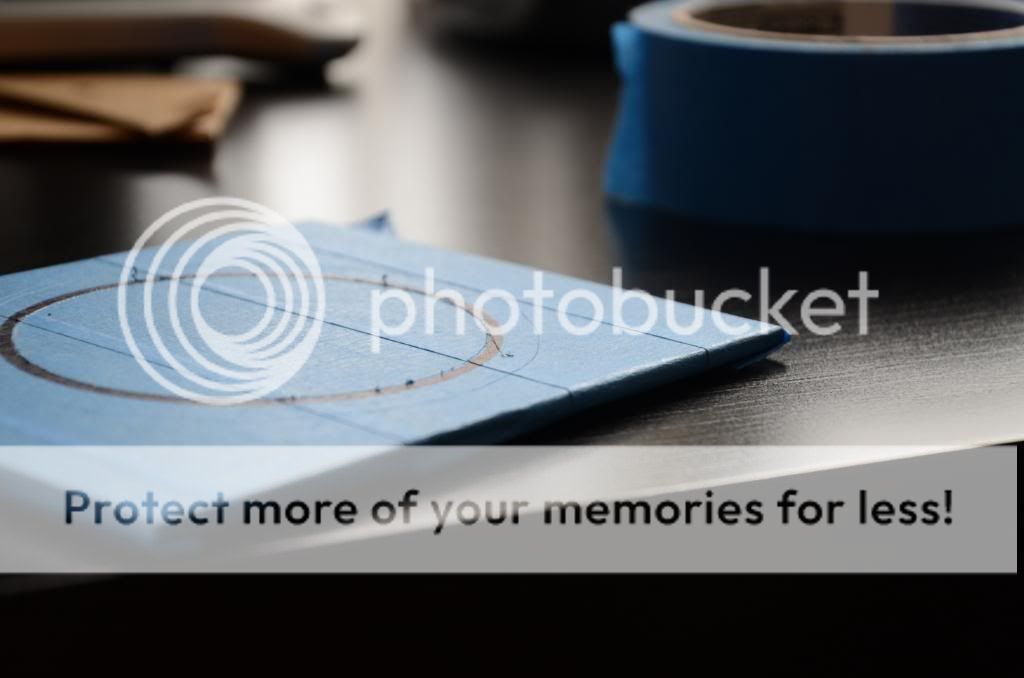
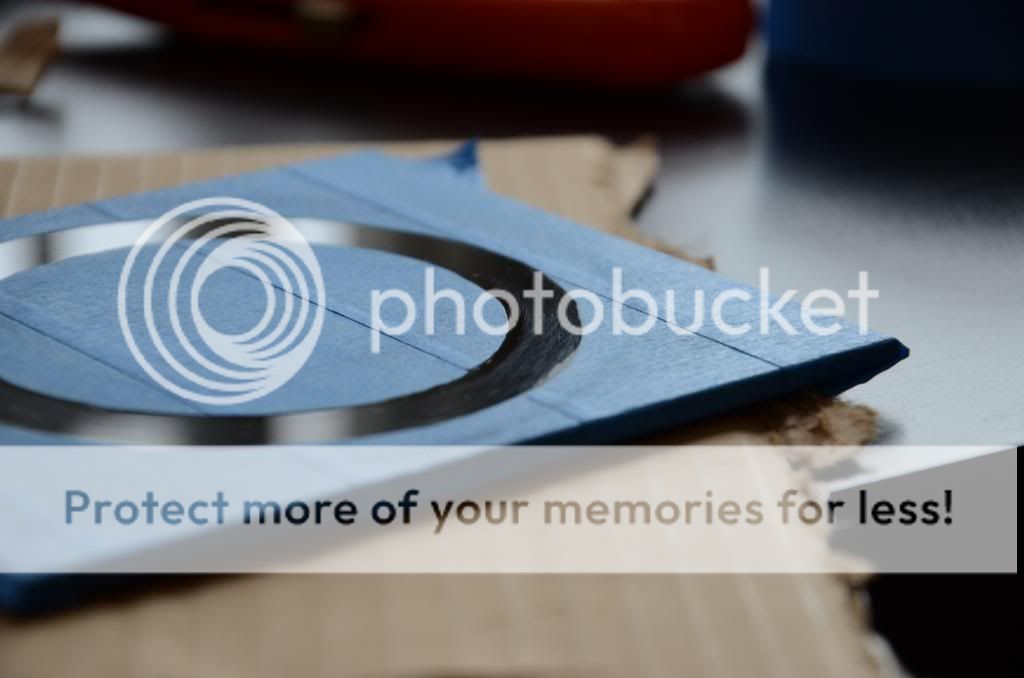
Step 1: Take the welding glass and wrap it tightly in painters tape, overlapping to make sure there is no glass showing.
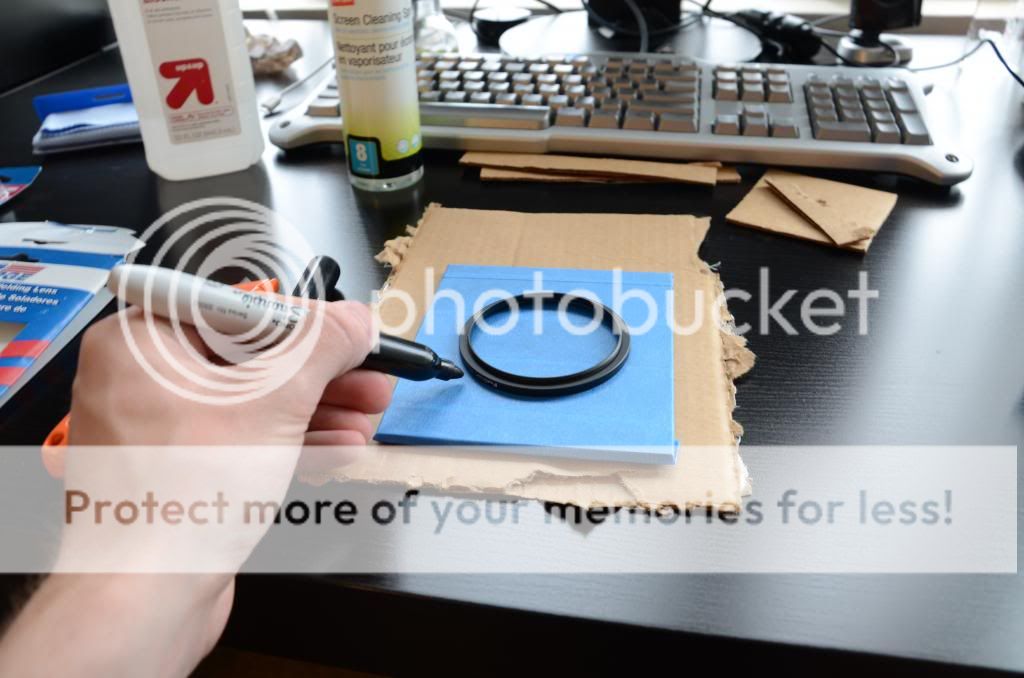
Step 2: Lay the step-up ring on the taped glass, so that the larger side is face down. Trace the ring with a sharpie and then use the razor to cut along the inside of the line you made. It's ok if you gut the glass toward the outside, just not the inside.
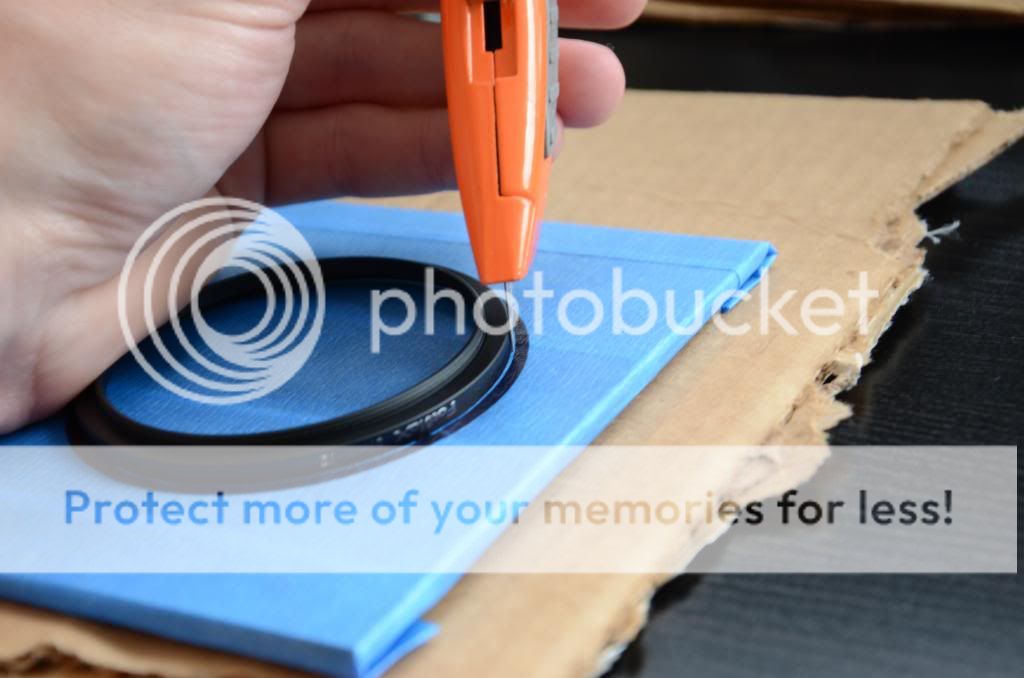
Step 3: Cut another circle about 1/2" around the outside of the one you just made. Use the razor to peel up the edge and pull out the ring of tape. Make sure the rest of the tape is still firmly attached.
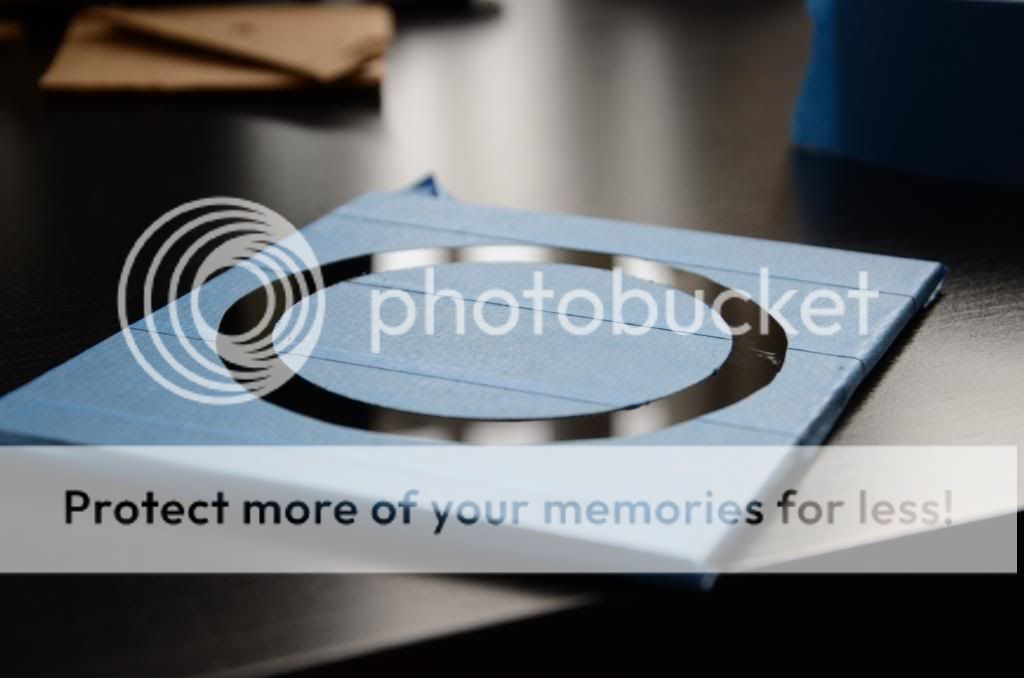
Step 4: Using the sandpaper/sanding block, score the glass well without lifting the tape. This isn't an art but be careful to make sure you don't mess up the inside circle of glass that the camera will "see" through.

Step 5: Now, depending on the thickness of your step-up ring's metal, you'll need to cut another circle toward the inside. You want the glass to sit flush against the ring, so that the ring does not sit on top of tape. The metal on the one I got is roughly the thickness of my sharpie, so I used that as a gauge and cut it out. Use the razor to peel it up and remove.
Clean the glass and ring thoroughly with the rubbing alcohol. Don't mess up the tape. Remove any dust with the lens cloth before laying the ring down in place.
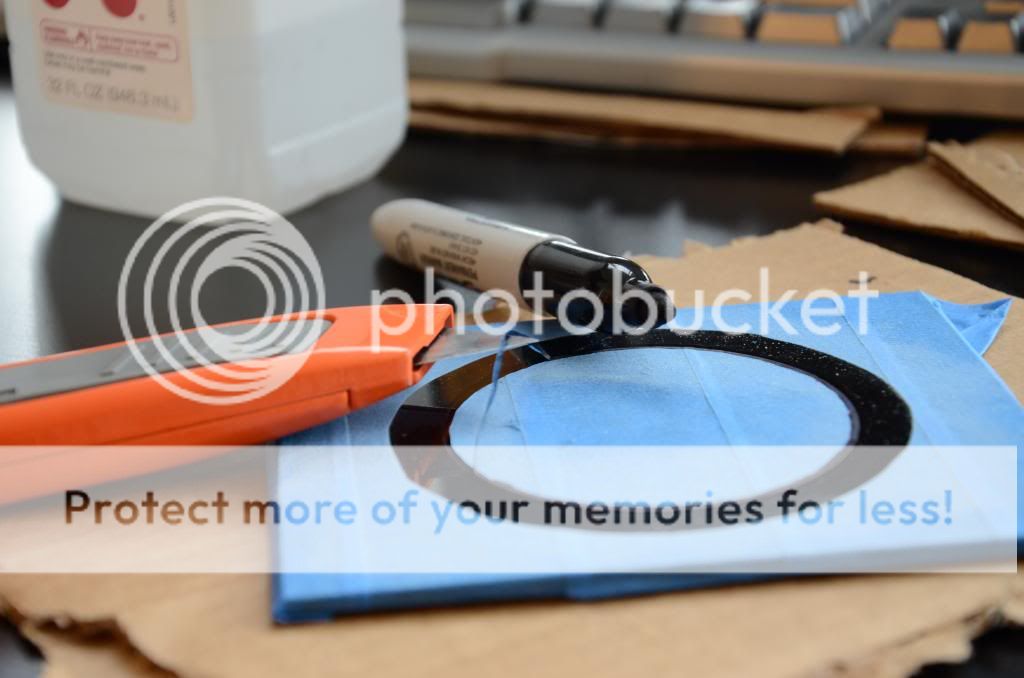
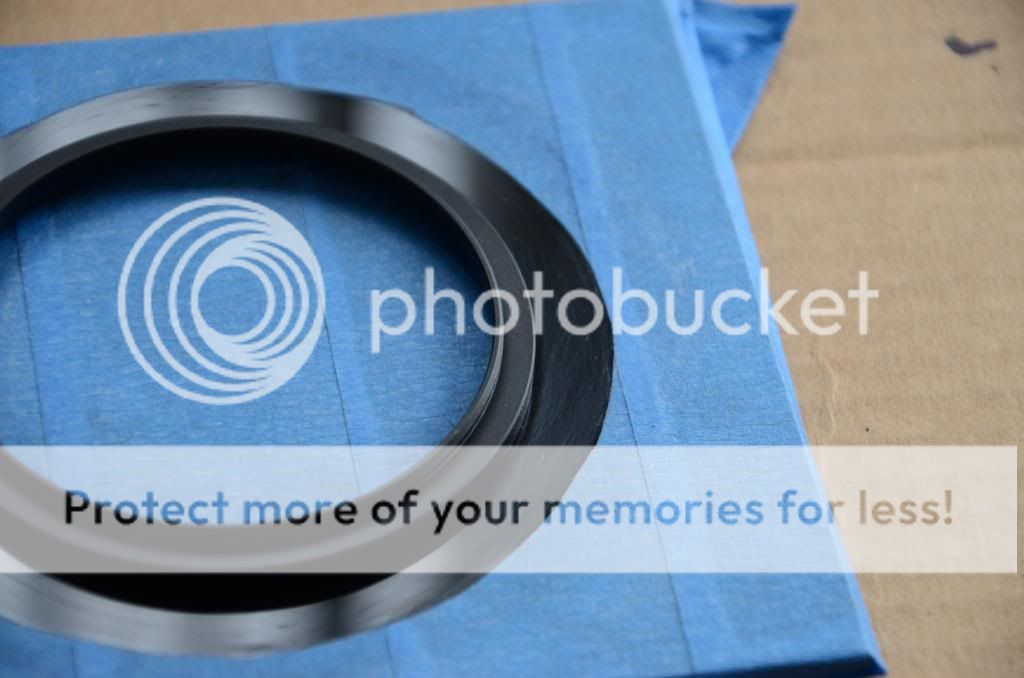
Here you can see the un-sanded glass where the ring of tape was cut out...
Ring sitting flush on the glass with sanded glass on the outside.
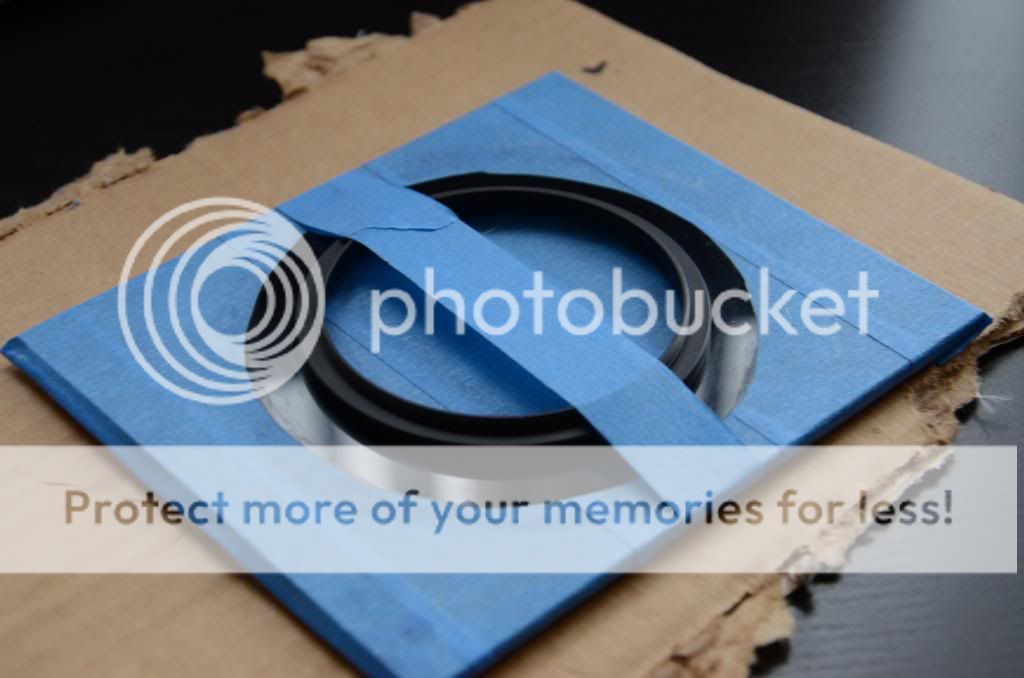
Step 6: Now it's epoxy time. Get your epoxy mixed and tape the ring firmly to the glass. Again, big side down, little side up.
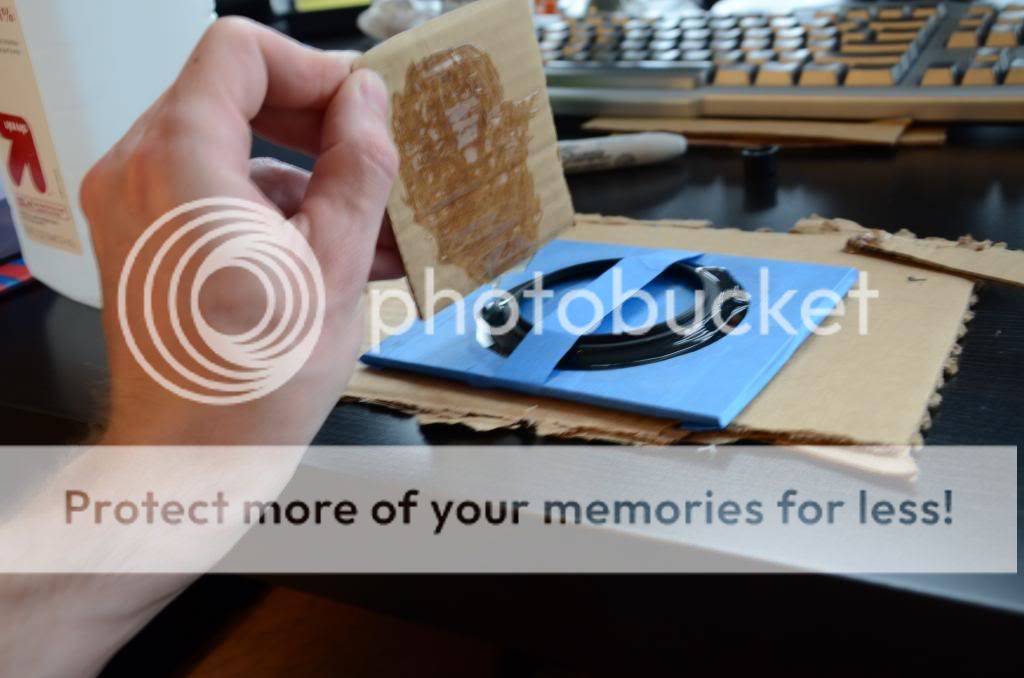
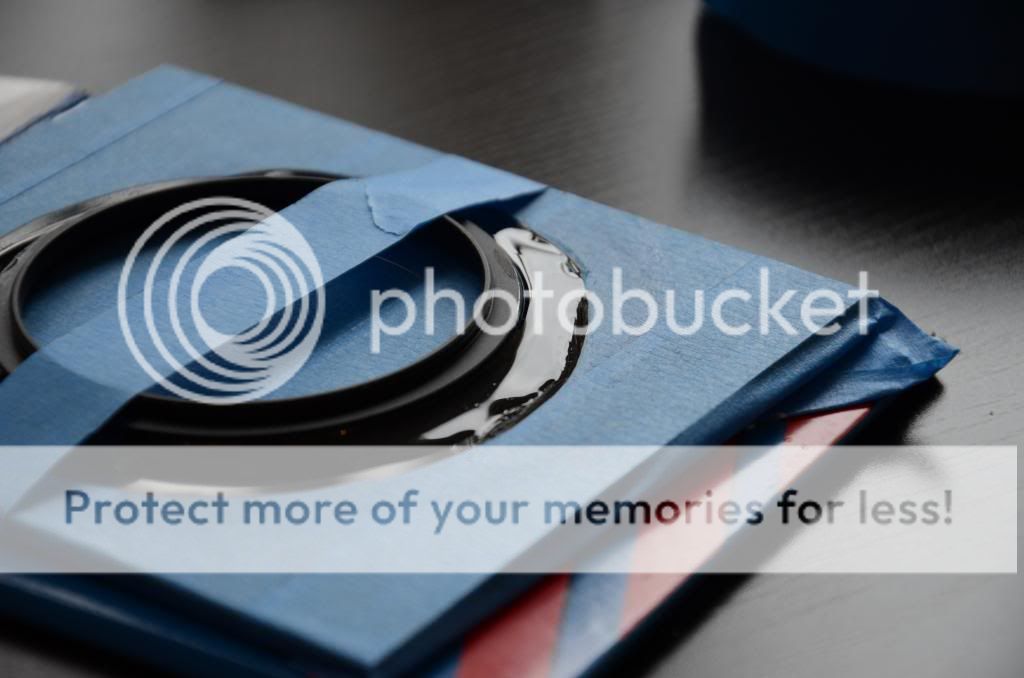
Step 7: I found it easiest to "drip" the epoxy onto the glass. Use whatever method you want. You want the epoxy to make contact with the sanded glass and the metal ring.
It was tough to get this picture and I ended up getting the epoxy on myself, hope it was worth it lol.
Like a fine weld...
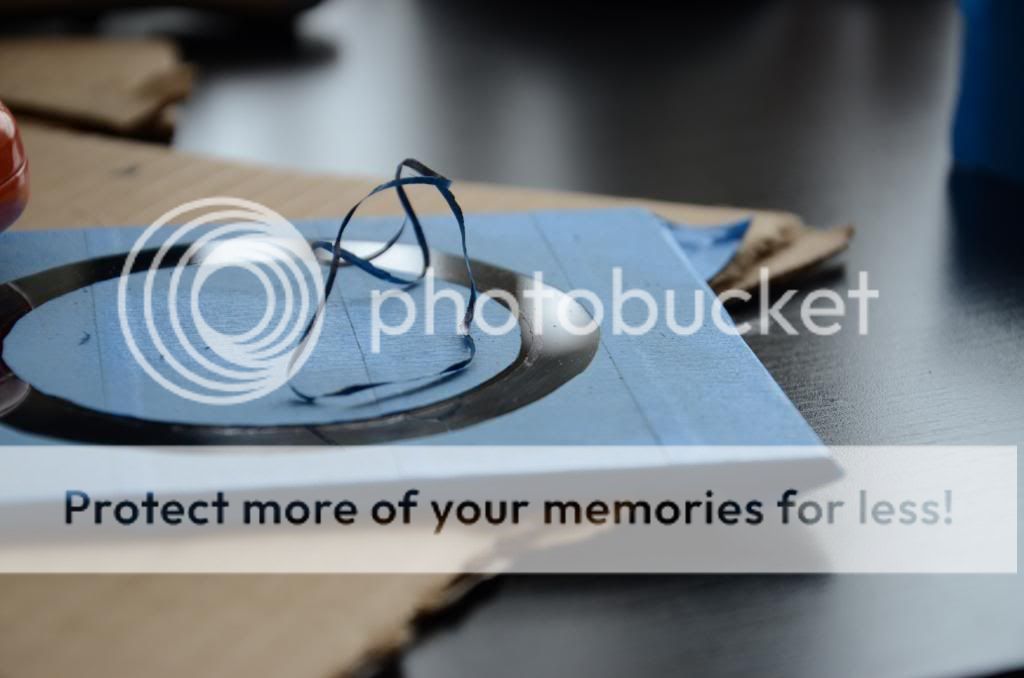
Now let it dry (depending on your epoxy) until the epoxy is just slightly thick and no longer running. Carefully peel up the tape using the razor but be careful not to move the ring. If you do, it's no huge deal but the less it's moved the better. Use the razor to remove the tape from the inside of the ring circle as well, being cautious not to scratch the glass.
Stick it somewhere devoid of dust and let it dry overnight before even looking at it again.
Once dry for 24hours, use the glass cutter (optional) to cut it into a circle, just shy of your epoxy line. Use sandpaper to soften the edges.
Mine is complete and I have some additional pics but I'm currently at work and can't upload them right now.
Here is a quick guide to setting white balance for the welding glass.
I hope to get some trial shots soon!
Disclaimer: I assume no responsibility for anything you attempt. This guide is only a suggestion and I will take no responsibility for any property damage or personal injury that may occur as a result of attempting to follow this guide. Potential harm including but not limited to: fire, explosions, spontaneous piano, horrible diarrhea, and very sticky fingers.
Having not found any that seemed good enough, I decided to make my own for less than $20.
PLEASE NOTE: WELDING GLASS HAS A GREEN TINT AND YOU WILL NEED TO SET A CUSTOM WHITE BALANCE AND USE POST PROCESSING TOOLS TO CORRECT THIS.
Here's how I did it, and I'll post examples as soon as I have some.
What you'll need:
-Welding Glass. Grade # determines level of opacity. #10 = roughly 12.8 stops
-Epoxy
-A step-up ring that fits your lens. I went with a 67mm to 72mm
-Glass Cutter (optional). This is for cutting the glass into a circle for that true "filter" feel. Otherwise you may want to align the welding glass to the ring while on the camera so you don't end up with a lopsided rectangle hanging off your camera.
Tools and other assorted stuff:
-Sandpaper or sanding block, between 150/200grit is fine.
-Cardboard or other disposable working surface
-Popsicle sticks or something disposable to mix the epoxy
-Lens cloth and cleaner
-Painters tape (blue 3m is best for this)
-Paper towels
-Rubbing alcohol
-Razor blade
First, once you have your welding glass you can easily test it by attaching it to your lens using a couple rubber bands and your sun shade. Reverse your sun shade, and wrap the rubber bands around the glass and then behind the sun shade. Make sure you have clearance between the welding glass and your camera lens glass!
Step 1: Take the welding glass and wrap it tightly in painters tape, overlapping to make sure there is no glass showing.
Step 2: Lay the step-up ring on the taped glass, so that the larger side is face down. Trace the ring with a sharpie and then use the razor to cut along the inside of the line you made. It's ok if you gut the glass toward the outside, just not the inside.
Step 3: Cut another circle about 1/2" around the outside of the one you just made. Use the razor to peel up the edge and pull out the ring of tape. Make sure the rest of the tape is still firmly attached.
Step 4: Using the sandpaper/sanding block, score the glass well without lifting the tape. This isn't an art but be careful to make sure you don't mess up the inside circle of glass that the camera will "see" through.
Step 5: Now, depending on the thickness of your step-up ring's metal, you'll need to cut another circle toward the inside. You want the glass to sit flush against the ring, so that the ring does not sit on top of tape. The metal on the one I got is roughly the thickness of my sharpie, so I used that as a gauge and cut it out. Use the razor to peel it up and remove.
Clean the glass and ring thoroughly with the rubbing alcohol. Don't mess up the tape. Remove any dust with the lens cloth before laying the ring down in place.
Here you can see the un-sanded glass where the ring of tape was cut out...
Ring sitting flush on the glass with sanded glass on the outside.
Step 6: Now it's epoxy time. Get your epoxy mixed and tape the ring firmly to the glass. Again, big side down, little side up.
Step 7: I found it easiest to "drip" the epoxy onto the glass. Use whatever method you want. You want the epoxy to make contact with the sanded glass and the metal ring.
It was tough to get this picture and I ended up getting the epoxy on myself, hope it was worth it lol.
Like a fine weld...
Now let it dry (depending on your epoxy) until the epoxy is just slightly thick and no longer running. Carefully peel up the tape using the razor but be careful not to move the ring. If you do, it's no huge deal but the less it's moved the better. Use the razor to remove the tape from the inside of the ring circle as well, being cautious not to scratch the glass.
Stick it somewhere devoid of dust and let it dry overnight before even looking at it again.
Once dry for 24hours, use the glass cutter (optional) to cut it into a circle, just shy of your epoxy line. Use sandpaper to soften the edges.
Mine is complete and I have some additional pics but I'm currently at work and can't upload them right now.
Here is a quick guide to setting white balance for the welding glass.
I hope to get some trial shots soon!
Disclaimer: I assume no responsibility for anything you attempt. This guide is only a suggestion and I will take no responsibility for any property damage or personal injury that may occur as a result of attempting to follow this guide. Potential harm including but not limited to: fire, explosions, spontaneous piano, horrible diarrhea, and very sticky fingers.


![[No title]](/data/xfmg/thumbnail/32/32153-05f63098d8752b05df53dfa6ae8d6e7d.jpg?1734161045)
![[No title]](/data/xfmg/thumbnail/32/32721-63e870bb6055043e46744e5ac505d9bf.jpg?1734162372)
![[No title]](/data/xfmg/thumbnail/31/31019-2d026027bccbe16cea34daffbab9e4f0.jpg?1734159107)


![[No title]](/data/xfmg/thumbnail/32/32717-74f4cee577117aa4476c9eb68fec51c7.jpg?1734162352)


