Thomas V
No longer a newbie, moving up!
- Joined
- Mar 25, 2024
- Messages
- 170
- Reaction score
- 119
- Location
- Raeford, NC USA
- Can others edit my Photos
- Photos NOT OK to edit
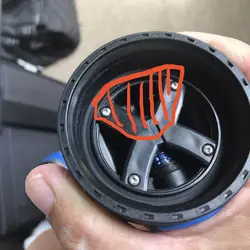
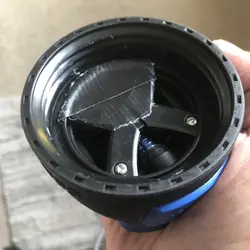
I've already tested my Cambo SC-2 using enlarging paper as film and I am happy it's okay to go to the next step of using film! It's been a step-by-step process over the last year+ gathering up all those eBay finds into a full camera. Needing a film at 4 x 5" requires searching for reasonable pricing but it's out there. Me being a devout black and white film user makes it rather easy. Similar to my 35mm and 120 film processing I'll use a cylindrical tank for all three chemistries but again, I needed to construct a tank to save expense. For the most part, the film processing is very familiar to me. The negative to finished positive is also a process I do now but will need a twist. My darkroom enlarger is only capable to handle 2.80" square negatives....opps. Since at this point in the entire I named "Camera to Wall", I'll now be able to do the finishing steps under an amber or red lighting yay! Although I hit a speed bump, I'll still use my enlarger for the light is generates and simply lay the negative onto the finish print paper and do my usual on/off timing. The best for me will be using an opaque and dark plastic and "build" a test sample with each step, light to dark, representing a 1/2 second. After those test exposures to the paper I'll process that paper to produce a graphic chart to use. The distance of each step can be approximate, but I think the angle of step travel would be helpful if there's a mix of light and dark in the pic. Haha....old engineer Tom was sneaking out there. With adjustment learned in this test I should be spot on for the finish! The test print will go up on the wall as a very good start guide with a little old-fashioned estimating.


![[No title]](/data/xfmg/thumbnail/37/37605-90c8efaef5b7d1f52d4bf8e7dfd33673.jpg?1734170732)

![[No title]](/data/xfmg/thumbnail/34/34073-71bff52a53b8313ff2bcccab6b05f9b8.jpg?1734164509)

![[No title]](/data/xfmg/thumbnail/37/37113-886cb28b1e3fb197bdd00a9148269407.jpg?1734169831)


![[No title]](/data/xfmg/thumbnail/37/37110-1d5d98524f9f6a8623703161610ef439.jpg?1734169830)
![[No title]](/data/xfmg/thumbnail/42/42397-30faa170de7ed9be38adf00b9b26a220.jpg?1734176928)

