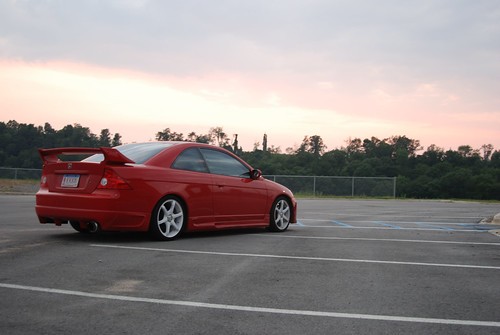
try this....
First, when you take the photos, make sure you use a tripod. When you take photos for this sort of use, the camera can't move at all. Put the camera on manual mode and take one photo with the settings to expose for the sky (The Sky exposure). Then adjust the shutter speed only (to avoid altering the depth of field) and take another photo to expose for the foreground (the Car exposure).
Now, in Photoshop, put both photos into the same image. You;ll have two layers, one layer has the sky exposure, and the other layer has the car exposure. Let's put the sky picture on top.
Now, on the sky picture, create a layer mask.
Once you've got the layer mask, you can use the brush tool on this layer mask to hide or reveal parts of the sky image. Painting black on the layer mask will make the layer transparent. Painting white will show the layer (remember, black holds it back and white shows the sight. Not the most poetic wording, but it is an easy way to remember that black hides the layer and white shows the layer.)
Click on the layer mask to select it, and then choose a large soft edged brush. make sure the brush is black. Now because the layer mask is the sky exposure, we want to keep the nicely exposed sky, but we want to hide the dark foreground. So paint over the foreground (the underexposed bits) with the black brush (making sure that you are working on the layer mask, not the layer itself). As you do this, you'll see the layer beneath (The car layer) show through.
Keep doing this until you have the photo the way you want it. Basically, what we've done is put two photos above each other, then hidden the badly exposed part of one to show the properl;y exposed version beneath it.
If you make a mistake whuile you are painting on the layer mask, just switch to white and paint over it to reverse it.
of course, this is a rather basic way to do it, and if there are complex outlines it can be very hard to get it looking good. But this technique is a good place to start.


![[No title]](/data/xfmg/thumbnail/36/36401-dfb1077e5917eb47c5acf9c208e7be2a.jpg?1734168787)


