slackercruster
No longer a newbie, moving up!
- Joined
- Jan 30, 2012
- Messages
- 761
- Reaction score
- 65
- Can others edit my Photos
- Photos OK to edit
As the old timers die off, the legacy of the fabled dye transfer print in our digital age is disappearing. Many young photogs you talk with never heard of the process. Dye transfers were the ultimate color print up to the early 1990's when Kodak stopped making the materials for dye transfer work. As a remembrance to the fabled dye transfer print, I thought I'd add my 2 cents to this subject to at least memorialize a tidbit more information about it.
In the 1970's I was very fortunate to have worked for a short time with Bob Pace at Graphic Process Co in Hollywood CA. Bob was one of the top dye transfer men in the country. When he operated as Pace Color Labs in N.Y. he rolled out transfers for the top photographers of that time including Irving Penn and Yousuf Karsh. Bob relocated to the west coast and was the man to go to for high quality dye transfers. Bob was very generous with me with his time as well as even giving me materials for my own dye transfer experiments. Bob was always ready to help anyone interested in learning about the process.
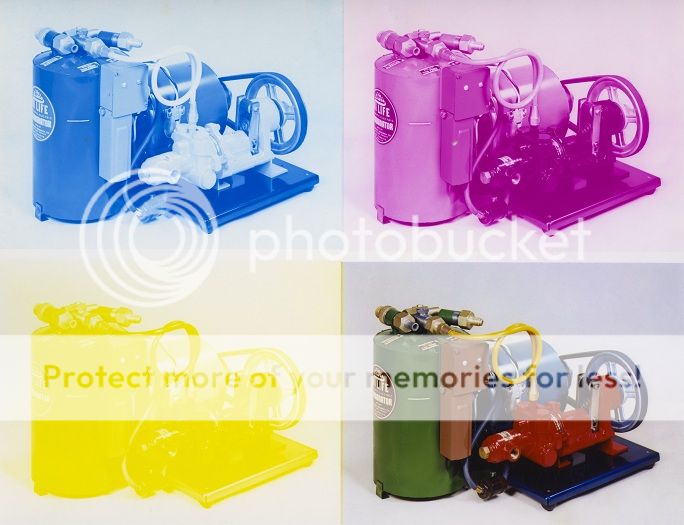
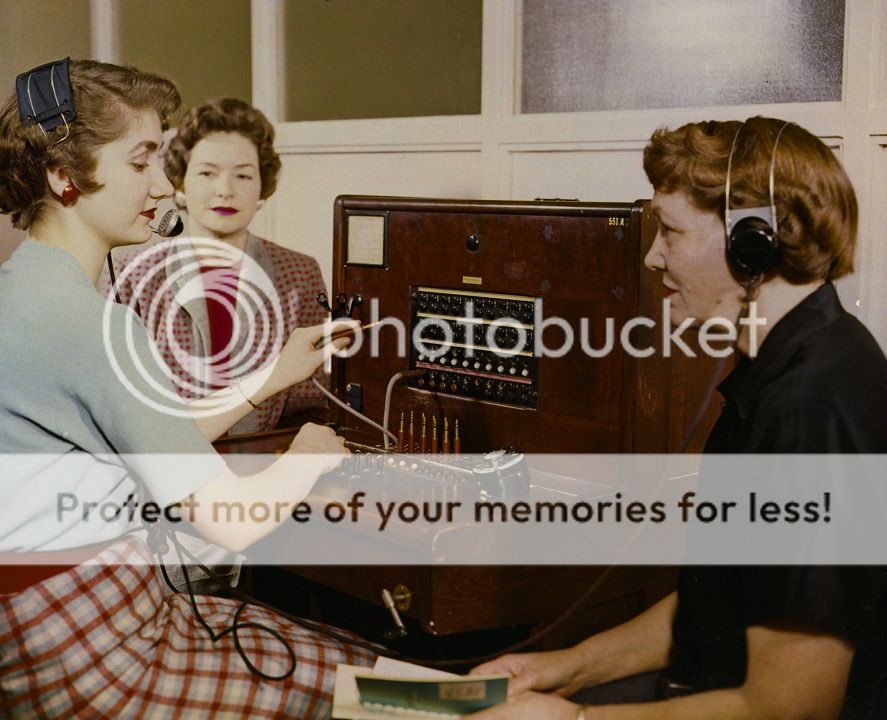
To give you a short rundown on how the dye transfer process works, it can be summed up in this actual dye transfer print from 1948 salesman's catalog for U.S. Color Print in Portland, OR.
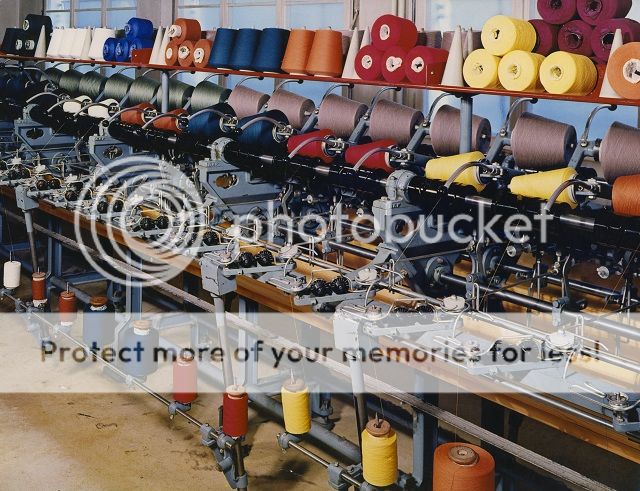
An original color chrome / slide would be turned into a color interneg. This would be color separated into 3 different color separations through reg, green and blue filters onto matrix film. The matrix film would be developed in a tanning developer which hardened the exposed portions of the matrix film. Any un and underexposed gelatin would wash off in warm water. The remaining emulsion would absorb dye in proportion to its density. The 3 color separations on matrix film were dyed magenta, yellow and cyan and rolled in pin registration onto a final support paper. The paper absorbed the dye due to an imbalance in PH and after the last matrix was removed the dye transfer was ready to be dried.
That is a simplified version of it. An expert may be able to produce a fine dye transfer in 8 hours. But if shadow and highlight masks or friskets need to be made, it took a lot longer. The actual rolling out of the print from dyed matrices took only 20 min or less.
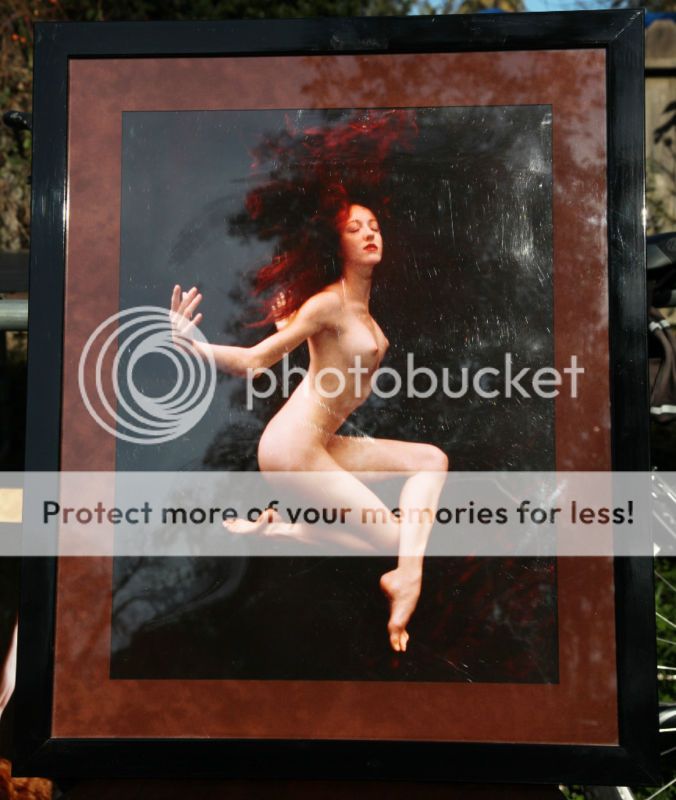
The beauty of dye transfer was a fresh set of color prints could be rolled off at any time from archival processed matrix separations. But the inherent permanency of the dyes Kodak used seldom made this necessary. In its heyday, dye transfer prints were the only color print a museum would accept in their collection. But since its demise, Type C, Cibachromes and Ink Jet prints are what museums are collecting now.

Chromogentic / Type C print from the collection of Solomon R. Guggenheim Museum, New York.
Let me talk a little about these various printing media I mentioned before continuing with the dye transfer process.
Type C or Chromogenic printing is the standard wet developed color print we have all known since the late 1940's. In the early days the dyes were not very stable. But the makers have improved a lot in that dept. The problem with Type C was that many pros shot in chromes or slide film and a color interneg had to be produced to make the C print. This removed the actual image a generation away from the original. In the 1970's Agfacolor printing paper was an excellent paper for beautifully rendered color . The problem with Agfacolor was it faded quickly.
Chromogenic color print - Wikipedia, the free encyclopedia
As an alternative to Type C, Ciba came out with Cibachrome. Cibachromes could be made from chrome / slides direct and did not need a color interneg made.
Ilfochrome - Wikipedia, the free encyclopedia
I remember Graphic Process having a display of giant Cibachrome in the front window. Direct CA sunlight was blasting away at them all day. The Cibachromes developed a craquelure to the base...but the colors never faded. The bad thing about the Ciba was the plastic look of the base material. They also left a lot to be desired in the area of print control that masking offered with the dye transfers. Cibachromes tended to look like hell after they were handled some. Color wise it is very good. And fade resistance it is excellent. But the shiny plastic surface ruined it. If it was type F surface they would have had a winner.
Cibachromes reminded me of a shiny black Cadillac. It looks great the first day out of the showroom...and it is all downhill from there. Just like the black car, the super shiny Ciba shows all defects, scratches, fingerprints, dust. In the end, Cibachromes could not compare to dye transfers when it came to making a beautiful, traditional print.
Here is a sample Cibachrome print showing some handling wear and tear.

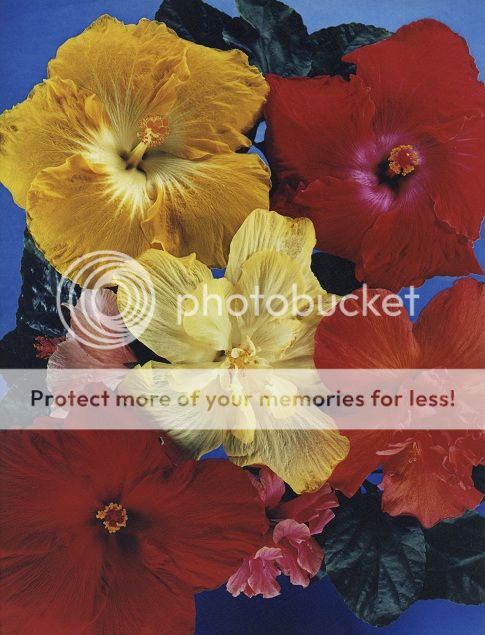
In our modern day we do have a replacement to the dye transfer print. It is actually a dye transfer print made by machine...the ink jet print. Ink jet printing is capable of producing very high quality prints with excellent dye permanence and anti fading characteristics. Here is a a sample 4 x 5 ink jet print made with a 5 color inexpensive ink jet printer from Walmart.
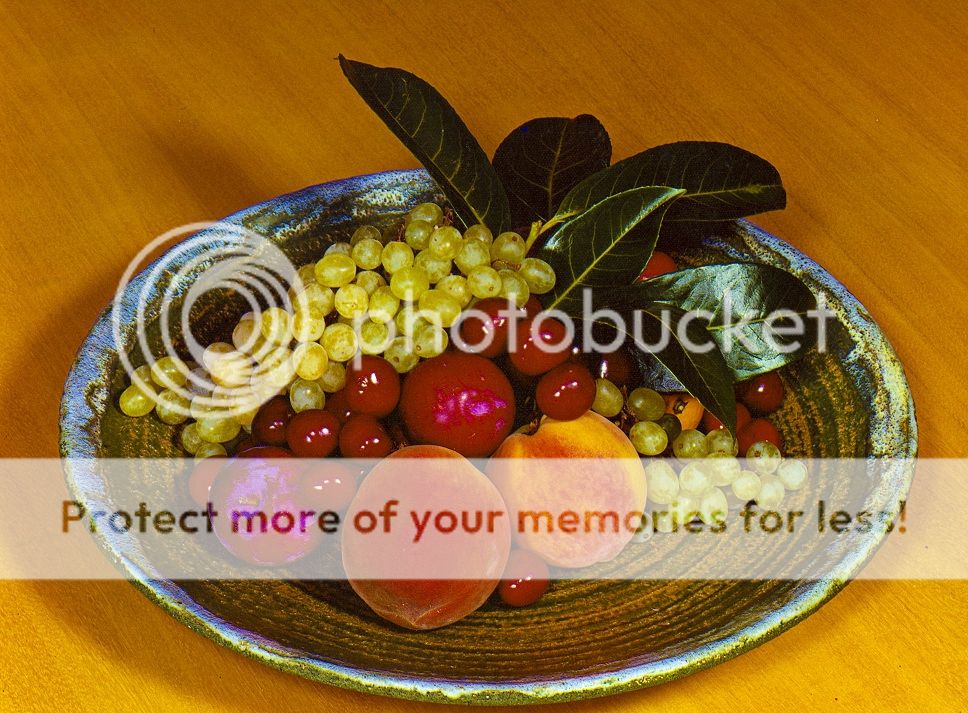
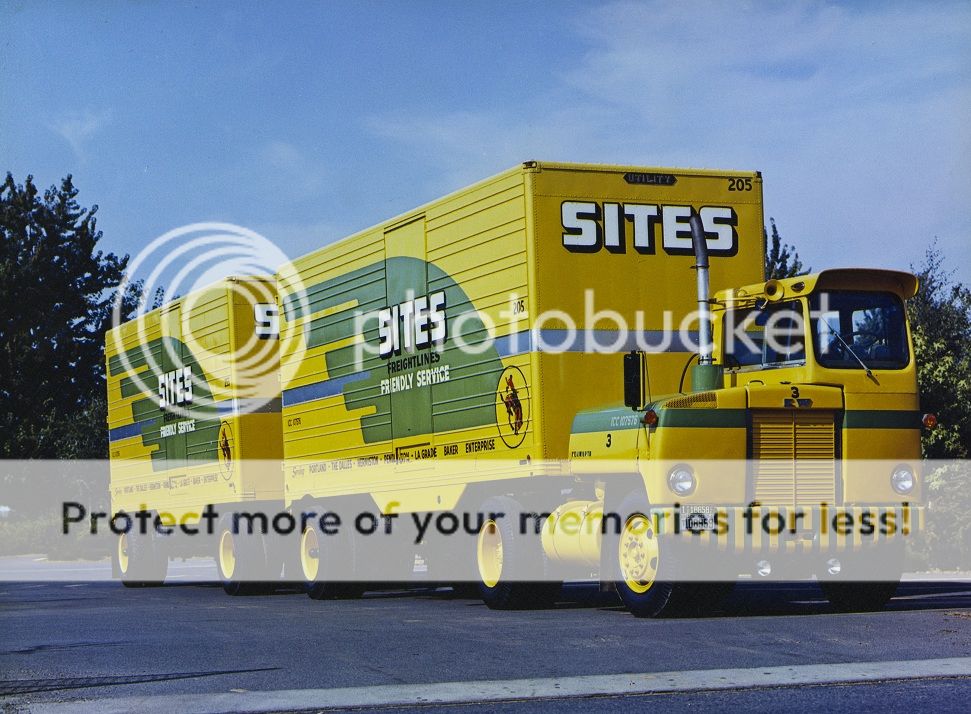
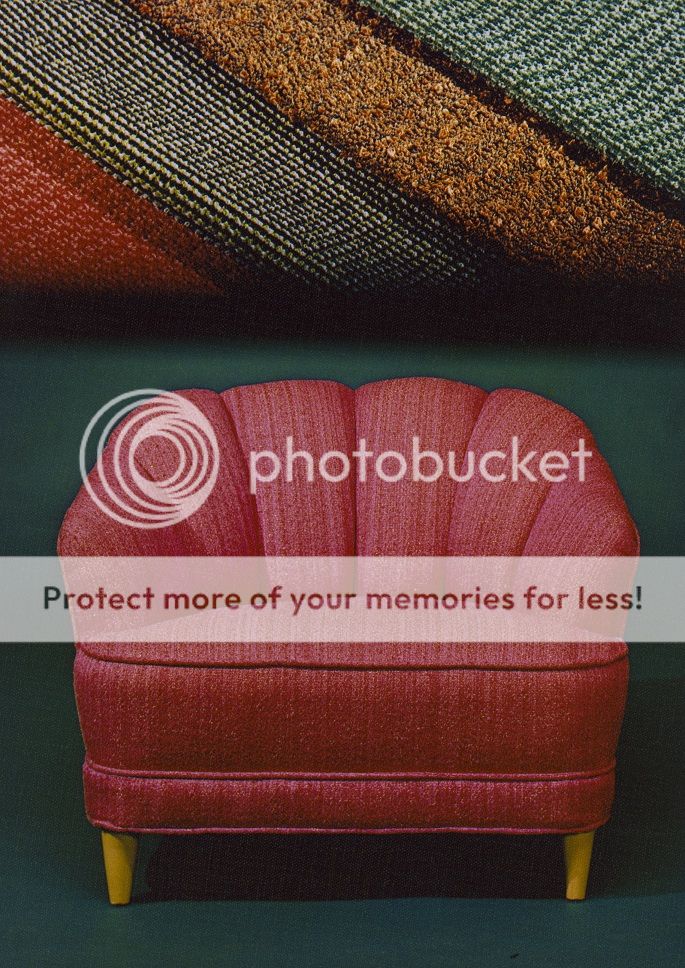
I'll leave you with some samples of dye transfer prints from the late 1940's and early 1950's that were just scanned. They have been stored in normal conditions with contact to acid containing boards. No signs of fading I can see. Prints were made by Dean Child and a company he owned called 'U.S Color Print' in Portland OR.


Be sure to check out the dye transfer archives:
David Doubley - Mostly Photographs
Lots of great info there including Bob Pace bulletins archived as well as videos of Bob going through the dye transfer process.

If your short on time, just watch the intro and the segment showing Bob rolling out a print.
Dye-transfer process - Wikipedia, the free encyclopedia
In the 1970's I was very fortunate to have worked for a short time with Bob Pace at Graphic Process Co in Hollywood CA. Bob was one of the top dye transfer men in the country. When he operated as Pace Color Labs in N.Y. he rolled out transfers for the top photographers of that time including Irving Penn and Yousuf Karsh. Bob relocated to the west coast and was the man to go to for high quality dye transfers. Bob was very generous with me with his time as well as even giving me materials for my own dye transfer experiments. Bob was always ready to help anyone interested in learning about the process.
To give you a short rundown on how the dye transfer process works, it can be summed up in this actual dye transfer print from 1948 salesman's catalog for U.S. Color Print in Portland, OR.
An original color chrome / slide would be turned into a color interneg. This would be color separated into 3 different color separations through reg, green and blue filters onto matrix film. The matrix film would be developed in a tanning developer which hardened the exposed portions of the matrix film. Any un and underexposed gelatin would wash off in warm water. The remaining emulsion would absorb dye in proportion to its density. The 3 color separations on matrix film were dyed magenta, yellow and cyan and rolled in pin registration onto a final support paper. The paper absorbed the dye due to an imbalance in PH and after the last matrix was removed the dye transfer was ready to be dried.
That is a simplified version of it. An expert may be able to produce a fine dye transfer in 8 hours. But if shadow and highlight masks or friskets need to be made, it took a lot longer. The actual rolling out of the print from dyed matrices took only 20 min or less.
The beauty of dye transfer was a fresh set of color prints could be rolled off at any time from archival processed matrix separations. But the inherent permanency of the dyes Kodak used seldom made this necessary. In its heyday, dye transfer prints were the only color print a museum would accept in their collection. But since its demise, Type C, Cibachromes and Ink Jet prints are what museums are collecting now.
Chromogentic / Type C print from the collection of Solomon R. Guggenheim Museum, New York.
Let me talk a little about these various printing media I mentioned before continuing with the dye transfer process.
Type C or Chromogenic printing is the standard wet developed color print we have all known since the late 1940's. In the early days the dyes were not very stable. But the makers have improved a lot in that dept. The problem with Type C was that many pros shot in chromes or slide film and a color interneg had to be produced to make the C print. This removed the actual image a generation away from the original. In the 1970's Agfacolor printing paper was an excellent paper for beautifully rendered color . The problem with Agfacolor was it faded quickly.
Chromogenic color print - Wikipedia, the free encyclopedia
As an alternative to Type C, Ciba came out with Cibachrome. Cibachromes could be made from chrome / slides direct and did not need a color interneg made.
Ilfochrome - Wikipedia, the free encyclopedia
I remember Graphic Process having a display of giant Cibachrome in the front window. Direct CA sunlight was blasting away at them all day. The Cibachromes developed a craquelure to the base...but the colors never faded. The bad thing about the Ciba was the plastic look of the base material. They also left a lot to be desired in the area of print control that masking offered with the dye transfers. Cibachromes tended to look like hell after they were handled some. Color wise it is very good. And fade resistance it is excellent. But the shiny plastic surface ruined it. If it was type F surface they would have had a winner.
Cibachromes reminded me of a shiny black Cadillac. It looks great the first day out of the showroom...and it is all downhill from there. Just like the black car, the super shiny Ciba shows all defects, scratches, fingerprints, dust. In the end, Cibachromes could not compare to dye transfers when it came to making a beautiful, traditional print.
Here is a sample Cibachrome print showing some handling wear and tear.
In our modern day we do have a replacement to the dye transfer print. It is actually a dye transfer print made by machine...the ink jet print. Ink jet printing is capable of producing very high quality prints with excellent dye permanence and anti fading characteristics. Here is a a sample 4 x 5 ink jet print made with a 5 color inexpensive ink jet printer from Walmart.
I'll leave you with some samples of dye transfer prints from the late 1940's and early 1950's that were just scanned. They have been stored in normal conditions with contact to acid containing boards. No signs of fading I can see. Prints were made by Dean Child and a company he owned called 'U.S Color Print' in Portland OR.
Be sure to check out the dye transfer archives:
David Doubley - Mostly Photographs
Lots of great info there including Bob Pace bulletins archived as well as videos of Bob going through the dye transfer process.
If your short on time, just watch the intro and the segment showing Bob rolling out a print.
Dye-transfer process - Wikipedia, the free encyclopedia
Last edited:


![[No title]](/data/xfmg/thumbnail/36/36674-2a99a33f8b4e9e3d34b08a4ec08fbde8.jpg?1734169173)
![[No title]](/data/xfmg/thumbnail/39/39289-c5ea6a611707fdd5786347f4a67d63ae.jpg?1734173256)


![[No title]](/data/xfmg/thumbnail/39/39288-2d76486ccc9042c6fb525aaaaffff1fb.jpg?1734173255)


![[No title]](/data/xfmg/thumbnail/37/37101-cf094d75976427b415711e9c9955c8a3.jpg?1734169828)