- Joined
- Mar 8, 2011
- Messages
- 25,393
- Reaction score
- 9,148
- Location
- Iowa
- Can others edit my Photos
- Photos NOT OK to edit
Easy peasy in post.
With GIMP:
Use the Free Select tool to select the area you don't want blurry. Feather the edges to make the zoom effect blend in better. The radius of the Feather will depend on the size of your original image, and how much you want the effect to blend in
Then: Select > Invert. This will change the effect from your selected area from above to everything else.
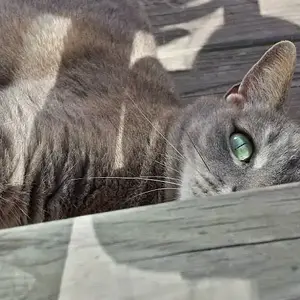
Then: Filters > Blur > Motion Blur. Select Zoom and Blur Outward, and enter the center of the effect in the X and Y coordinates. This will be the center of the zoom effect. Not necessarily the center of the image... it's the 'point of convergence' of the effect. In my example, I used the right cheek/neck of my 'model'. Then OK.
Net result....... Original:

after editing:

If the effect is too strong, or not strong enough, CTRL+Z, then go back to Filters > Blur > Motion Blur. Change either the X and Y coordinates (if you weren't happy with the 'center' of the effect) and/or the Length under Blur Parameters if the effect is too strong or too wimpy.
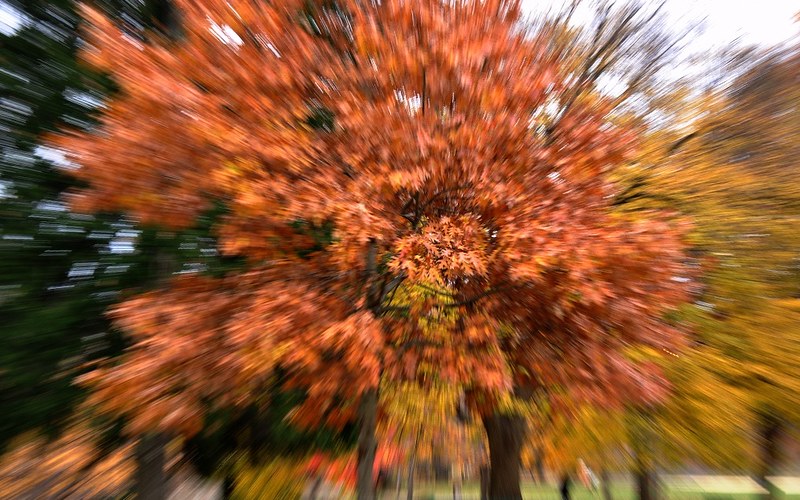
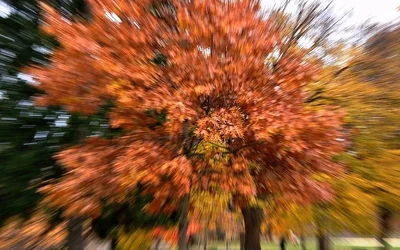
You can also do this multiple times, starting with a small effect over most of the image, then creating more of the effect further out by selecting larger areas as you go:

With GIMP:
Use the Free Select tool to select the area you don't want blurry. Feather the edges to make the zoom effect blend in better. The radius of the Feather will depend on the size of your original image, and how much you want the effect to blend in
Then: Select > Invert. This will change the effect from your selected area from above to everything else.
Then: Filters > Blur > Motion Blur. Select Zoom and Blur Outward, and enter the center of the effect in the X and Y coordinates. This will be the center of the zoom effect. Not necessarily the center of the image... it's the 'point of convergence' of the effect. In my example, I used the right cheek/neck of my 'model'. Then OK.
Net result....... Original:
after editing:
If the effect is too strong, or not strong enough, CTRL+Z, then go back to Filters > Blur > Motion Blur. Change either the X and Y coordinates (if you weren't happy with the 'center' of the effect) and/or the Length under Blur Parameters if the effect is too strong or too wimpy.
You can also do this multiple times, starting with a small effect over most of the image, then creating more of the effect further out by selecting larger areas as you go:




![[No title]](/data/xfmg/thumbnail/42/42015-c5cdef195e2aab7b272f0c03437c42c4.jpg?1734176396)