Landscape

schumionbike

TPF Noob!
Joined
Mar 9, 2007
Messages
1,083
Reaction score
0
Location
Houston, Texas
Can others edit my Photos
Photos OK to edit
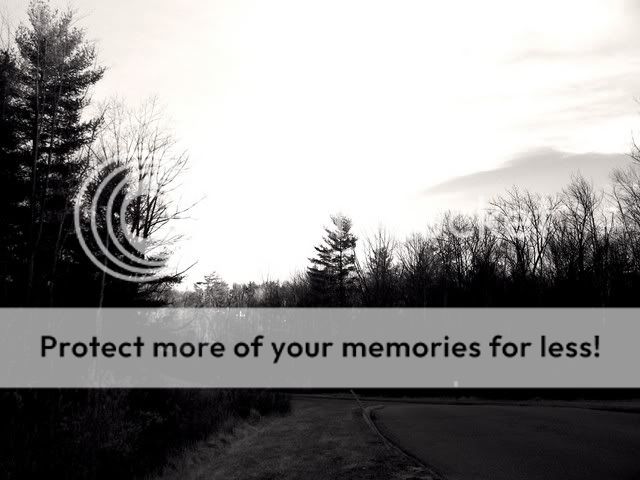
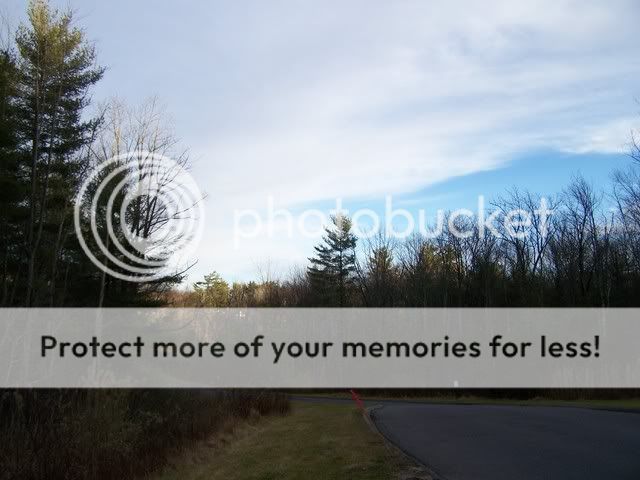
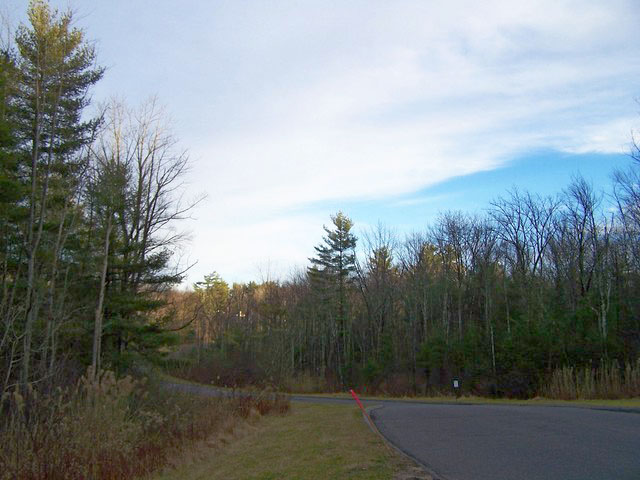
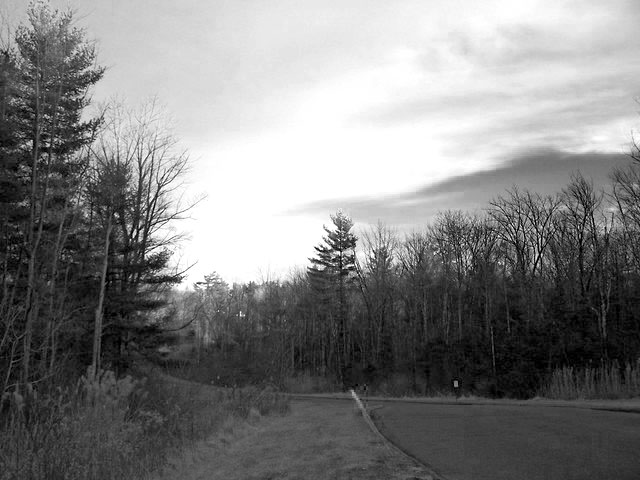
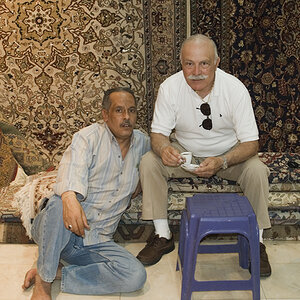
This is old picture and I took it when I first got my camera not too long ago. I recently converted to B&W. What do you guys think? Comments appreciated. This picture was taken in full auto mode=). Yeah, I was still learning.

Picture058editedBW.jpg
 
Too dark for me on the bottom...
 
Thanks for the comments guys, I'll post up the original version later so maybe someone could play with it =). In the middle of final right now. lol.
 
Well, I really like it. Kind of spooky looking.
 
Picture058-1.jpg


This is the orignal picture that came straight out of the camera. I was very new to photography at this point, still is, this was my 58 pictures taken with this camera, I didn't take much pictures before that with a p&s film camera so the technical of the pictures is not great. I do like the scenery in the picture though, that's why I put it up =)

I also went into the forum my school library today and the picture look pretty dark from their high tech screen, my screen is cheap and not calibrated so I made it worst during editing I think.

Thanks for all the replies so far, I'll keep it in mind next time I take pictures. =)

Feel free to play with picture if you like, that's why I post up the orignal.
 
The B&W is better in my opinion.
 
In my opinion, the original image is not one that is readily going to convert to black and white. The histogram is bunch up at either end with very little information in the mid-tones. That said the method you use for you b&w conversion (and there are many of them) will always affect the quality of the outcome. A favourite method is to use the channel mixer with the Monochrome box checked, and then use values for the three channels that add up to 100 (or thereabouts). My preferred method is a more time consuming but gives better control over each colour in the image. I create a selective colour adjustment layer over the original, and then a hue/saturation layer above that, with the saturation set to -100%. The I go back into the selective colour layer and play about with the four sliders (CMYK) that are available for each colour in the image.

This is non-destructive and gives you loads of control both broadbrush and fine detail. The image below shows a quick conversion of your image using this method, and then the image below that shows you what the image looks like without the desaturation layer. The only other thing I did was add a little burn to the top left corner. It's not as subtle as it could be, but I didn't have a load of time. The image still lacks contrast, but the original is hard to work with because of the histogram and information available.

I have found that looking at the saturated version helps me when I'm out looking for a potential b&w image, because you get used to colour combinations that work well together once converted.

Picture058-1_bw3.jpg


Picture058-1_rc.jpg


That said the black and white you have created has more punch that the one I've done, but has lost a lot of detail, especially in the sky. Photography is subjective, and so if you like it that's what counts.

David
 
I always enjoy retouch.

For the color version, I did a strong shadow reduction using a plugin called "Shadow Reduction Pro" by FM Plugins. Then I bumped up the saturation a bit, followed by a little unsharpen mask.

Picture058a.jpg


For the next one, I ran a B&W conversion using a Fong action. Then I bumped up the contrast a little. I used the modified color version, not the original, for the B&W conversion.

Picture058b.jpg
 
Wow, these are great BW conversion, and I certainly learn alot from you guys. The reason I chose to convert this picture into black and white was because there was a lot of contrast in the original version, the road was dark, the sky was still a little lit, and then there is the treee top that was lit up. I also like how the road pointed in one direction in the foreground of the picture and did a 180 in the other direction, I thought that could be better bring out with B&W rather than color.


David, I really like your B&W, thanks. You bring out alot of detail from the sky. Look like a painting too, very cool.

Carl, thanks for putting time into the picture too. Your style bring ou more detail to the road rather than the sky which is also very cool. Thanks again.

You're welcome. It was fun. ;)
 

Most reactions

Back
Top